Street Atlas USA 2005 User Guide
4
Draw Tab
How do I add a road to my map?
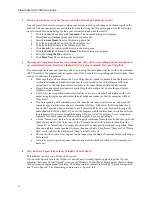
Use the following steps to add routable roads to the map.
1.
Click the
Draw
tab to open the Draw dialog area.
2.
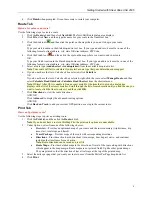
Click and hold the Routable Roads/Waypoints/Tracks tool to view its hidden options. Select the Routable
Roads tool
to create a routable road.
3.
Type the name of the road you want to add in the Road Name text box.
4.
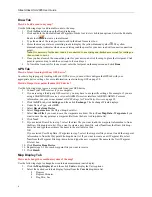
Hover the mouse pointer over existing roads to display the yellow diamond symbol
. The yellow
diamond symbol indicates where on an existing road the point for your new road will connect (connection
point).
Note
: It is necessary for the new road to be connected to an existing non-limited access road for routing on
the new road to occur.
5.
Once you have located the connection point for your new road, click the map to place the first point. Click
point-to-point or drag to add the new road to the road layer.
6.
To finish the line draw for the new road, enter the last point on the map screen and click
Done
.
GPS Tab
How do I start tracking with my GPS device?
In order to begin properly tracking with your GPS device, you must first configure the GPS tab with your
appropriate device settings. For more information, see
Initializing GPS
on page 90.
How do I import waypoints from my GPS device?
Use the following steps to receive waypoints from your GPS device.
1.
Connect your GPS receiver to your computer.
2.
If you are using a third-party GPS receiver, you may have to use specific settings. For example, if you are
using a GARMIN GPS receiver, set your GARMIN receiver interface to GRMN/GRMN. For more
information, see your owner manual or
GPS Settings for Third-Party Devices
on page 92.
3.
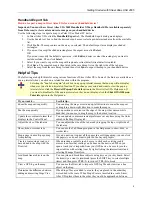
Click the
GPS
tab, click
Settings
, and then click
Exchange
. The Exchange Wizard displays.
4.
Under Device Type, select
GPS
.
5.
Select
Receive from Device
.
6.
Select
Waypoints
from the Object drop-down list.
7.
Select
Draw File
if you want to save the waypoints as a draw file (or
User Map Data - Waypoints
if you
want to save the waypoints as a waypoint file) from the Save As drop-down list.
8.
Click
Next
.
9.
If you selected Draw File in step 7, select the draw file you want to add the waypoint information to from
the Draw File drop-down list. If you want to create a new draw file, select
New
from the Draw File drop-
down list and type the new draw file name in the available text box.
OR
If you selected User Map Data - Waypoints in step 7, select the waypoint file you want to add the waypoint
information to from the Waypoint File drop-down list. If you want to create a new Waypoint file, select
New
from the Waypoint File drop-down list and type the new waypoint file name in the New Waypoint
File text box.
10.
Click
Receive From Device
.
11.
Repeats steps 9–10 for each waypoint file you want to receive.
12.
Click
Finish
.
Map Display Tab
How can I change the coordinate system of the map?
Use the following steps to change how coordinate measurement units display.
1.
Click the
Map Display
tab and then click
Units
to display the Units options.
2.
Select the desired coordinate display format from the
Coords
drop-down list.
Degrees
Degrees, Minutes
Deg, Min, Sec


