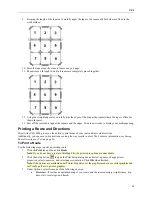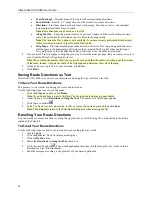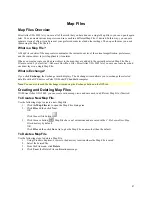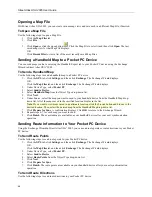
Street Atlas USA 2005 User Guide
50
c.
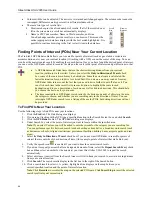
Optional: Verify this is the location and zoom level you want to print. If not, pan the map to the
desired location and zoom to the desired level.
d.
Optional: If you want to use other tabs and functions but not lose your current print area or other
settings, select the
Lock Print Center
check box. Selecting this check box locks the print area and
changes the tab label to red.
e.
Optional: Select the
Preview
check box to zoom the map and view the entire print area.
Clear the check box to return to your previous data zoom level.
6.
Optional: If you are printing a single-page map, you can add a title to your map by selecting the Map Title
check box and clicking
Map Title
to assign the title's text, font, and alignment.
7.
To change printers or make choices for paper orientation, paper size, and paper source, click the Setup
button
. The Print Setup dialog displays.
Note
: From the Setup dialog box, click
Properties
to view additional options. If the options are available,
set the graphics mode to use raster graphics and set TrueType fonts to print as graphics. Consult your
printer manual for additional information.
8.
Click
to print your map.
E-mailing Your Print Area
Once you've determined the map you want to print, you can e-mail it as a .jpg file using the e-mail button in the
Print tab. Multipage maps are saved as individual .jpg files using an incremental page number at the end of the file
name.
To E-mail Your Print Area
Use the following steps to e-mail your map print area.
1.
Locate the area you want to e-mail.
2.
Click the
tab. The Print dialog area displays.
3.
Click
Map
. The Map dialog area displays.
4.
Under Map Layout, select
Page
(the map print area is based on the paper size you have specified in the
Setup options) or
Screen
(the map print area is based on the screen size).
The print area for a Page map displays as a red box on the overview map and the print area for a Screen
map displays as a blue box on the overview map.
5.
If you selected
Screen
in step 4, proceed to step 6. If you selected
Page
in step 4, the following options are
available.
a.
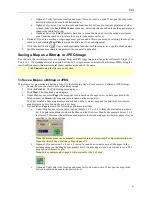
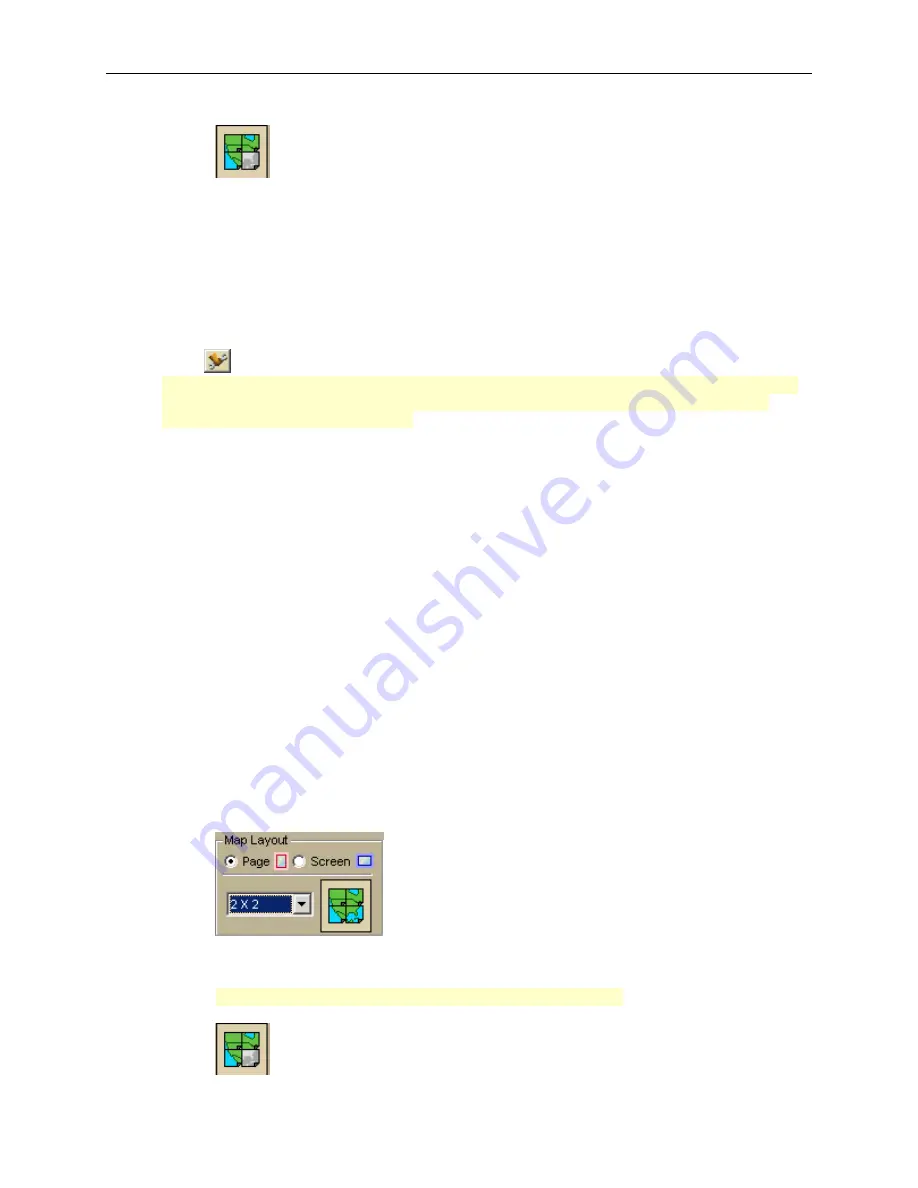
Under Map Layout, select a layout option (Single, 2 x 2, or 3 x 3) from the available drop-down
list. The e-mail area displays on both the Map and the Overview Map. In the example below, 2 x 2
is selected. This means the print area encompasses four standard pages at whatever paper size you
specified in the Setup options.
b.
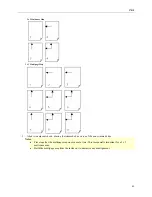
Optional: If you selected 2 x 2 or 3 x 3 in step 5a (and do not want to print all the pages in the
multipage map) on the Map Layout graphic itself, click the page(s) you do not want to print. The
page appears dimmed or gray.
Note
: In the example below, page 4 will not print for the 2 x 2 map.

