GE
D
IRECTION
5573152-100, R
EV
. 2
LOGIQ E9 S
ERVICE
M
ANUAL
Chapter 8 Replacement procedures
8 - 147
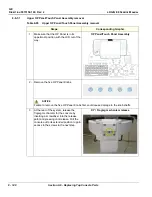
8-6-7-2 Upper OP Panel/Touch Panel Assembly installation (cont’d)
Table 8-97 Upper OP Panel/Touch Panel Assembly installation (cont’d)
Steps
Corresponding Graphic
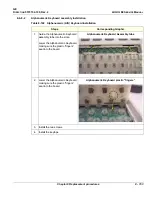
3.
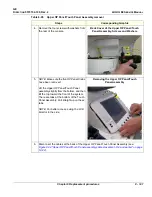
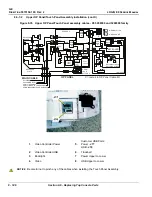
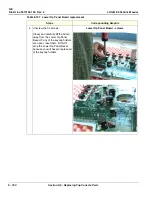
Attach the cables to the Upper OP Panel/
Touch Panel Assembly before installing it
to the system.
9
- Power - ON/OFF (from BEP)
10
- USB - Upper OP Panel (from BEP)
11
- USB - Video (from BEP), if present
Cables to Upper OP
4.
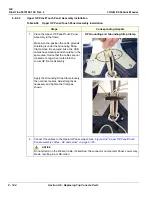
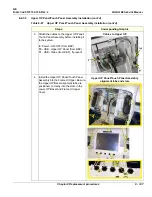
Install the Upper OP Panel/Touch Panel
Assembly into the Frame UI Upper. Be sure
the Upper OP Bezel alignment tabs are
positioned, correctly into the slots in the
Lower OP Bezel and Frame UI Upper
Cover.
Upper OP Panel/Touch Panel Assembly
alignment tabs and slots
Содержание LOGIQ E9
Страница 1: ...12 13 18 GEHC_FRNT_CVR FM LOGIQ E9 SERVICE MANUAL VERSION R6 Part Number 5573152 100 Revision Rev 2 ...
Страница 2: ......
Страница 11: ...GE DIRECTION 5573152 100 REV 2 LOGIQ E9 SERVICE MANUAL xi ZH CN KO ...
Страница 140: ...DIRECTION 5573152 100 REV 2 LOGIQ E9 SERVICE MANUAL 4 50 Section 4 8 Site Log This page was intentionally left blank ...
Страница 753: ......
Страница 754: ......


