GE
D
IRECTION
5573152-100, R
EV
. 2
LOGIQ E9 S
ERVICE
M
ANUAL
8 - 64
Section 8-5 - Replacing Covers and Bumpers
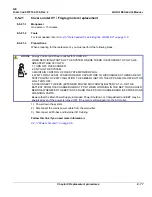
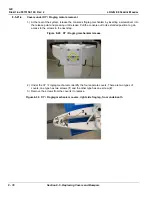
8-5-16 LCD Monitor V2 Arm Assembly Covers replacement (cont’d)
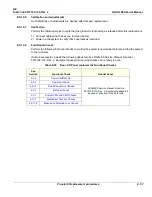
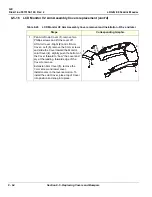
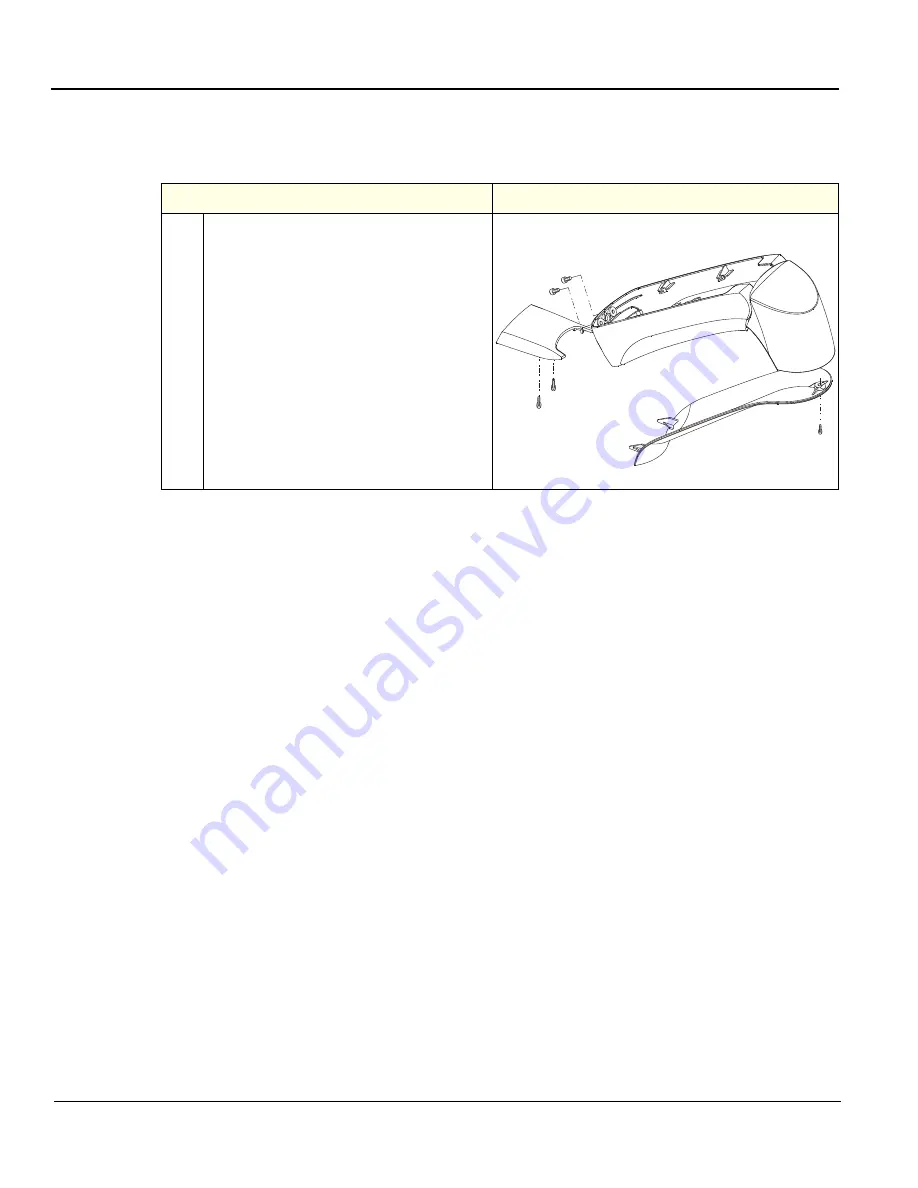
Table 8-45 LCD Monitor V2 Arm Assembly Covers removal and installation - R5.x and later
Steps
Corresponding Graphic
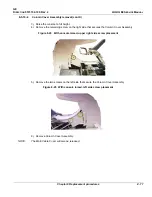
1.
Pan Arm Down Cover (
1
), remove two
Phillips screws and lift the cover off.
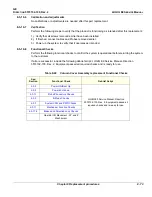
Lift Arm Cover - Right (
2
) and Lift Arm
Cover - Left (
3
), remove the 3 mm screws
and slide the Cover toward the Monitor.
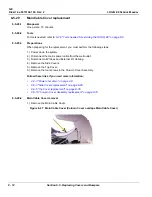
Joint Cover (
4
), slightly push the bottom of
the Cover forward to “bow“ the cover and
pry at the leading, forward edge of the
Cover to remove.
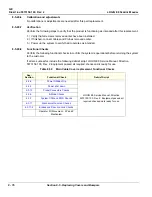
Extension Arm Cover (
5
), remove the
3 mm screw and lower cover.
Install covers in the reverse motion. To
install the Joint Cover, place top of Cover
into position and snap into place.
1
3
2
4
5
Содержание LOGIQ E9
Страница 1: ...12 13 18 GEHC_FRNT_CVR FM LOGIQ E9 SERVICE MANUAL VERSION R6 Part Number 5573152 100 Revision Rev 2 ...
Страница 2: ......
Страница 11: ...GE DIRECTION 5573152 100 REV 2 LOGIQ E9 SERVICE MANUAL xi ZH CN KO ...
Страница 140: ...DIRECTION 5573152 100 REV 2 LOGIQ E9 SERVICE MANUAL 4 50 Section 4 8 Site Log This page was intentionally left blank ...
Страница 753: ......
Страница 754: ......

