GE
D
IRECTION
5573152-100, R
EV
. 2
LOGIQ E9 S
ERVICE
M
ANUAL
Chapter 8 Replacement procedures
8 - 101
3.
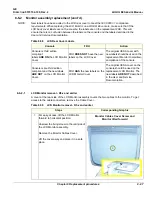
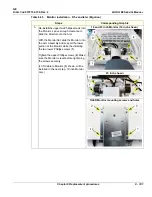
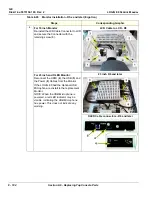
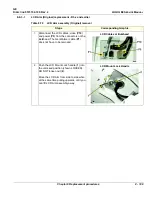
Re-install the upper two Phillips screws into
the Monitor. Leave enough clearance to
slide the Monitor onto the Arm.
With the Monitor flat, slide the Monitor onto
the Arm Assembly and support the lower
portion of the Monitor while the installing
the two lower Phillips screws (
1
).
Tighten the upper Phillips screws (
2
). Make
sure the Monitor is level before tightening
the screws securely.
(LCD Cable to Monitor {
3
} shown, will be
installed in the next step. 19 inch Monitor
only.)
19 and 23 inch Monitor (19 inch shown)
23 inch shown
OLED Monitor mounting screws and holes
Table 8-65 Monitor installation - R5.x and later (Ergotron)
Steps
Corresponding Graphic
Содержание LOGIQ E9
Страница 1: ...12 13 18 GEHC_FRNT_CVR FM LOGIQ E9 SERVICE MANUAL VERSION R6 Part Number 5573152 100 Revision Rev 2 ...
Страница 2: ......
Страница 11: ...GE DIRECTION 5573152 100 REV 2 LOGIQ E9 SERVICE MANUAL xi ZH CN KO ...
Страница 140: ...DIRECTION 5573152 100 REV 2 LOGIQ E9 SERVICE MANUAL 4 50 Section 4 8 Site Log This page was intentionally left blank ...
Страница 753: ......
Страница 754: ......

