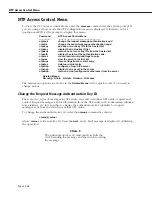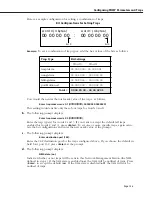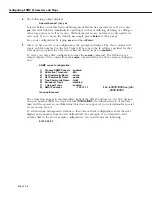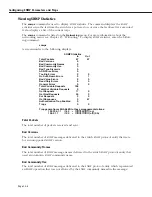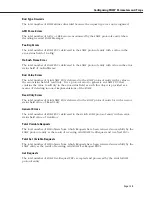
NTP Access Control Menu
Page 12-37
Change the Control Message Authentication Key ID
There are two types of messages an
NTP
entity can send to another
NTP
entity: request and
control. Control messages attempt to change the configuration of the
NTP
entity in some fash-
ion. It is possible to change the authentication key identifier for control messages sent from
the switch to another
NTP
entity.
To change the authentication key
ID
, enter the
ntpctlk
command as shown:
ntpctlk <value>
where
<value>
is the new key
ID
. Press
<return>
, and a brief message is displayed confirming
the operation.
♦
Note
♦
The authentication key
ID
must match in both the
switch sending the message, and the switch receiving
the message.
Add One or More Key ID's to the Trusted List
The trusted list in the key file is a list of all keys that are considered authentic and uncompro-
mised. Messages from an
NTP
entity using one of these keys are accepted and acted upon. It
is possible to add a key to the trusted list.
To add a key
ID
to the trust list in the key file, enter the
ntpckey
command as shown:
ntpckey <value>
where
<value>
is the new key
ID
to be added to the trusted list. For example, to add key
ID
5
to the trusted list, enter the following:
ntpckey 5
A brief message is displayed confirming the operation.
♦
Note
♦
Adding a key
ID
using the
ntpckey
command adds the
key to the working version of the key file in the
switch’s
RAM
. If you reset the switch or re-initialize
NTP
, the added key is lost.
Display the Trusted Key ID List
The trusted list in the key file is a list of all keys that are considered authentic and uncompro-
mised. Messages from an
NTP
entity using one of these keys are accepted and acted upon.
To display a list of the trusted keys for this
NTP
client or server, enter the
ntpvkey
command at
the system prompt. A list of the key numbers accepted by this client or server is displayed.
For more information on authentication, see
NTP and Authentication
on page 12-4.
Содержание Omni Switch/Router
Страница 1: ...Part No 060166 10 Rev C March 2005 Omni Switch Router User Manual Release 4 5 www alcatel com ...
Страница 4: ...page iv ...
Страница 110: ...WAN Modules Page 3 40 ...
Страница 156: ...UI Table Filtering Using Search and Filter Commands Page 4 46 ...
Страница 164: ...Using ZMODEM Page 5 8 ...
Страница 186: ...Displaying and Setting the Swap State Page 6 22 ...
Страница 202: ...Creating a New File System Page 7 16 ...
Страница 270: ...Displaying Secure Access Entries in the MPM Log Page 10 14 ...
Страница 430: ...OmniChannel Page 15 16 ...
Страница 496: ...Configuring Source Route to Transparent Bridging Page 17 48 ...
Страница 542: ...Dissimilar LAN Switching Capabilities Page 18 46 ...
Страница 646: ...Application Example DHCP Policies Page 20 30 ...
Страница 660: ...GMAP Page 21 14 ...
Страница 710: ...Viewing the Virtual Interface of Multicast VLANs Page 23 16 ...
Страница 722: ...Application Example 5 Page 24 12 ...
Страница 788: ...Viewing UDP Relay Statistics Page 26 24 ...
Страница 872: ...The WAN Port Software Menu Page 28 46 ...
Страница 960: ...Deleting a PPP Entity Page 30 22 ...
Страница 978: ...Displaying Link Status Page 31 18 ...
Страница 988: ...Displaying ISDN Configuration Entry Status Page 32 10 ...
Страница 1024: ...Backup Services Commands Page 34 14 ...
Страница 1062: ...Diagnostic Test Cable Schematics Page 36 24 ...
Страница 1072: ...Configuring a Switch with an MPX Page A 10 ...
Страница 1086: ...Page B 14 ...
Страница 1100: ...Page I 14 Index ...

