June 2004 © TOSHIBA TEC
e-STUDIO200L/202L/230/232/280/282 REMOTE SERVICE
8 - 7
8
(11) Press the buttons on the screen of ORDER INFORMATION to set the required item.
[FAX]/[MAIL]/[OFF] ---
Select the [FAX] or the [MAIL] button for the transmitting way of order.
(HTTP has not been supported yet.)
[OFF]: Turn off the AUTO SUPPLY ORDER function.
[FAX NUMBER] --- Input the FAX number of supplier.
(To transmit by FAX, the order cannot be placed automatically if you do not input the number.)
[E-MAIL] --- Input the E-mail address of supplier.
(To transmit by E-mail, the order cannot be placed automatically if you do not input the address.)
(12) Press the [NEXT] button.
(Press the [ENTER] button to register, and then the screen returns to the (7) SERVICE screen.
Press the [CANCEL] button to cancel this register, and then the screen returns to the (7) SER-
VICE screen.)
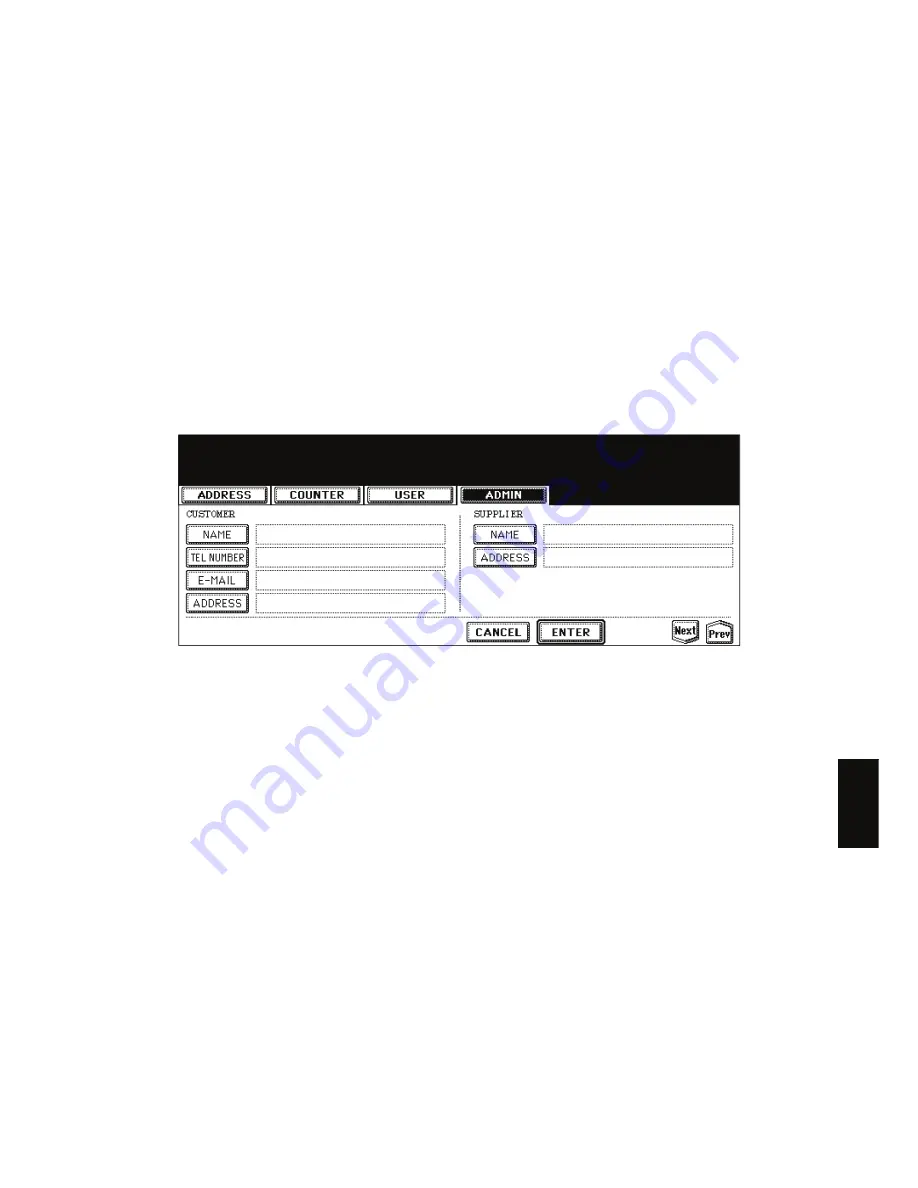
(13) The CUSTOMER/SUPPLIER screen is displayed.
Fig.8-6
(14) Press the buttons of the screen of CUSTOMER/SUPPLIER to set the required item.
CUSTOMER
[NAME] --- Input the name of customer.
[TEL NUMBER] --- Input the telephone number of customer.
[E-MAIL] --- Input the E-mail address of customer.
[ADDRESS] --- Input the address of customer.
SUPPLIER
[NAME] --- Input the name of supplier.
[ADDRESS] --- Input the address of supplier.
(15) Press the [NEXT] button.
Summary of Contents for e-STUDIO200L
Page 6: ......
Page 12: ......
Page 400: ...e STUDIO200L 202L 230 232 280 282 ADJUSTMENT June 2004 TOSHIBA TEC 3 104 ...
Page 554: ...e STUDIO200L 202L 230 232 280 282 TROUBLESHOOTING June 2004 TOSHIBA TEC 5 124 ...
Page 678: ...e STUDIO200L 202L 230 232 280 282 REMOTE SERVICE June 2004 TOSHIBA TEC 8 24 ...
Page 702: ...e STUDIO200L 202L 230 232 280 282 WIRE HARNESS CONNECTION DIAGRAMS June 2004 TOSHIBA TEC 10 2 ...
Page 707: ......
Page 708: ......


