e-STUDIO200L/202L/230/232/280/282 FIRMWARE UPDATING
June 2004 © TOSHIBA TEC
6 - 72
Remark:
Updating can be continued with another USB storage device on which the firmware data is writ-
ten in the following procedure when the updating is completed.
1. Confirm the message “Please Connect Next Storage Key. Push ‘START’ Button!!” is dis-
played at the bottom of the LCD screen.
2. Replace the USB storage device while the power is left ON.
3. Press the [START] button.
4. The screen for selecting the items to be updated is displayed. Continue the updating from
procedure (5). However, the items already updated are not displayed on the screen.
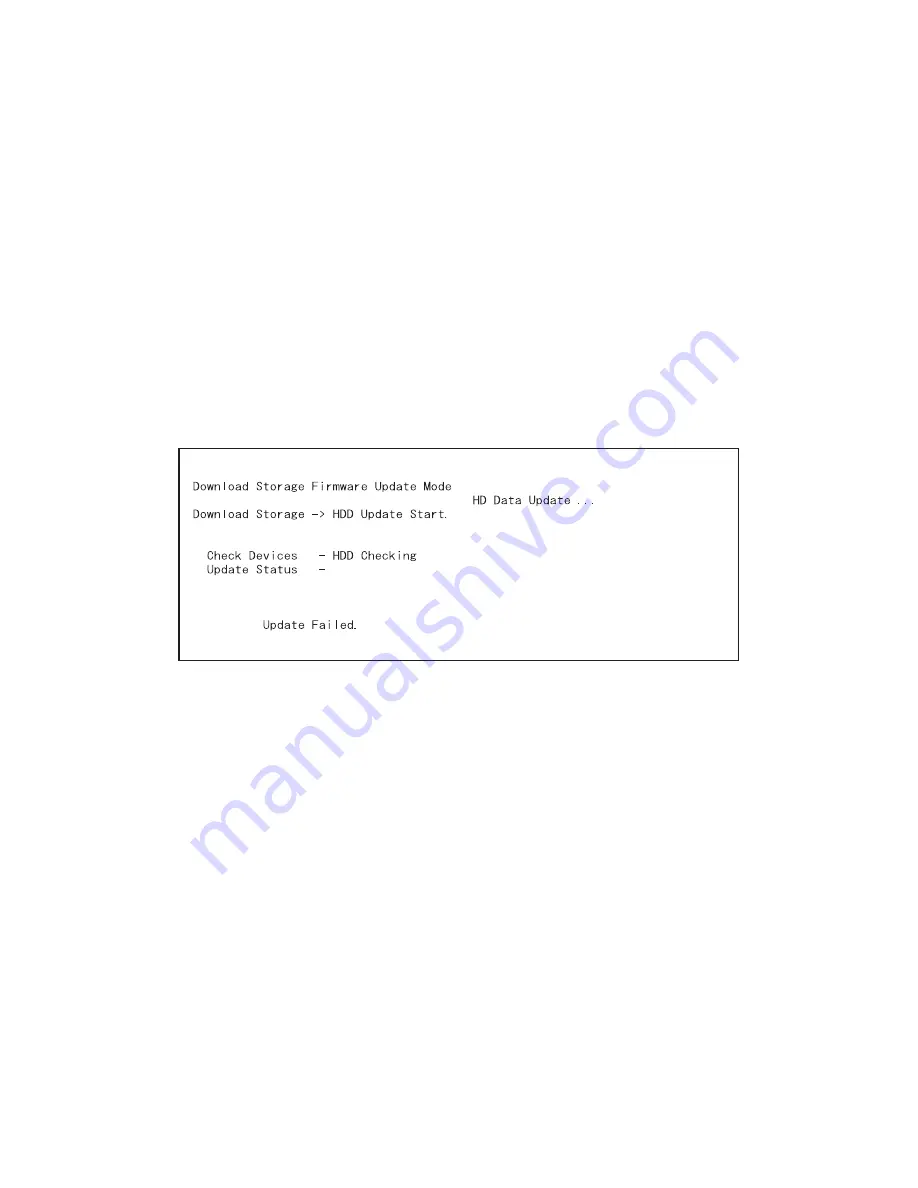
“Update Failed.” is displayed at the bottom of the LCD screen when the updating is not com-
pleted properly. Turn OFF the power, and then check the following items. After confirming and
clearing the problems, restart updating from the beginning.
•
Does the USB storage device meet the conditions to be used for updating (
!
P.6-66 "6.4
Firmware Updating with USB Storage Device (e-STUDIO200L/230/280)")?
•
Is the data file written properly on the USB storage device?
•
Is the USB storage device installed properly?
•
Do the USB storage device and equipment operate properly?
Fig.6-77
Summary of Contents for e-STUDIO200L
Page 6: ......
Page 12: ......
Page 400: ...e STUDIO200L 202L 230 232 280 282 ADJUSTMENT June 2004 TOSHIBA TEC 3 104 ...
Page 554: ...e STUDIO200L 202L 230 232 280 282 TROUBLESHOOTING June 2004 TOSHIBA TEC 5 124 ...
Page 678: ...e STUDIO200L 202L 230 232 280 282 REMOTE SERVICE June 2004 TOSHIBA TEC 8 24 ...
Page 702: ...e STUDIO200L 202L 230 232 280 282 WIRE HARNESS CONNECTION DIAGRAMS June 2004 TOSHIBA TEC 10 2 ...
Page 707: ......
Page 708: ......


