e-STUDIO200L/202L/230/232/280/282 TROUBLESHOOTING
June 2004 © TOSHIBA TEC
5 - 94
5.2
Troubleshooting for the Image
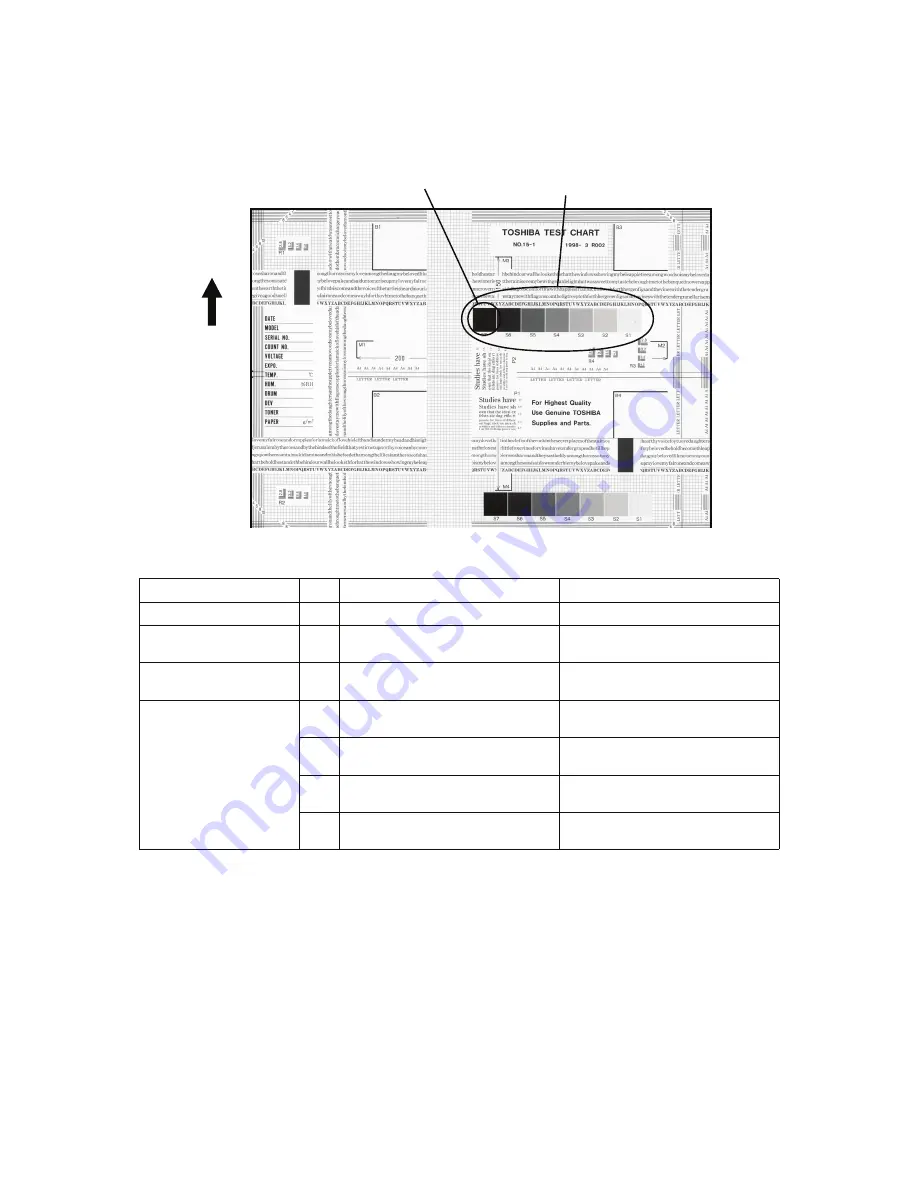
1) Abnormality of image density / Gray balance
Fig. 5-1
Defective area
Step
Check items
Prescription
Density/Gray balance
1
Check the density/gray balance.
Adjust the density.
Printer section
2
Check test print image (04-113).
Go to step 4 if there is any problem
on image.
Scanner
3
Are the original glass, mirrors and
lens dirty?
Clean them.
Printed image
4
Is the image faded?
Perform troubleshooting for faded
image.
5
Is background fogging occurring?
Perform troubleshooting for back-
ground fogging.
6
Is there a blotch on the image?
Perform troubleshooting for blotched
image.
7
Is the image transferred normally?
Perform troubleshooting for abnor-
mal transfer.
Feeding direction
Image density
Gray balance
Summary of Contents for e-STUDIO200L
Page 6: ......
Page 12: ......
Page 400: ...e STUDIO200L 202L 230 232 280 282 ADJUSTMENT June 2004 TOSHIBA TEC 3 104 ...
Page 554: ...e STUDIO200L 202L 230 232 280 282 TROUBLESHOOTING June 2004 TOSHIBA TEC 5 124 ...
Page 678: ...e STUDIO200L 202L 230 232 280 282 REMOTE SERVICE June 2004 TOSHIBA TEC 8 24 ...
Page 702: ...e STUDIO200L 202L 230 232 280 282 WIRE HARNESS CONNECTION DIAGRAMS June 2004 TOSHIBA TEC 10 2 ...
Page 707: ......
Page 708: ......


