Detailed guide - AFF C190
This guide gives detailed step-by-step instructions for installing a AFF C190 system.
Step 1: Prepare for installation
To install your AFF C190 system, you need to create an account and register the system. You also need to
inventory the appropriate number and type of cables for your system and collect specific network information.
You need to have access to the Hardware Universe for information about site requirements as well as
additional information on your configured system. You might also want to have access to the Release Notes for
your version of ONTAP for more information about this system.
Find the Release Notes for your version of ONTAP 9
You need to provide the following at your site:
• Rack space for the storage system
• Phillips #2 screwdriver
• Additional networking cables to connect your system to your network switch and laptop or console with a
Web browser
• A laptop or console with an RJ-45 connection and access to a Web browser
Steps
1. Unpack the contents of all boxes.
2. Record the system serial number from the controllers.
3. Set up your account:
a. Log in to your existing account or create an account.
b. Register your system.
4. Download and install Config Advisor on your laptop.
NetApp Downloads: Config Advisor
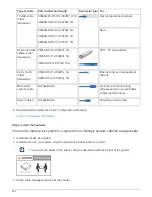
5. Inventory and make a note of the number and types of cables you received.
The following table identifies the types of cables you might receive. If you receive a cable not listed in the
table, see the Hardware Universe to locate the cable and identify its use.
941
Summary of Contents for AFF A700
Page 4: ...AFF and FAS System Documentation 1...
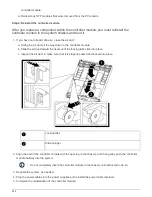
Page 208: ...3 Close the controller module cover and tighten the thumbscrew 205...
Page 248: ...2 Close the controller module cover and tighten the thumbscrew 245...
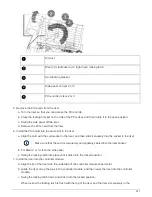
Page 308: ...Power supply Cam handle release latch Power and Fault LEDs Cam handle 305...
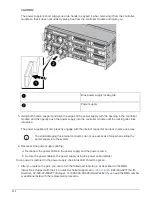
Page 381: ...Power supply Cam handle release latch Power and Fault LEDs Cam handle 378...
Page 437: ...1 Locate the DIMMs on your controller module 434...
Page 605: ...602...
Page 1117: ...3 Close the controller module cover and tighten the thumbscrew 1114...
Page 1157: ...2 Close the controller module cover and tighten the thumbscrew 1154...
Page 1228: ...Power supply Cam handle release latch Power and Fault LEDs Cam handle 1225...
Page 1300: ...Power supply Cam handle release latch Power and Fault LEDs Cam handle 1297...
Page 1462: ...Installing SuperRail to round hole four post rack 1459...
Page 1602: ...1599...
Page 1630: ...1627...
Page 1634: ...Orange ring on horizontal bracket Cable chain 1631...
Page 1645: ...Guide rail 1642...
Page 1669: ...Attention LED light on 1666...

