◦
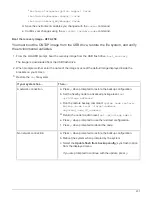
If your system does not have onboard keymanager, NSE or NVE configured, complete the steps in this
section.
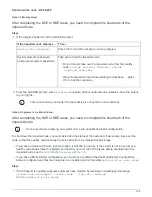
6. From the LOADER prompt, enter the
boot_ontap
command.
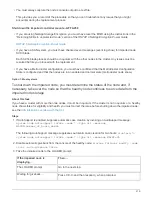
If you see…
Then…
The login prompt
Go to the next Step.
Waiting for giveback…
a. Log into the partner node.
b. Confirm the target node is ready for giveback with the
storage
failover show
command.
7. Connect the console cable to the partner node.
8. Give back the node using the
storage failover giveback -fromnode local
command.
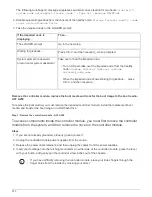
9. At the cluster prompt, check the logical interfaces with the
net int -is-home false
command.
If any interfaces are listed as "false", revert those interfaces back to their home port using the
net int
revert
command.
10. Move the console cable to the repaired node and run the
version -v
command to check the ONTAP
versions.
11. Restore automatic giveback if you disabled it by using the
storage failover modify -node local
-auto-giveback true
command.
Restore OKM, NSE, and NVE as needed - AFF A250
Once environment variables are checked, you must complete steps specific to systems
that have Onboard Key Manager (OKM), NetApp Storage Encryption (NSE) or NetApp
Volume Encryption (NVE) enabled.
1. Determine which section you should use to restore your OKM, NSE, or NVE configurations: If NSE or NVE
are enabled along with Onboard Key Manager you must restore settings you captured at the beginning of
this procedure.
◦
If NSE or NVE are enabled and Onboard Key Manager is enabled, go to
Onboard Key Manager is enabled
◦
If NSE or NVE are enabled for ONTAP 9.6, go to
Restore NSE/NVE on systems running ONTAP 9.6
Restore NVE or NSE when Onboard Key Manager is enabled
Steps
1. Connect the console cable to the target node.
2. Use the
boot_ontap
command at the LOADER prompt to boot the node.
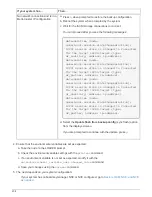
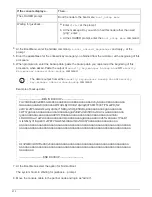
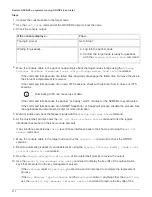
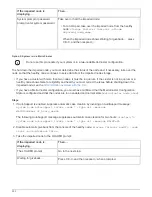
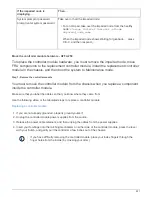
3. Check the console output:
209
Summary of Contents for AFF A700
Page 4: ...AFF and FAS System Documentation 1...
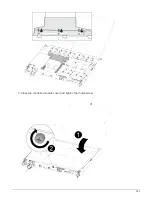
Page 208: ...3 Close the controller module cover and tighten the thumbscrew 205...
Page 248: ...2 Close the controller module cover and tighten the thumbscrew 245...
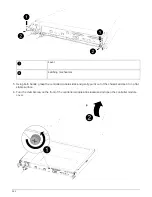
Page 308: ...Power supply Cam handle release latch Power and Fault LEDs Cam handle 305...
Page 381: ...Power supply Cam handle release latch Power and Fault LEDs Cam handle 378...
Page 437: ...1 Locate the DIMMs on your controller module 434...
Page 605: ...602...
Page 1117: ...3 Close the controller module cover and tighten the thumbscrew 1114...
Page 1157: ...2 Close the controller module cover and tighten the thumbscrew 1154...
Page 1228: ...Power supply Cam handle release latch Power and Fault LEDs Cam handle 1225...
Page 1300: ...Power supply Cam handle release latch Power and Fault LEDs Cam handle 1297...
Page 1462: ...Installing SuperRail to round hole four post rack 1459...
Page 1602: ...1599...
Page 1630: ...1627...
Page 1634: ...Orange ring on horizontal bracket Cable chain 1631...
Page 1645: ...Guide rail 1642...
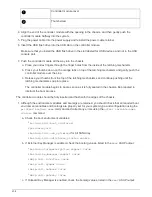
Page 1669: ...Attention LED light on 1666...

