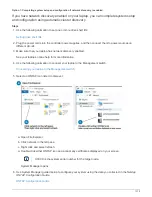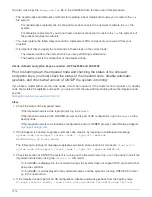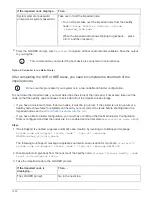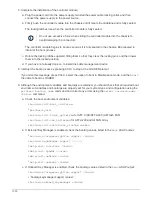
7. Set up your account and download Active IQ Config Advisor:
a. Log in to your existing account or create an account.
b. Register your system.
c. Download Active IQ Config Advisor.
NetApp Downloads: Config Advisor
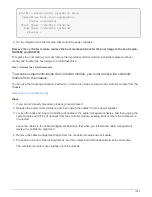
8. Verify the health of your system by running Config Advisor.
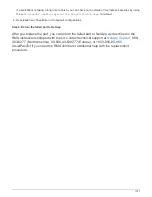
9. After you have completed the initial configuration, go to the
page for information about configuring additional features in ONTAP.
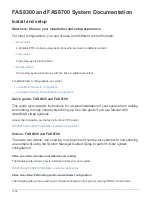
Option 2: Completing system setup and configuration if network discovery is not enabled
If network discovery is not enabled on your laptop, you must complete the configuration
and setup using this task.
Steps
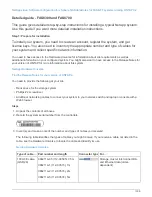
1. Cable and configure your laptop or console:
a. Set the console port on the laptop or console to 115,200 baud with N-8-1.
See your laptop or console’s online help for how to configure the console port.
b. Connect the console cable to the laptop or console using the console cable that came with your
system, and then connect the laptop to the management switch on the management subnet .
c. Assign a TCP/IP address to the laptop or console, using one that is on the management subnet.
2. Use the following animation to set one or more drive shelf IDs:
3. Plug the power cords into the controller power supplies, and then connect them to power sources on
different circuits.
FAS8300 and FAS8700 shown.
Initial booting may take up to eight minutes.
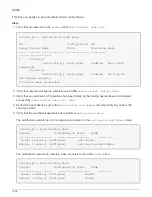
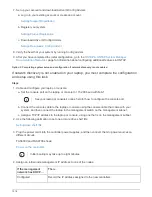
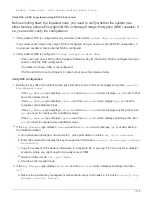
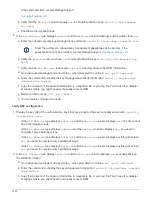
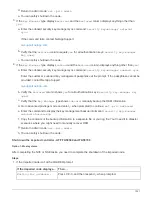
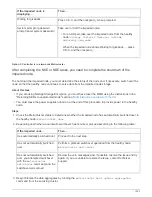
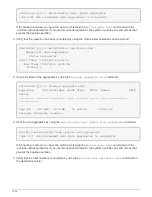
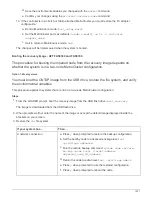
4. Assign an initial node management IP address to one of the nodes.
If the management
network has DHCP…
Then…
Configured
Record the IP address assigned to the new controllers.
1316
Summary of Contents for AFF A700
Page 4: ...AFF and FAS System Documentation 1...
Page 208: ...3 Close the controller module cover and tighten the thumbscrew 205...
Page 248: ...2 Close the controller module cover and tighten the thumbscrew 245...
Page 308: ...Power supply Cam handle release latch Power and Fault LEDs Cam handle 305...
Page 381: ...Power supply Cam handle release latch Power and Fault LEDs Cam handle 378...
Page 437: ...1 Locate the DIMMs on your controller module 434...
Page 605: ...602...
Page 1117: ...3 Close the controller module cover and tighten the thumbscrew 1114...
Page 1157: ...2 Close the controller module cover and tighten the thumbscrew 1154...
Page 1228: ...Power supply Cam handle release latch Power and Fault LEDs Cam handle 1225...
Page 1300: ...Power supply Cam handle release latch Power and Fault LEDs Cam handle 1297...
Page 1462: ...Installing SuperRail to round hole four post rack 1459...
Page 1602: ...1599...
Page 1630: ...1627...
Page 1634: ...Orange ring on horizontal bracket Cable chain 1631...
Page 1645: ...Guide rail 1642...
Page 1669: ...Attention LED light on 1666...

