System Upgrade 8-9
Removing 3.5-inch Hard Disk Drive
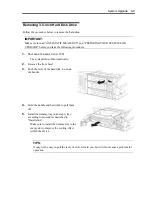
Follow the procedure below to remove the hard disk.
IMPORTANT:
Make sure to read “ANTI-STATIC MEASURES” and “PREPARING YOUR SYSTEM FOR
UPGRADE” before you take the following procedures.
1.
Shut down Windows Server 2003.
The system turns off automatically.
2.
Remove the front bezel.
3.
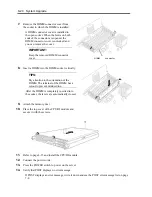
Push the lever of the hard disk to unlock
the handle.
4.
Hold the handle and hard disk to pull them
off.
5.
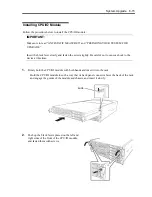
Install the dummy tray in an empty tray
according to procedures described in
"Installation".
Make sure to install the dummy slot in the
empty slot to improve the cooling effect
within the device.
TIPS:
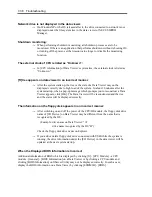
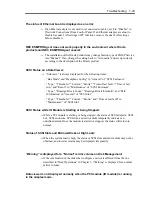
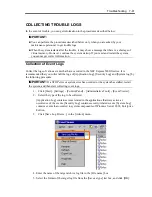
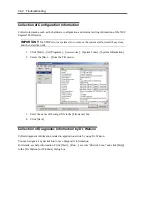
It may not be easy to pull the lever of slot 3 toward you, but it will not cause a problem for
operation.
Summary of Contents for Express5800/320Fd-MR
Page 13: ...v Appendix B I O Port Addresses This appendix lists factory assigned I O port addresses...
Page 19: ...xi THIS PAGE IS INTENTIONALLY LEFT BLANK...
Page 43: ...2 10 General Description Rear View...
Page 47: ...2 14 General Description CPU IO Module CPU IO module...
Page 67: ...2 34 General Description This page is intentionally left blank...
Page 79: ...3 12 Windows Setup and Operation 3 Confirm that RDR of the disk is cancelled...
Page 106: ...Windows Setup and Operation 3 39 This page is intentionally left blank...
Page 198: ...4 92 System Configuration This page is intentionally left blank...
Page 370: ......
Page 371: ...This page is intentionally left blank...
Page 389: ...6 18 Maintenance 3 Stop of PCI module 1 4 Start of PCI module 1...
Page 391: ...6 20 Maintenance This page is intentionally left blank...
Page 465: ...System Upgrade 8 31 board must not be mixed with N8804 005 or N8803 035...
Page 480: ......
Page 483: ......

