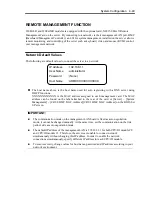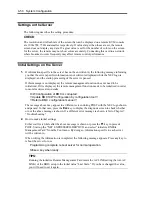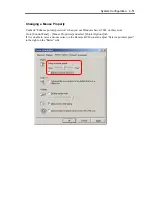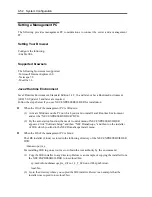
System Configuration 4-63
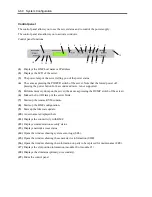
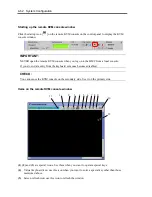
(6)
KVM properties icon.
(7)
Enlarge icon: use this icon to enlarge the view.
(8)
Shrink icon: use this icon to reduce the view.
(9)
Equal size icon: use this icon to display images in the same magnification.
(10)
Window size icon: use this icon to adjust the window size to the screen size.
(11)
KVM indicator showing information including resolution.
(12)
Remote KVM console screen, on which the server screen is shown.
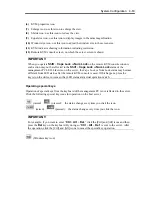
IMPORTANT:
When you operate
Shift
+
Caps Lock
or
Num Lock
on the remote KVM console window,
such action may not be reflected in the
Shift
+
Caps Lock
or
Num Lock
status of the
management PC LED. Likewise, on the server, the Caps Lock or Num Lock status may become
different from LED status after the remote KVM console is used. If this happens, press the
key(s) on the device in issue so that LED status and actual operation match.
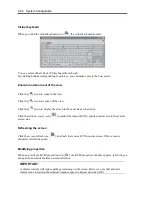
Operating special keys
Operation of special keys from the keyboard of the management PC is not reflected in the server.
Click the following special key icons for operation on the host server.
(raised)
(pressed): the status change every time you click the icon.
(raised)
(pressed): the status change every time you click the icon.
IMPORTANT:
For example, if you want to enter “
Ctrl
+
Alt
+
Del
,” click the [Ctrl] and [Alt] icons and then
press the
Del
key on the keyboard. By doing so “
Ctrl
+
Alt
+
Del
” is sent to the server. After
the operation, click the [Ctrl] and [Alt] icons to cancel the special key operation.
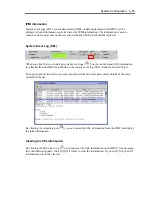
(Windows key icon)
Summary of Contents for Express5800/320Fd-MR
Page 13: ...v Appendix B I O Port Addresses This appendix lists factory assigned I O port addresses...
Page 19: ...xi THIS PAGE IS INTENTIONALLY LEFT BLANK...
Page 43: ...2 10 General Description Rear View...
Page 47: ...2 14 General Description CPU IO Module CPU IO module...
Page 67: ...2 34 General Description This page is intentionally left blank...
Page 79: ...3 12 Windows Setup and Operation 3 Confirm that RDR of the disk is cancelled...
Page 106: ...Windows Setup and Operation 3 39 This page is intentionally left blank...
Page 198: ...4 92 System Configuration This page is intentionally left blank...
Page 370: ......
Page 371: ...This page is intentionally left blank...
Page 389: ...6 18 Maintenance 3 Stop of PCI module 1 4 Start of PCI module 1...
Page 391: ...6 20 Maintenance This page is intentionally left blank...
Page 465: ...System Upgrade 8 31 board must not be mixed with N8804 005 or N8803 035...
Page 480: ......
Page 483: ......

