5-28 Installing and Using Utilities
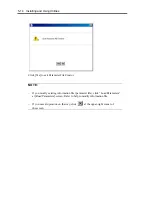
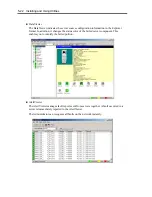
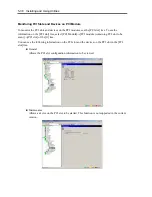
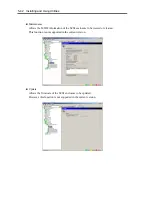
Setting] of the [General] sheet.
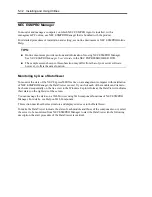
The community names to receive SNMP packets from are listed in the [SNMP
Community] list box.
3.
Click [OK] to terminate the operation.
Printer Information’s Available Time:
When you add a new printer, install its driver and make its settings, if you do not make settings for
the available time from Add Printer Wizard, the printer’s available time (From and To) in [Printers
and Faxes] are [00:00], on the other hand, Manager’s time are [9:00]. To display them properly,
make the settings of printer from [Printers and Faxes]. The procedures are as follows;
1.
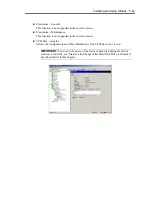
Start [Printers and Faxes], and open the printer properties you want to make settings for.
(Select the [Printers and Faxes], right-click and select [Properties].)
2.
Select the [Advanced] tab.
3.
Enter values in the available time (From and To), and click [OK] in the [Advanced] and
[Properties] dialog boxes.
Now, you can see the correct information from Manager, too.
Disk Maintenance while NEC ESMPRO Agent is Running
The following works to disks (hard disk drive or magneto optical) are not allowed while NEC
ESMPRO Agent is running;
To format or delete a partition by Disk Administrator or by other means.
To request programmatically to remove media from removable disks such as MO, Zip and PD.
1.
Select the [Start] – [Settings] – [Control Panel]
2.
Open the [Service]
3.
Select a service named “ESMCommonService,” and click the [Stop].
4.
Verify that “ESMCommonService” stopped, and close the [Service].
5.
Do the disk-related works.
6.
Open the [Service] again, select “ESMCommonService” and click the [Start].
7.
Verify that “ESMCommonService” is active and close the [Service] and [Control Panel].
Connection with Hard Disk Drive
The preventive hard disk drive maintenance function may not work properly when a hard disk drive
which was used in a system where NEC ESMPRO Agent is installed is connected to other systems.
Make sure not to connect such hard disk drives.
Summary of Contents for Express5800/320Fd-MR
Page 13: ...v Appendix B I O Port Addresses This appendix lists factory assigned I O port addresses...
Page 19: ...xi THIS PAGE IS INTENTIONALLY LEFT BLANK...
Page 43: ...2 10 General Description Rear View...
Page 47: ...2 14 General Description CPU IO Module CPU IO module...
Page 67: ...2 34 General Description This page is intentionally left blank...
Page 79: ...3 12 Windows Setup and Operation 3 Confirm that RDR of the disk is cancelled...
Page 106: ...Windows Setup and Operation 3 39 This page is intentionally left blank...
Page 198: ...4 92 System Configuration This page is intentionally left blank...
Page 370: ......
Page 371: ...This page is intentionally left blank...
Page 389: ...6 18 Maintenance 3 Stop of PCI module 1 4 Start of PCI module 1...
Page 391: ...6 20 Maintenance This page is intentionally left blank...
Page 465: ...System Upgrade 8 31 board must not be mixed with N8804 005 or N8803 035...
Page 480: ......
Page 483: ......

