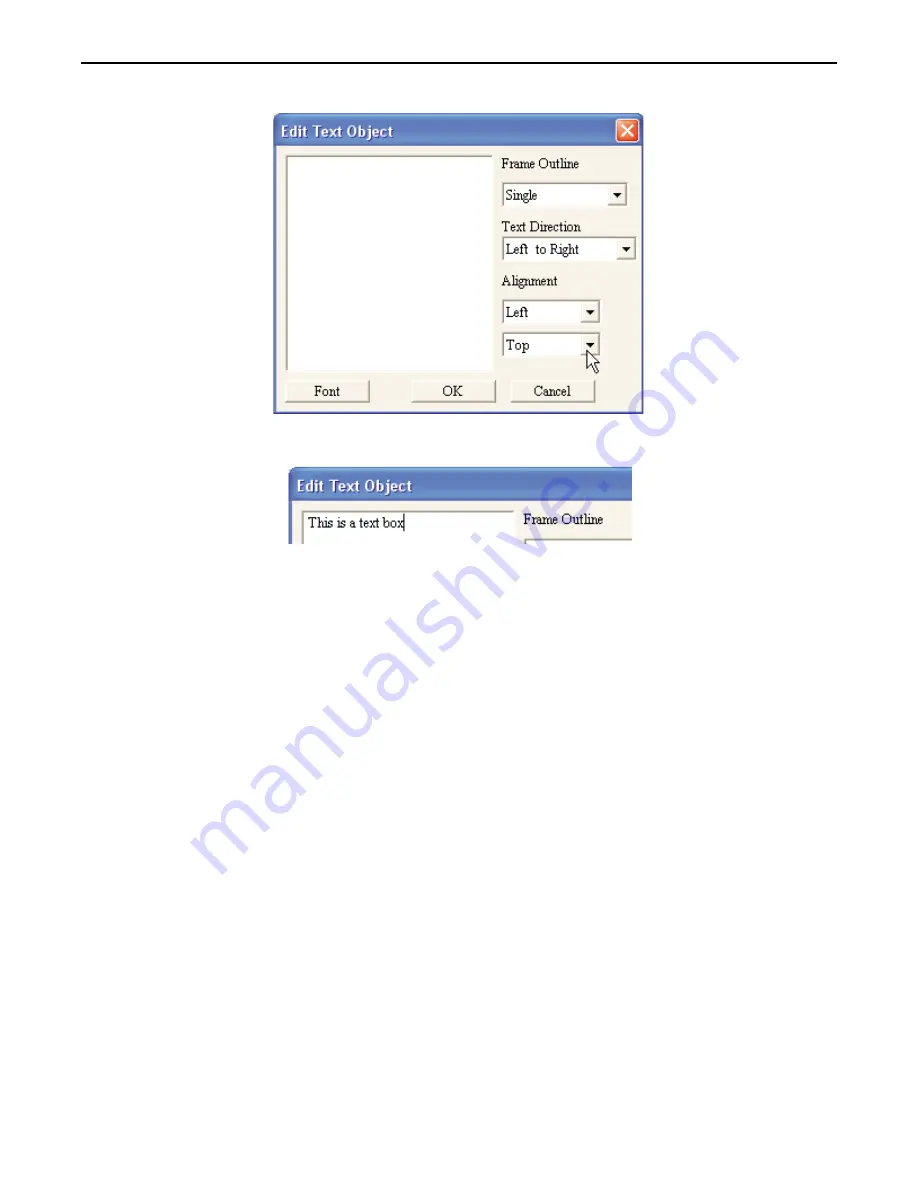
3. To add text, double-click the object. The Edit Text Object dialog box appears:
4. Select the font size and type by clicking the
Font
button.
5.
Enter the
text
in the content box:
Press the
ENTER
key to begin new lines.
6. Select the
type of frame
you want surrounding the text using the
Frame Outline
pull-down box.
7. Select the
Text Direction
.
8. Select the type of
justification
in
Alignment:
box for both horizontal and vertical alignment.
9. Click
OK
. The main screen of BlueLeaf software reappears with the outline of the text box on the
screen and the text. If the size of the text box is too small, only a portion of the text you created will
be seen. To see all of the text, you must click and drag on the small white boxes that outline the
perimeter of the text object to resize the object.
10. Click and drag anywhere within the border of the new text box to move it to a new location.
1010-0300, Rev 02
80
Blue Series Installation & Operation Manual


