5. Press the
ENTER
key. The blinking cursor will now highlight the options for that parameter.
6. Use the right/left arrow keys to switch between the options or digits for that parameter. Use the
function keys to change each digit value (ex. F1 =1, F5 =5, Shift F1 =6, Shift F10 =0).
7. When you have finished modifying the clock settings, press the
ENTER
key to go back to the HMI
Setup menu. Press the
ESC
key to cancel any changes.
*
The Date/Time setting menu also displays a bar graph which represents the relative amount of
energy left in the clock battery.
4
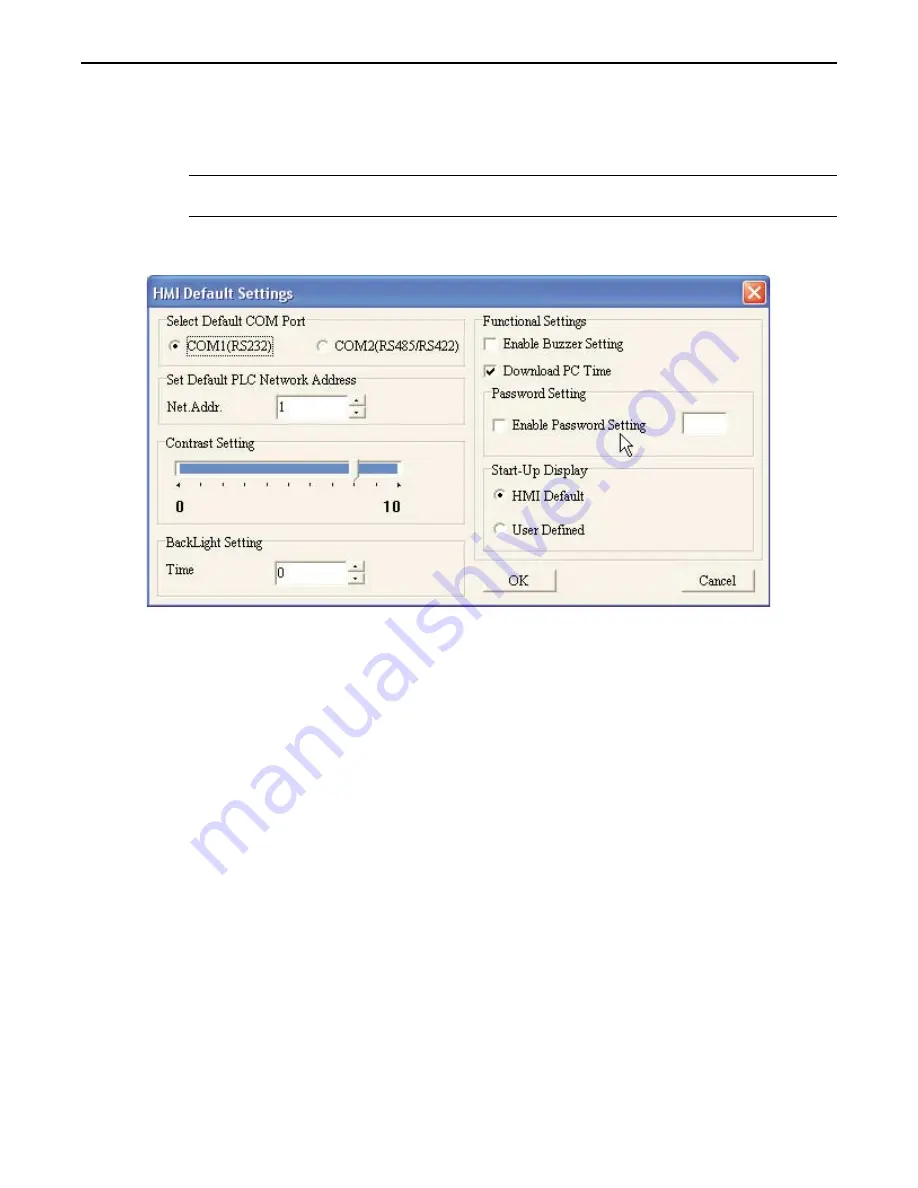
To adjust date/time using BlueLeaf software
1. From the TOOLS menu, click
HMI Default Settings.
The HMI Default Setting dialog box appears.
2. In the Functional Settings frame, check the
Download PC Time
box.
3. Click
OK
. Then download the project to the OIT. The BlueLeaf software will update the internal
clock of the BLU300 according to the time/date set in the PC.
Enabling/Disabling the Internal Buzzer
The Buzzer setting allows the OIT’s internal buzzer to be disabled or enabled.
4
To change the Buzzer, perform the following:
1. Access the
LOCAL SETUP MENU
per instructions given in the beginning of this chapter.
2. Press the
F4,
key or use the up/down arrow keys to move the blinking cursor to
4.HMI Setup
.
Then press the
ENTER
key.
3. Use the up/down arrow keys to move the blinking cursor to
5.Buzzer
. Press the
ENTER
key.
4. From the
BUZZER
menu, use the up/down arrow keys to move the blinking cursor to
1.Normal
or
2.
Silent.
5. Press the
ENTER
key to save the change and go back to the HMI Setup menu. Press the
ESC
key to
cancel any changes .
1010-0300, Rev 02
54
Blue Series Installation & Operation Manual


