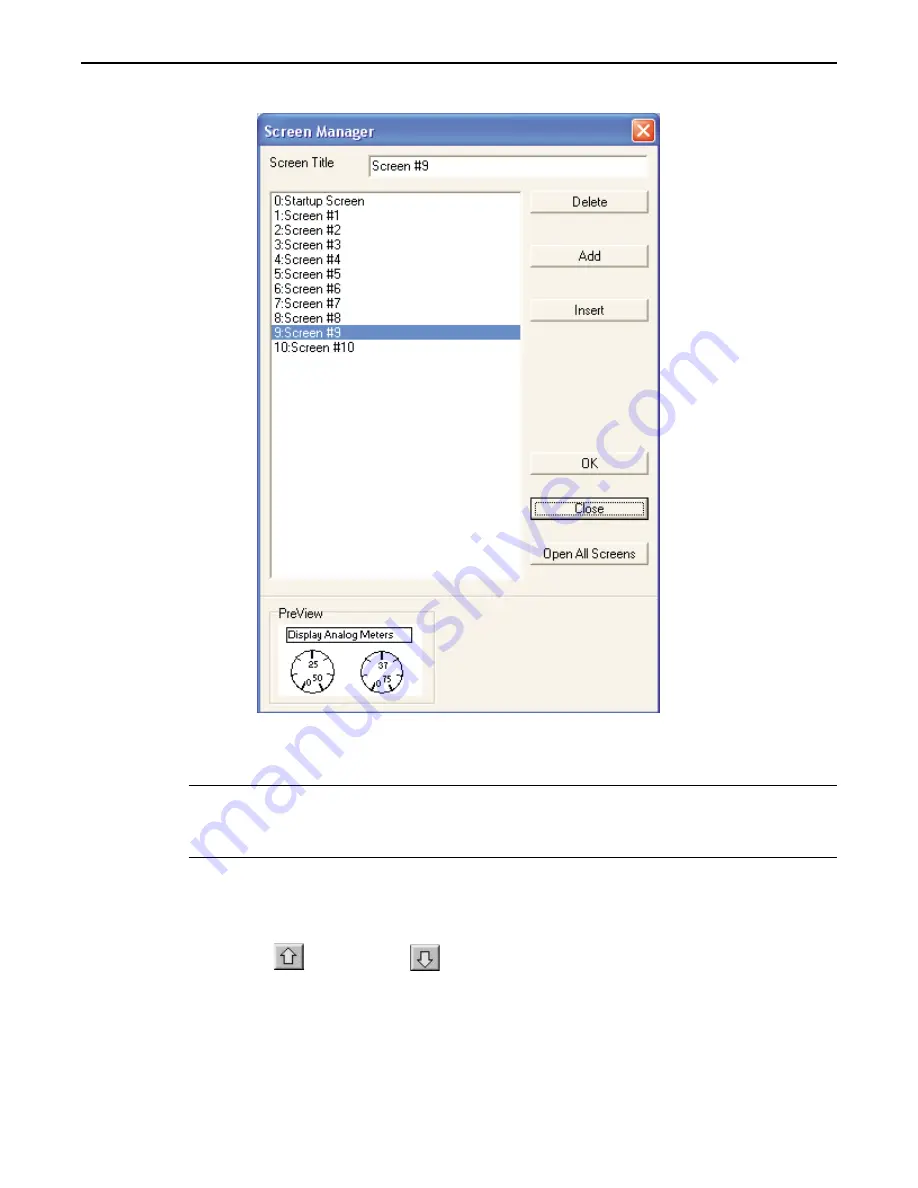
Let’s look at the Screen Manager again, using the sample project.
The Screen Manager lists all of the screens currently created for the project. You will notice that in the sample project, ten
screens have been created. Each screen is listed with a screen number and title. The screen title is the name that you assign
to the screen in the Screen Manager. Finally, you will notice that the Screen Manager can also be used to create a new
screen, open all screens at once, or delete a screen.
*
When you delete a screen, the Screen Manager will automatically renumber all of the screens
above that screen, to fill in the missing screen. For example, if Screen #8 is deleted, Screen #9
will be renamed as Screen #8. In some cases, this may present a problem with your application.
If so, simply Insert a new blank screen to replace the deleted screen.
Press the
Close
command button to return to the main BlueLeaf screen.
By default, when a screen is opened it will become active in the work area of BlueLeaf. Other open screens will be moved to
the background. To switch between open screens, open the
Screen Manager
and select from the list of screens currently
open. You can also
cascade
or
tile
the open screens to see the screens through the windows menu at the same time. Finally,
you can use the previous page
or next page
buttons on the Standard Toolbar to scroll through the open
screens.
BlueLeaf requires more resources from your computer every time you open another screen. When many screens are open,
the performance of the computer may be affected; therefore, you may wish to close some of the screens until you are ready to
edit them.
1010-0300, Rev 02
Creating and Displaying Screens
65


