Deleting a Screen
4
To delete a screen
1. From the
TOOLS
menu, select
Screen Manager
. Or click the Screen Manager icon from the Standard
Toolbar. The Screen Manager dialog box appears.
2. Highlight the screen that you wish to delete.
3. Click the
Delete
command. A dialog box appears asking if you want to delete this screen.
4. Click
Yes
. The dialog box disappears and the selected screen is deleted.
5. Click
Close
in the Screen Manager to go back to the BlueLeaf main screen.
Creating a Herald Screen
The BlueLeaf configuration software allows the creation of a "herald" screen for the BLU30. This is a screen that can
display text and/or bitmap images. This screen can be used to display a common logo or useful information. The herald
screen is displayed briefly every time the power is applied to the OIT.
Configuring the Herald Screen
4
To create the herald screen
1. From the Global Settings menu, select
Herald Screen
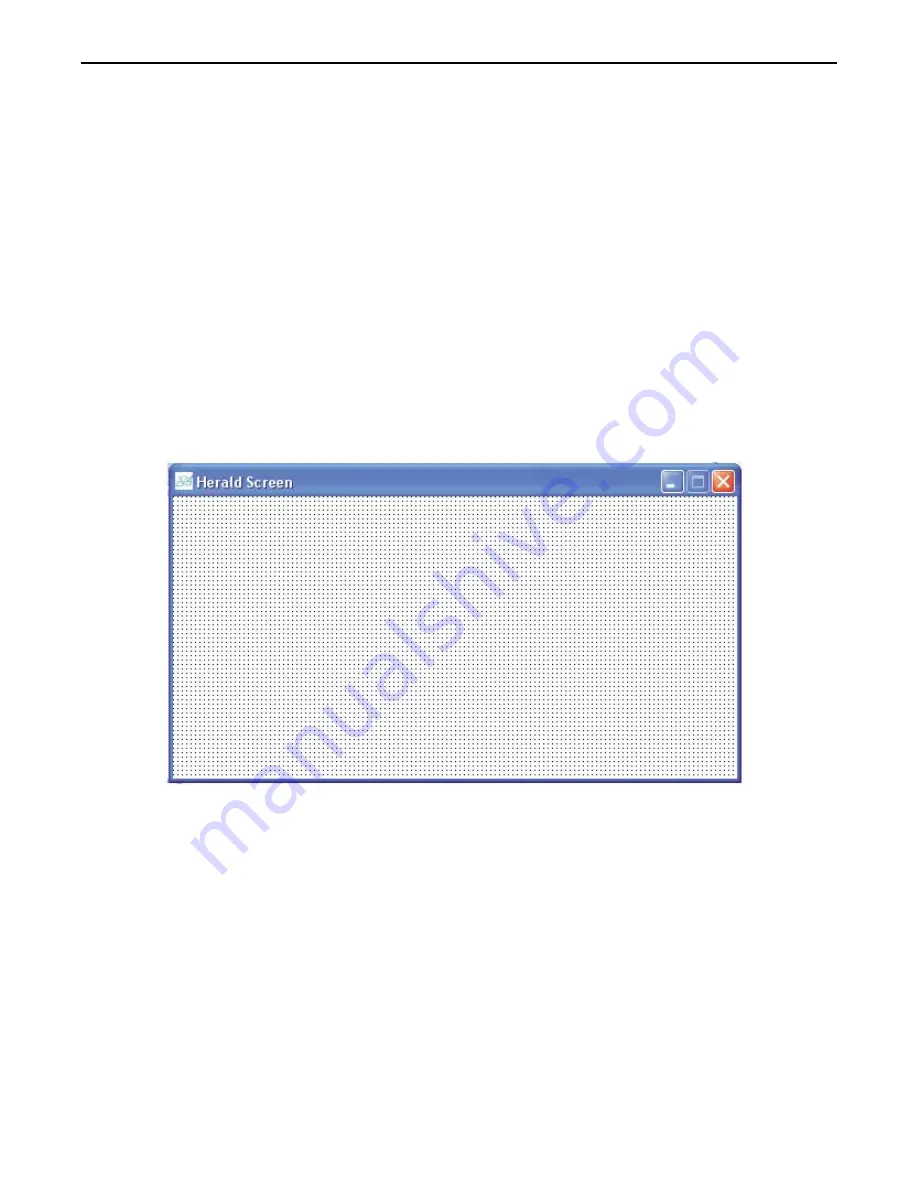
. This will display a new screen with the title
Herald Screen in the work area.
2. Text objects may be used to display text or bitmap objects may be used to display bitmaps. Drawing
tools may also be used to create shapes on this screen.
4
To download the herald screen
1. Apply power to the OIT while holding down the ESC key.
2. Continue holding down the ESC key until the Local Setup menus appear on the OIT screen.
3. On the OIT, press the
F1
key to select
1. Read from PC.
4. From the TOOLS menu of BlueLeaf, click
Write Herald Screen to BLU300.
The Confirm dialog
box appears.
5. On the OIT, press the ENTER key to receive a download file.
6. Click
Yes
in the BlueLeaf dialog box to begin the download.
7. When the download is complete, click
OK.
4
To display the herald screen on the OIT
1. Access the Local Setup menu as described previously in this chapter.
2. On the OIT, press
F4,
or use the up/down arrow keys to move the linking cursor to
4. HMI Setup.
Press the ENTER key.
1010-0300, Rev 02
Creating and Displaying Screens
67


