


For
start at the lower left corner
For
start at the upper right corner
For
start at the lower right corner
5. Click and drag on the small white boxes (the mouse cursor will change to a double arrow) to change
the width or height of the curve.
6. Click and drag anywhere within the border of the new curve to move it to a new location.
7. Modify the curve (outline) thickness by highlighting the curve (clicking on it) and then selecting one
of the four options in the Draw toolbar.
8. To continue creating more curves, move the crosshair cursor to a new location and repeat. To
discontinue creating new curves, click on the mouse cursor icon in the Objects toolbar or click on any
object on the screen.
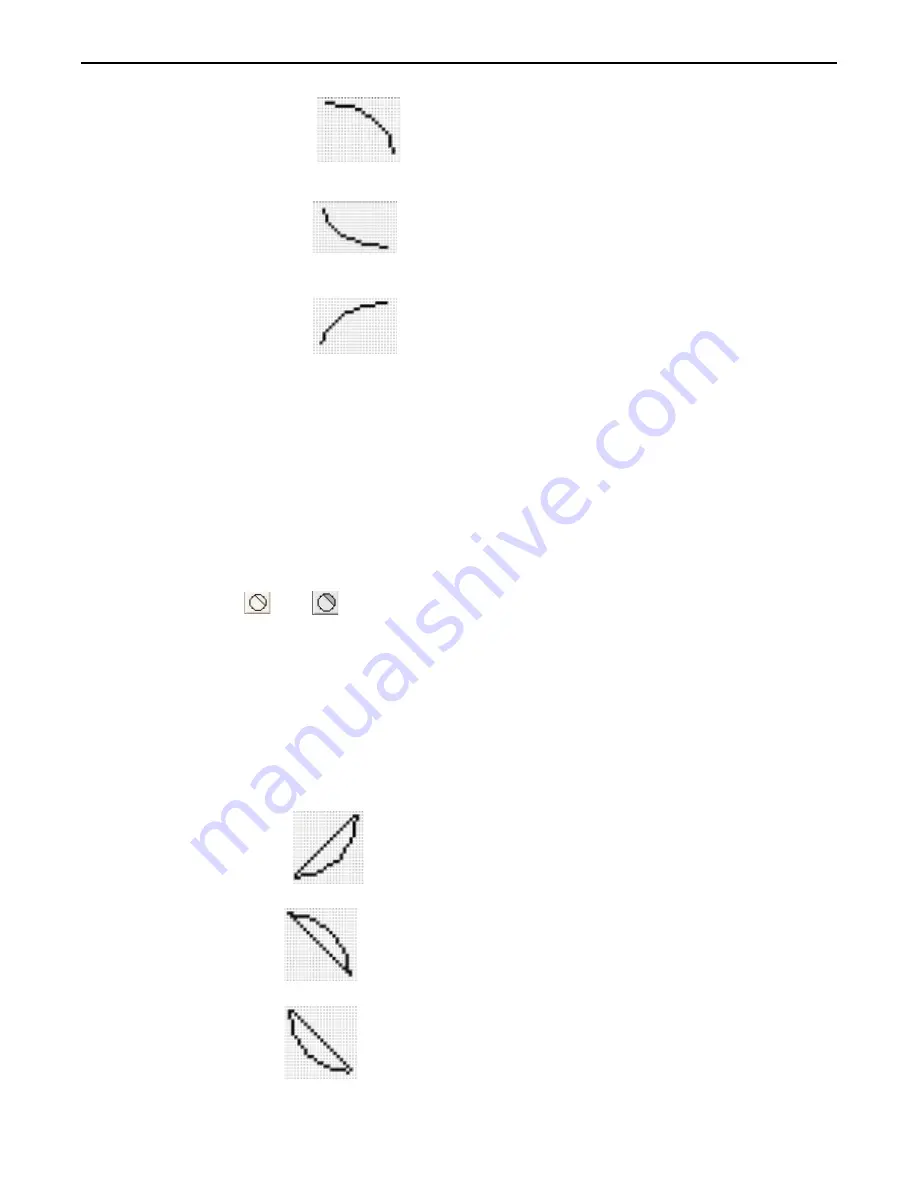
The Chord Tools
The chord tools are used to create chords. The Chord (outline) tool creates a chord. The Chord (solid) tool creates a solid
chord.
4
To create a chord
or
1. From the
DRAW
menu, click
Chord (outline or solid)
or click the
Chord
icon in the Draw toolbar.
2. Move the mouse cursor over to the work area of BlueLeaf software onto the screen that you are
currently editing. The mouse cursor changes to a crosshair cursor. Click and drag on the screen to
mark the beginning of the chord.
3. While holding the left button on the mouse, drag the black outline box to the point where you wish to
mark the opposite end of the chord. Release the left button of the mouse to display the new chord. A
series of small white square blocks will appear around the boundaries of the chord.
4. Note: Once the chord has been placed onto the screen, it is not possible to change the orientation (how
the chord bends- right, left, upward or downward) of the curve. Therefore, in order to place the chord
onto the screen with a correct orientation, you must select the proper corner when initially placing the
chord onto the screen:
For
start at the upper left corner
For
start at the lower left corner
For
start at the upper right corner
1010-0300, Rev 02
Creating Graphic Objects
75


