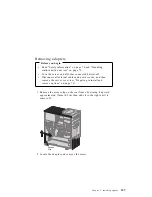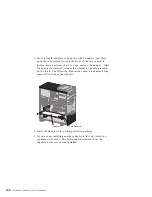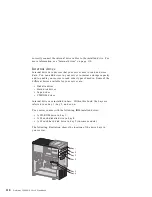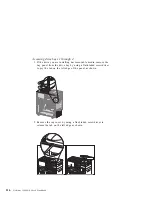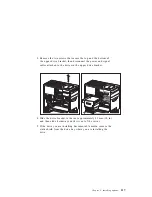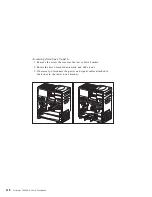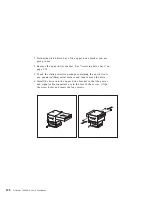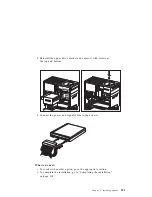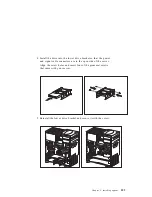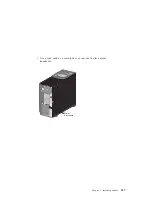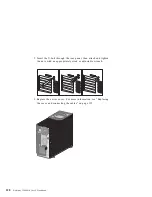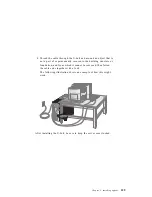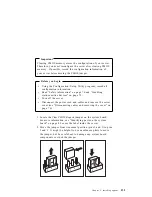
Installing a drive in bay 1, 2, 3, or 4
Before you begin
Read “Safety information” on page 70 and “Handling
static-sensitive devices” on page 72.
Turn off the server and all other connected devices.
Disconnect all external cables and power cords, and then
remove the server cover (see “Preparing to install and
remove options” on page 75).
Read the documentation that comes with the drive.
Read “Internal drives” on page 110.
To install a 3.5-inch drive into drive bay 1 or 2 (5.25-inch
bays), you must install a conversion kit. For information on
purchasing a 3.5-inch conversion kit for a 5.25-inch bay, see
your IBM reseller or IBM marketing representative.
Consider the following when installing a drive:
Bays 1 and 2 can hold up to a 5.25-inch drive, such as a
CD-ROM, diskette, hard disk, or tape drive.
Bays 3 and 4 can hold up to a 3.5-inch drive, such as a diskette,
hard disk, or tape drive.
Drives that are greater than 41.3 mm (1.6 in.) high cannot be
used.
Drives that require removable media (diskettes, tapes, or CDs)
must be installed in the accessible bays: 1, 2, 3, or 4.
Chapter 5. Installing options
119
Summary of Contents for Netfinity 3500 M10
Page 1: ...Netfinity 3500 M10 User s Handbook...
Page 2: ......
Page 3: ...Netfinity 3500 M10 User s Handbook IBM...
Page 14: ...xii Netfinity 3500 M10 User s Handbook...
Page 18: ...xvi Netfinity 3500 M10 User s Handbook...
Page 80: ...62 Netfinity 3500 M10 User s Handbook...
Page 228: ...210 Netfinity 3500 M10 User s Handbook...
Page 236: ...System board switches 218 Netfinity 3500 M10 User s Handbook...
Page 256: ...238 Netfinity 3500 M10 User s Handbook...
Page 267: ......
Page 268: ...IBM Part Number 37L6687 Printed in U S A July 1999 37L6687...


