


247
Function menu
Send
Preview
Save
Look-up address
Add receiver
Delete receiver
Change rcv. type
Operations
You can send the mail message.
Go to step 6 on page 245.
Check the address, subject, text and attachments before sending.
After checking, press
.
●
You can send the mail message by pressing
(
). You can send also by pressing
(
) and selecting “Send”.
●
You can save the mail message by pressing
(
) and selecting “Save”.
While composing or editing the mail, you can save it to the Draft box.
●
You cannot save the mail when the address, subject and text are all empty and there is no attached file.
You can look up a phone number or mail address in the Phonebook, Sent Address, Received Address,
or Mail Member to enter it. (See page 246)
You can add addresses. You can enter multiple addresses in the address field to send the same
i-mode mail to multiple recipients simultaneously. You can send the same mail to up to five addresses
at the same time.
Phonebook··············Calls up the address from the Phonebook. Go to step 2 on page 246.
Sent address···········Calls up the address from Sent Address. Go to step 2 on page 246.
Received address···Calls up the address from Received Address. Go to step 2 on page 246.
Enter address ·········Enter the mail address or phone number and then press
.
You can select and delete an address from multiple addresses in the address field.
YES
●
To cancel, select “NO” and press
.
To ····················The ordinary destination address. “To” recipients are displayed at the receiving ends.
※
Cc····················Specify this to make the mail contents known to the parties other than “To” recipients.
“Cc” recipients are displayed at the receiving ends.
※
Bcc··················Specify this not to notify other recipients of sending mail to “Bcc” recipients.
“Bcc” recipients are not displayed at the receiving ends.
※
They might not be displayed depending on the model at the receiving end.
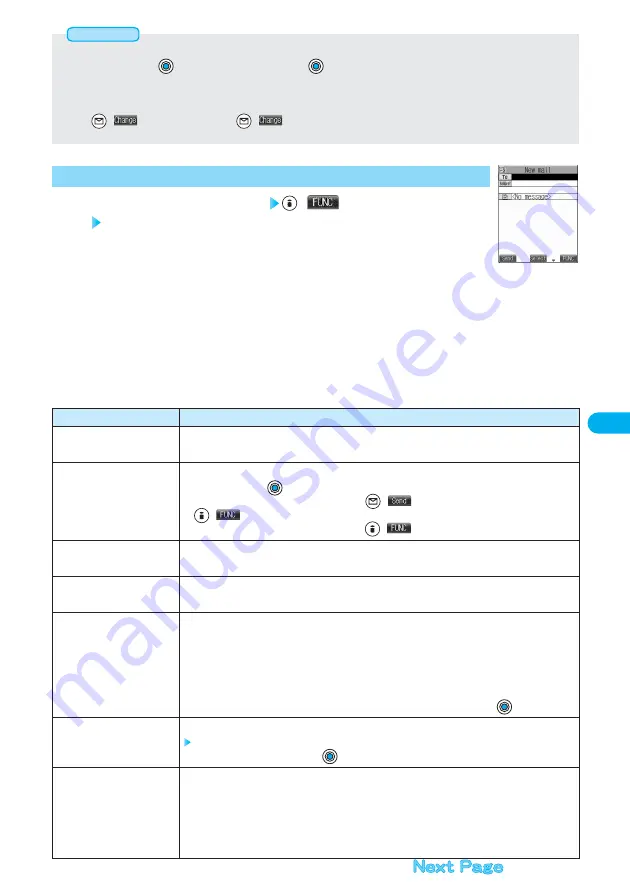
Message Composition display
(
)
Do the following operations.
1
Function Menu of the Message Composition Display
<Message Composition display>
●
If the phone number or mail address is already entered, the confirmation display appears asking whether to overwrite the data.
Select “YES” and press
. To cancel, select “NO” and press
.
●
While “Restrict dialing” is activated, you can look up only the phone numbers specified for “Restrict dialing”.
●
You cannot display “Dialed calls” or “Sent address” when “Redial/Dialed calls” of “Record display set” is set to “OFF”.
You cannot display “Received calls” or “Received address” when “Received calls” of “Record display set” is set to “OFF”.
●
When
(
) appears, you can press
(
) to switch between Sent Address and Redial or between Received Address
and Received Calls.
Information


