188
Camera
Switch to the close-up mode and fit the characters to be scanned to
the scanning range and display them.
●
Press (
/
)
to set the photo light to “ON” or “OFF”.
●
Press
for standard view and press
for magnified view.
2
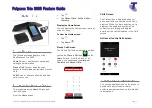
<Scanning Text display>
Press .
The characters within the scanning range are scanned. (The shutter tone does not sound.)
●
To cancel scanning, press
.
●
When scanning ends, the scanning completion tone sounds and the Call/Charging indicator lights. The sound level is fixed
and cannot be changed. However, the beep does not sound in Manner Mode or while “Phone” of “Ring volume” is set to
“Silent” or “Step”.
3
Confirm the scanned result.
The scanned characters are underlined. Confirm the scanned characters for mistakes.
●
Press
to restart scanning.
●
To store the characters without correcting, go to step 6.
4
Scanned result
■
When correcting characters on the confirmation display of scanned text
Select the characters for conversion candidates and correct them.
When the scanned result is displayed, a conversion candidate for each character is displayed up to four kinds.
1. Press
to select a character you want to correct.
2. Press the number for the conversion candidate character.
Enter directly and correct.
Enter directly if you want to correct the character to other than the conversion candidate.
1. Press
to select a character you want to correct.
2. Press
(
) to set “English entry mode” or “Numeric entry mode” and enter a correct character.
●
See page 510 for how to enter characters.
Press .
The scanned characters are set.
●
To link characters, repeat steps 2 through 5.
●
To discard the scanned result, press
.
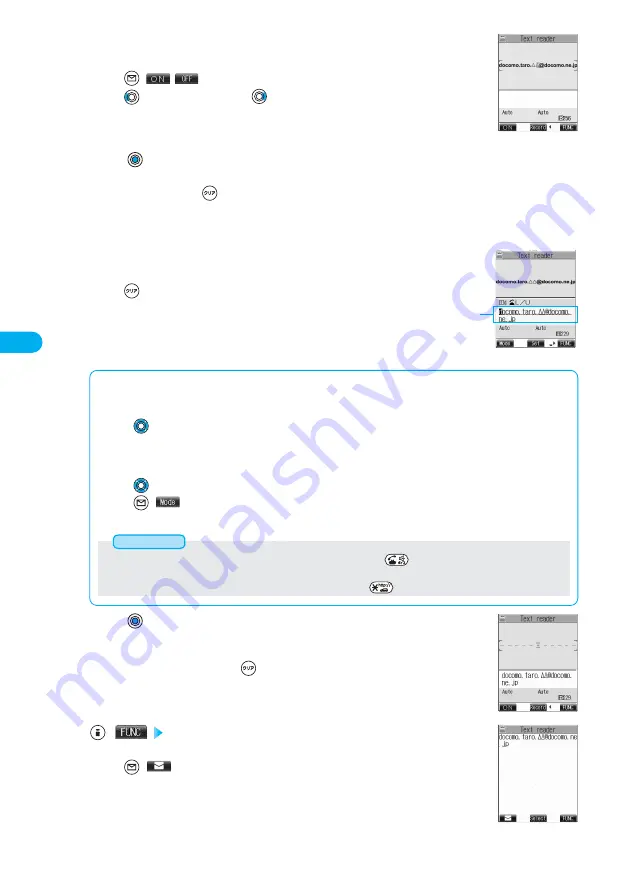
5
(
) Store
The scanned characters are stored.
●
Press
(
) to create i-mode mail to send to the scanned characters set as a destination mail
address. (See page 190)
6
<Result display of scanned text>
<Confirmation display of scanned text>
●
When characters you want to correct are English letters, you can press
to switch between uppercase and
lowercase.
●
You cannot enter characters such as “.ne.jp” or “.co.jp” by pressing
.
Information