


Job Flow Procedure
147
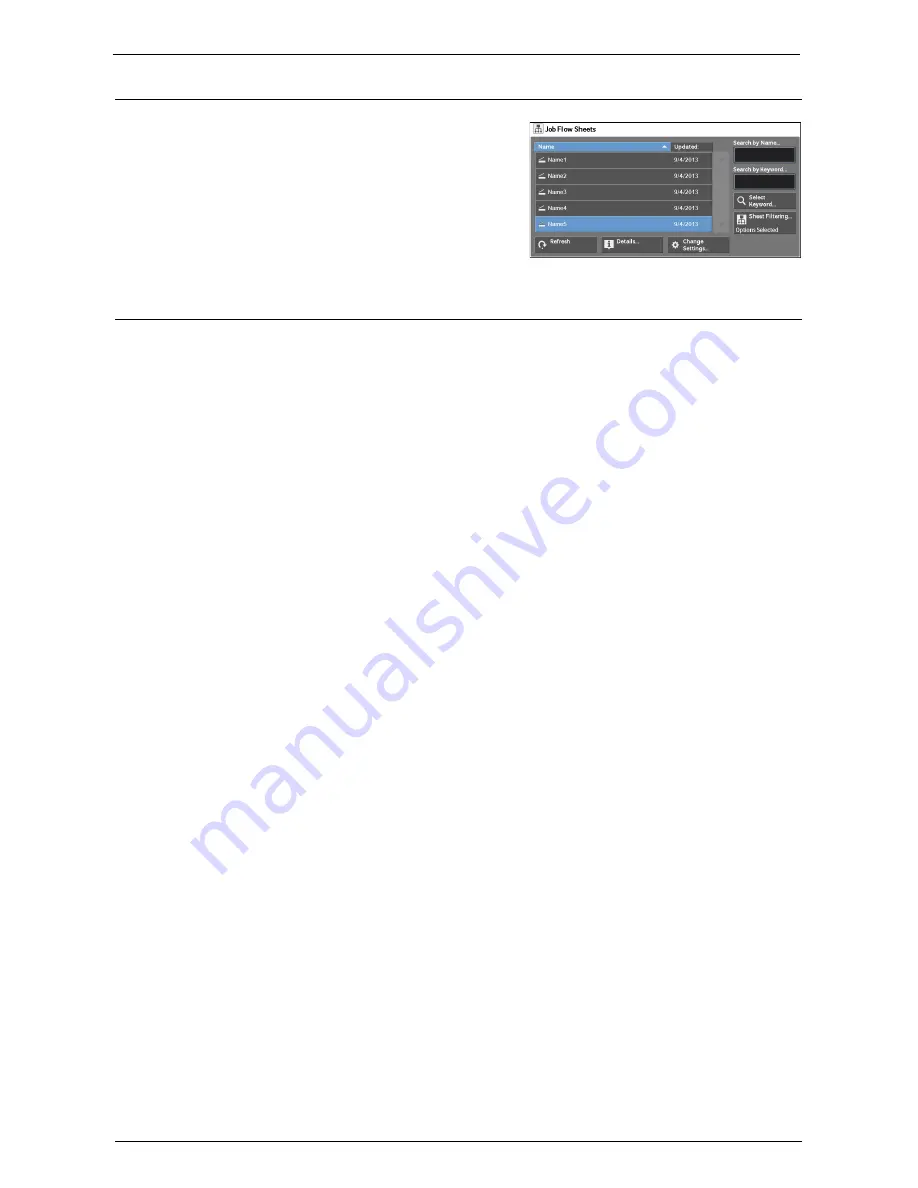
Step 3 Confirming/Changing the Job Flow Sheet
1
To confirm the details, select [Details]. To
change the settings, select [Change Settings].
For information on how to check or change job flow
settings, refer to "Selecting/Changing a Job Flow
Sheet" (P.148).
Step 4 Starting the Job Flow Sheet
1
Load a document.
Note
•
A job flow with an application linked does not require you to load a document.
2
Press the <Start> button.
Note
•
After executing the job flow, be sure to print a Job History Report to check the result. For information
on the Job History Report, refer to "Job History Report" (P.306).
Summary of Contents for C5765DN
Page 1: ...Dell C5765dn Color Laser Multifunction Printer User s Guide Regulatory Model C5765dn ...
Page 48: ...2 Product Overview 48 ...
Page 132: ...4 Fax 132 4 Select Save 5 Press the Start button ...
Page 144: ...5 Scan 144 ...
Page 176: ...9 Media Print Text and Photos 176 ...
Page 278: ...14 Machine Status 278 ...
Page 424: ...16 Dell Printer Configuration Web Tool Settings 424 ...
Page 650: ...23 Install Operation for Eco copy My Forms 650 ...


