•
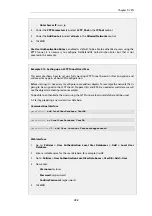
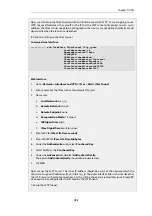
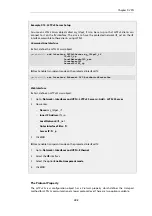
Agent: PPP
•
Authentication Source: Local
•
Interface: l2tp_tunnel
•
Originator IP: all-nets
•
Terminator IP: wan_ip
4.
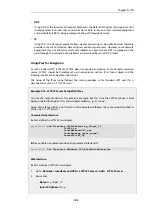
Under the Authentication Options tab enter
UserDB
as the Local User DB
5.
Click OK
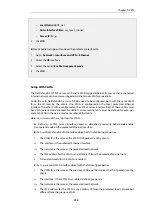
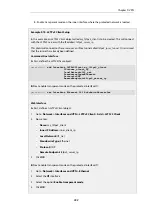
When the other parts are done, all that is left is the rules. To let traffic through from the tunnel,
two IP rules should be added.
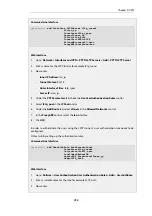
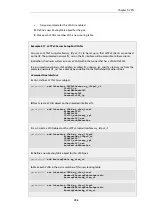
E. Finally, set up the rules:
Command-Line Interface
gw-world:/> add IPRule action=Allow
Service=all_services
SourceInterface=l2tp_tunnel
SourceNetwork=l2tp_pool
DestinationInterface=lan
DestinationNetwork=lannet
name=AllowL2TP
gw-world:/main> add IPRule action=NAT
Service=all_services
SourceInterface=l2tp_tunnel
SourceNetwork=l2tp_pool
DestinationInterface=wan
DestinationNetwork=all-nets
name=NATL2TP
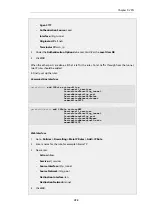
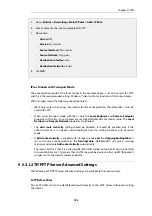
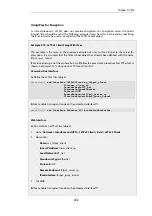
Web Interface
1.
Go to: Policies > Firewalling > Main IP Rules > Add > IP Rule
2.
Enter a name for the rule, for example
AllowL2TP
3.
Now enter:
•
Action: Allow
•
Service: all_services
•
Source Interface: l2tp_tunnel
•
Source Network: l2tp_pool
•
Destination Interface: lan
•
Destination Network: lannet
4.
Click OK
Chapter 9: VPN
735
Summary of Contents for NetDefendOS
Page 30: ...Figure 1 3 Packet Flow Schematic Part III Chapter 1 NetDefendOS Overview 30 ...
Page 32: ...Chapter 1 NetDefendOS Overview 32 ...
Page 144: ...Chapter 2 Management and Maintenance 144 ...
Page 284: ...Chapter 3 Fundamentals 284 ...
Page 392: ...Chapter 4 Routing 392 ...
Page 419: ... Host 2001 DB8 1 MAC 00 90 12 13 14 15 5 Click OK Chapter 5 DHCP Services 419 ...
Page 420: ...Chapter 5 DHCP Services 420 ...
Page 573: ...Chapter 6 Security Mechanisms 573 ...
Page 607: ...Chapter 7 Address Translation 607 ...
Page 666: ...Chapter 8 User Authentication 666 ...
Page 775: ...Chapter 9 VPN 775 ...
Page 819: ...Chapter 10 Traffic Management 819 ...
Page 842: ...Chapter 11 High Availability 842 ...
Page 866: ...Default Enabled Chapter 13 Advanced Settings 866 ...
Page 879: ...Chapter 13 Advanced Settings 879 ...

