7-76
Cisco TelePresence System Release 1.6 Administration Guide
OL-13676-04
Chapter 7 Troubleshooting the CTS 1300
Managing Hardware Setup
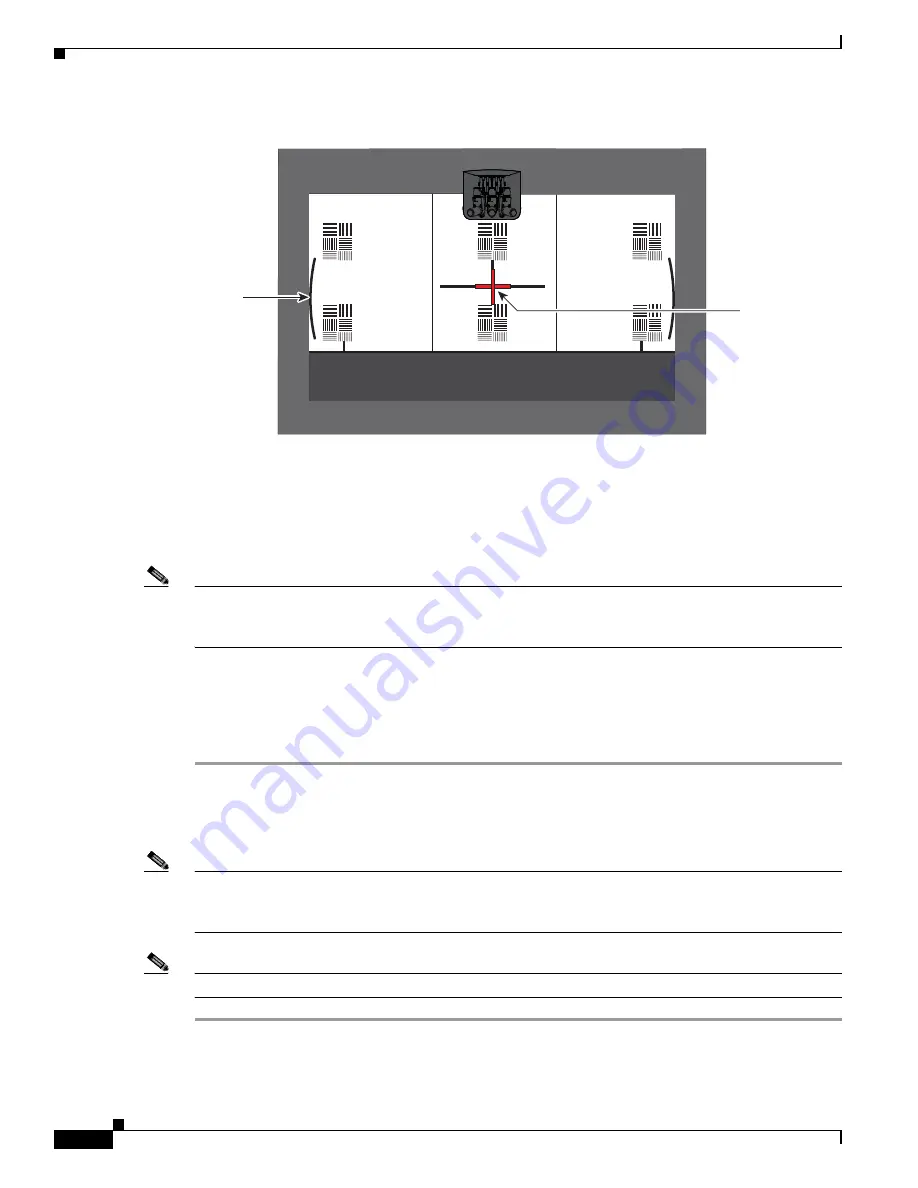
Figure 7-70
Adjusting the Camera Zoom
Step 10
Tighten the thumbscrews for the zoom and focus rings.
Step 11
Click Hide Camera Targets.
Step 12
Click the Setup button, then click the Auto Adjust button.
The auto adjust procedure completes. This procedure takes several seconds.
Note
If there is sufficient light for the system to operate, the gain will be greater than 1 and less than 7 and
the process completes normally. If there is insufficient light, the auto adjust procedure terminates; in this
case, add more light to the room to bring the gain value below 7. Then, repeat the auto adjust procedure.
Step 13
Click Done.
Step 14
Mark the edges of the large camera target on the table with non-marking tape.
Use these marks to determine the edge of the target when you calibrate and configure the left and right
cameras.
Calibrating the Right Camera
To adjust and focus the right camera, complete the steps in the following procedure.
Note
If you logged out of the GUI, you must re-select the correct table type after you log in; otherwise, you
could configure your system for the incorrect table type. To select the correct table type, complete
Step 5
in the
“Positioning the Table and Starting the Calibration Procedure” section on page 7-51
.
Note
The directions left and right refer to the assembly as you face the display.
Step 1
Move the large camera target 86 inches (218 cm) from the display, and 18 inches (46 cm) overhanging
the table on the right side.
206141
Red plus
sign within
black cross
Note curved
lines touching
screen border


