(2)
Select Next, and press the
OK
button.
4.
Start scanning.
(1)
Confirm the message, press the
OK
button, then load an original on the Platen
Glass.
See
Loading Originals to Copy or Scan
.
Note
The sizes of originals that can be scanned are A4, 8.5"x11"(LTR), 4"x6"(10x15cm), and
5"x7"(13x18cm).
(2)
Press the
Color
button for color scanning, or the
Black
button for black & white
scanning.
The machine starts scanning.
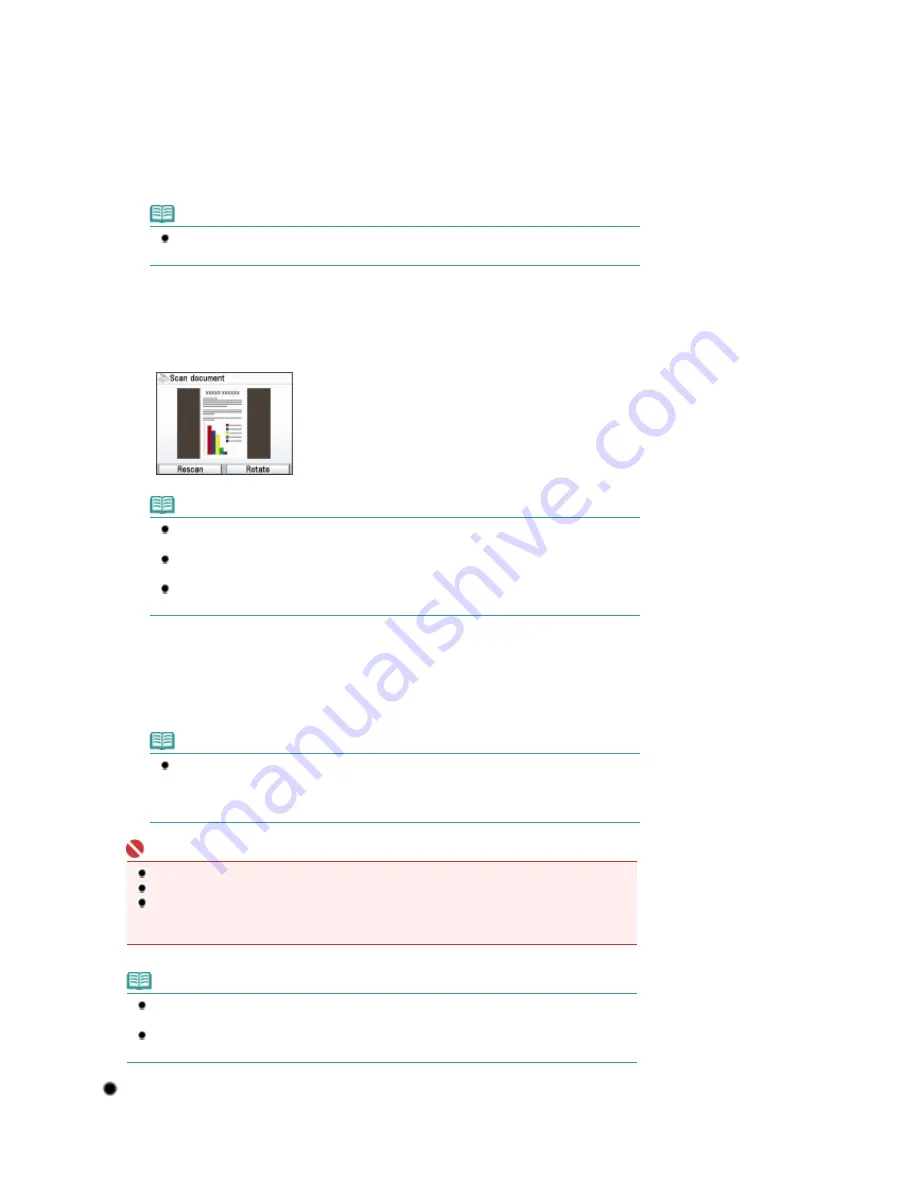
(3)
Check the preview of the scanned data on the screen.
Note
The preview screen will not appear if Preview OFF is selected in Advanced in the
procedure of (1) in step 3.
To rescan the original, press the left
Function
button to select Rescan. Confirm the
message and scan the original again.
To rotate the scanned data 90 degrees clockwise, press the right
Function
button to
select Rotate.
(4)
Press the
OK
button to save the scanned data.
The message "End scanning?" appears when scanning is completed.
(5)
Select End, and press the
OK
button.
Remove the original on the Platen Glass after scanning is completed.
Note
To scan the multi-page document into one file, select Continue, and press the
OK
button.
Then load the next page on the Platen Glass, and repeat the procedures from (2) in this
step.
Repeat the same procedure until you finish scanning all the pages.
Important
Do not remove the USB flash drive or turn off the power while the machine is operating.
Do not open the Document Cover or move the loaded original until scanning is completed.
The scanned data will be saved in the folder "CANON_SC" on the USB flash drive. You cannot
print the saved data using the Operation Panel on the machine.
Insert the USB flash drive into a computer to view or print the saved data from the computer.
Note
To remove the USB flash drive after scanning is completed, see
Removing the USB Flash Drive
.
You can exit the Scan menu and select another menu, if you press the
HOME
button after
scanning is completed.
Deleting the Scanned Data
Page 44 of 947 pages
Saving Scanned Data
Summary of Contents for MP980 series
Page 18: ...Page top Page 18 of 947 pages Printing Photos Saved on the Memory Card ...
Page 29: ...Page top Page 29 of 947 pages Making Copies ...
Page 62: ...Page top Page 62 of 947 pages Printing Documents Macintosh ...
Page 75: ...Page top Page 75 of 947 pages Loading Paper ...
Page 100: ...Page top Page 100 of 947 pages When Printing Becomes Faint or Colors Are Incorrect ...
Page 103: ...Page top Page 103 of 947 pages Examining the Nozzle Check Pattern ...
Page 105: ...Page top Page 105 of 947 pages Cleaning the Print Head ...
Page 107: ...Page top Page 107 of 947 pages Cleaning the Print Head Deeply ...
Page 159: ...Page top Page 159 of 947 pages Selecting a Photo ...
Page 161: ...Page top Page 161 of 947 pages Editing ...
Page 163: ...Page top Page 163 of 947 pages Printing ...
Page 240: ...Page top Page 240 of 947 pages Attaching Comments to Photos ...
Page 244: ...See Help for details on each dialog box Page top Page 244 of 947 pages Setting Holidays ...
Page 317: ...Page top Page 317 of 947 pages Setting Paper Dimensions Custom Size ...
Page 332: ...Page top Page 332 of 947 pages Printing with ICC Profiles ...
Page 468: ...Printing Photos Sending via E mail Editing Files Page top Page 468 of 947 pages Saving ...
Page 520: ...taskbar and click Cancel Printing Page top Page 520 of 947 pages Print Document Dialog Box ...
Page 746: ...Page top Page 746 of 947 pages Printing with Computers ...
Page 780: ...Page top Page 780 of 947 pages If an Error Occurs ...
Page 870: ...Page top Page 870 of 947 pages Before Printing on Art Paper ...
Page 882: ...Before Installing the MP Drivers Page top Page 882 of 947 pages Installing the MP Drivers ...


