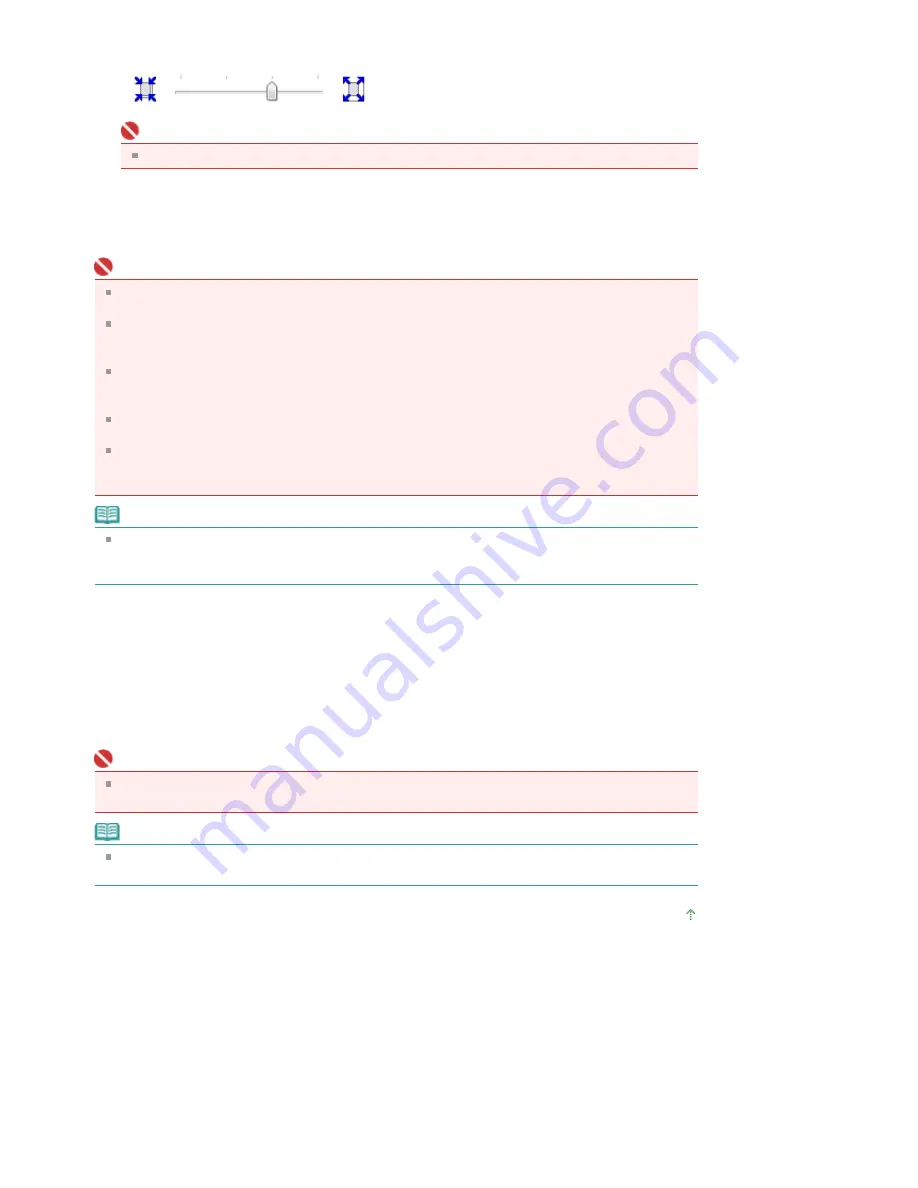
It is recommended to set the slider at the second position from the right for most cases.
Important
If you set the slider at the rightmost position, the back side of the paper may become smudged.
5.
Complete the setup
Click OK.
The data will be printed without any margins on the paper.
Important
If a page size that cannot be used for borderless printing is selected, the size is automatically
changed to the valid page sizes for borderless printing.
When High Resolution Paper, Fine Art "Photo Rag", Other Fine Art Paper, T-Shirt Transfers, or
Envelope is selected from the Media Type list on the Main tab, you cannot perform borderless
printing.
When Borderless Printing is checked, the Printer Paper Size, Page Layout, Staple Side (when
Duplex Printing is not selected) settings, and the Stamp/Background... button on the Page Setup tab
appear grayed out and are unavailable.
Print quality may deteriorate or the sheet may be stained at the top and bottom depending on the
type of the media used.
When the ratio of the height to the width differs greatly from the image data, a portion of the image
may not be printed depending on the size of the media used.
In this case, crop the image data with an application software according to the paper size.
Note
When Plain Paper is selected for Media Type on the Main tab, borderless printing is not
recommended, and therefore the dialog box for media selection appears.
If you are using plain paper for test printing, select Plain Paper, and click OK.
Expanding the range of the document to print
Specifying a large amount of extension allows you to perform borderless printing with no problems.
However, the portion of the document that extends off the paper range will not be printed. Subjects
around the perimeter of a photo may not be printed.
Try borderless printing once. If you are not satisfied with the result of borderless printing, reduce the
amount of extension. The extension amount becomes shorter as the Amount of Extension slider is
moved to the left.
Important
If the Amount of Extension is shortened, an unexpected margin may be produced on the print,
depending on the size of the paper.
Note
If Preview before printing is checked on the Main tab, you can confirm before printing whether there
will be no border.
Page top
Page 289 of 947 pages
Borderless Printing
Summary of Contents for MP980 series
Page 18: ...Page top Page 18 of 947 pages Printing Photos Saved on the Memory Card ...
Page 29: ...Page top Page 29 of 947 pages Making Copies ...
Page 62: ...Page top Page 62 of 947 pages Printing Documents Macintosh ...
Page 75: ...Page top Page 75 of 947 pages Loading Paper ...
Page 100: ...Page top Page 100 of 947 pages When Printing Becomes Faint or Colors Are Incorrect ...
Page 103: ...Page top Page 103 of 947 pages Examining the Nozzle Check Pattern ...
Page 105: ...Page top Page 105 of 947 pages Cleaning the Print Head ...
Page 107: ...Page top Page 107 of 947 pages Cleaning the Print Head Deeply ...
Page 159: ...Page top Page 159 of 947 pages Selecting a Photo ...
Page 161: ...Page top Page 161 of 947 pages Editing ...
Page 163: ...Page top Page 163 of 947 pages Printing ...
Page 240: ...Page top Page 240 of 947 pages Attaching Comments to Photos ...
Page 244: ...See Help for details on each dialog box Page top Page 244 of 947 pages Setting Holidays ...
Page 317: ...Page top Page 317 of 947 pages Setting Paper Dimensions Custom Size ...
Page 332: ...Page top Page 332 of 947 pages Printing with ICC Profiles ...
Page 468: ...Printing Photos Sending via E mail Editing Files Page top Page 468 of 947 pages Saving ...
Page 520: ...taskbar and click Cancel Printing Page top Page 520 of 947 pages Print Document Dialog Box ...
Page 746: ...Page top Page 746 of 947 pages Printing with Computers ...
Page 780: ...Page top Page 780 of 947 pages If an Error Occurs ...
Page 870: ...Page top Page 870 of 947 pages Before Printing on Art Paper ...
Page 882: ...Before Installing the MP Drivers Page top Page 882 of 947 pages Installing the MP Drivers ...


