5-23
SRW-5000/5500
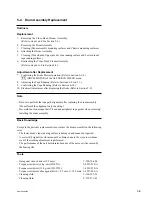
5-5. AT Head Cleaner Replacement
When the AT head cleaner becomes dirty or is damaged, replace the CL arm
assembly.
Outline
Replacement
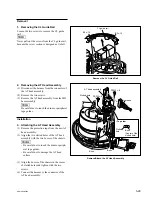
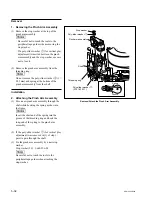
1.
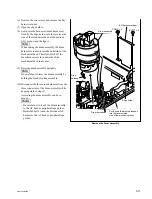
Removing the CL Arm Assembly
2.
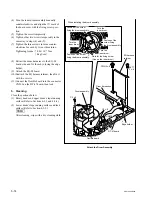
Attaching the CL Arm Assembly
Adjustment after Replacement
3.
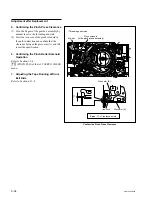
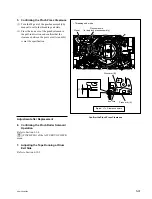
Confirming the CL Arm Assembly Operation
4.
Confirming the Threading Operation (Refer to Section 3-3-4.)
[F7]
(THREAD MOTOR) of the SERVO CHECK menu
Note
.
Adjustment after the CL arm assembly replacement is not required. However,
confirm the CL arm assembly operation.
.
Prepare a new stop washer when replacing the CL arm assembly.
Stop washer (2.3): 3-669-596-00
Preparation
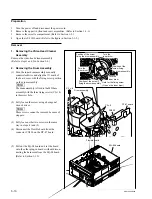
1.
Turn the power off and disconnect the power cord.
2.
Remove the upper lid (front) assembly. (Refer to Section 1-3-1.)
3.
Remove the cassette compartment. (Refer to Section 1-5.)
4.
Open the AE-31H board. (Refer to the figure in Section 5-1-2.)
Содержание SRW-5000
Страница 4: ......
Страница 12: ......
Страница 16: ......
Страница 58: ...1 42 SRW 5000 5500 d l l S G L 6 6 d d 4 8 3 7 2 6 0 1 5 9 ...
Страница 78: ......
Страница 194: ......
Страница 376: ......
Страница 398: ......
Страница 438: ...Printed in Japan Sony Corporation 2005 2 08 B P Company 2004 SRW 5000 SY SRW 5500 SY E 9 968 022 03 ...

