


Chapter 8: Using the Command Line Interface
576
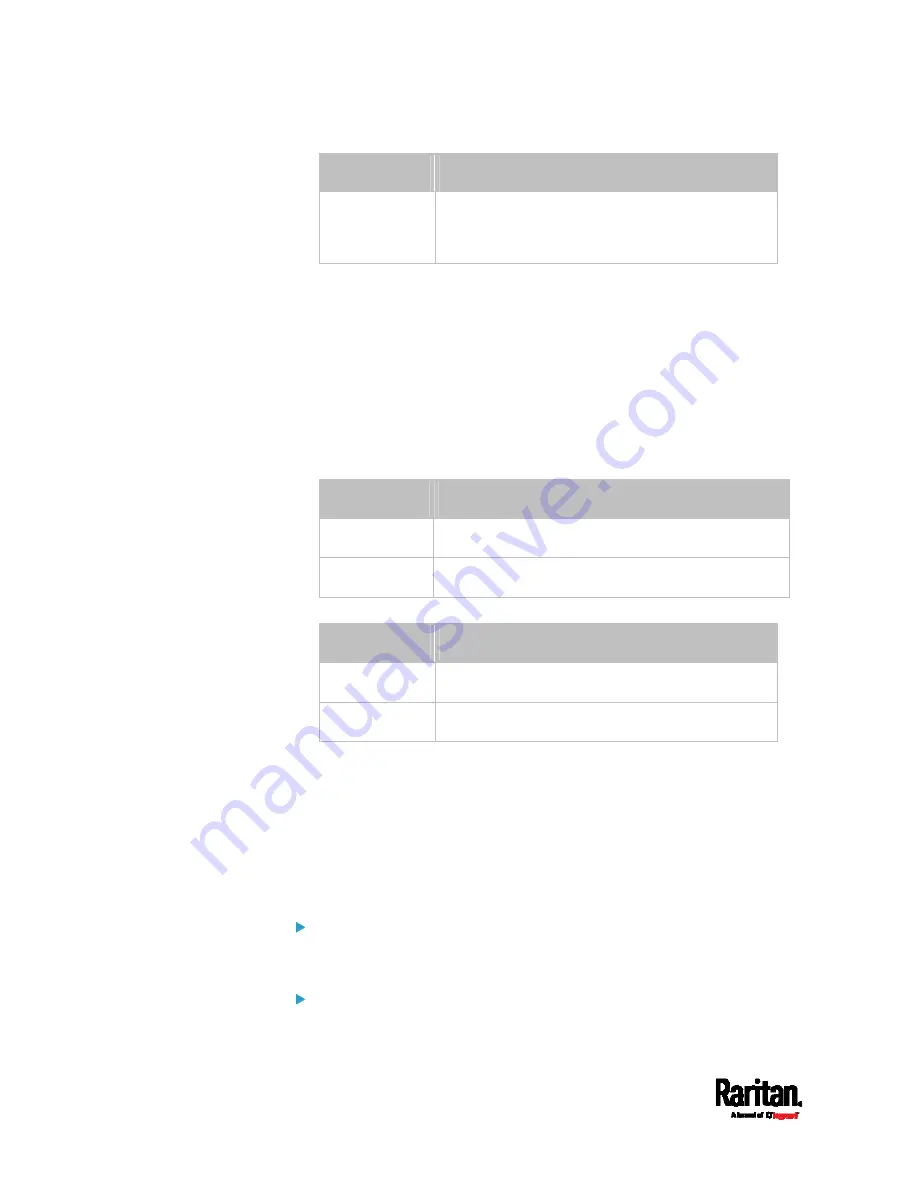
Option
Description
full Full
duplex:
Data is transmitted in both directions
simultaneously.
Setting the Ethernet Authentication Method
This command sets the authentication method for the selected Ethernet
interface to either none or Extensible Authentication Protocol (EAP).
config:#
network ethernet <ETH> authMethod <method>
Variables:
<ETH> is one of the options --
eth1 or eth2.
Option
Description
eth1 ETH1
port
eth2 ETH2
port
<method> is one of the authentication methods:
NONE or EAP.
Method
Description
NONE
The authentication method is set to NONE.
EAP
The authentication method is set to EAP.
Setting Ethernet EAP Parameters
When the selected Ethernet interface's authentication method is set to
EAP, you must configure EAP authentication parameters, including outer
authentication, inner authentication, EAP identity, client certificate, client
private key, password, CA certificate, and RADIUS authentication server.
For more information, see
Ethernet Interface Settings
(on page 290).
Determine the outer authentication protocol:
config:#
network ethernet <ETH> eapOuterAuthentication <outer_auth>
Determine the inner authentication protocol for authentication
set to "EAP + PEAP":
Содержание Raritan PX3-3000 Series
Страница 5: ......
Страница 62: ...Chapter 3 Initial Installation and Configuration 41 Number Device role Master device Slave 1 Slave 2 Slave 3 ...
Страница 90: ...Chapter 4 Connecting External Equipment Optional 69 ...
Страница 423: ...Chapter 6 Using the Web Interface 402 If wanted you can customize the subject and content of this email in this action ...
Страница 424: ...Chapter 6 Using the Web Interface 403 ...
Страница 447: ...Chapter 6 Using the Web Interface 426 ...
Страница 448: ...Chapter 6 Using the Web Interface 427 Continued ...
Страница 885: ...Appendix K RADIUS Configuration Illustration 864 Note If your PX3 uses PAP then select PAP ...
Страница 886: ...Appendix K RADIUS Configuration Illustration 865 10 Select Standard to the left of the dialog and then click Add ...
Страница 887: ...Appendix K RADIUS Configuration Illustration 866 11 Select Filter Id from the list of attributes and click Add ...
Страница 890: ...Appendix K RADIUS Configuration Illustration 869 14 The new attribute is added Click OK ...
Страница 891: ...Appendix K RADIUS Configuration Illustration 870 15 Click Next to continue ...
Страница 921: ...Appendix L Additional PX3 Information 900 ...
Страница 954: ...Appendix M Integration 933 3 Click OK ...


