


Chapter 8: Using the Command Line Interface
639
<option3> is one of the options:
pascal or psi.
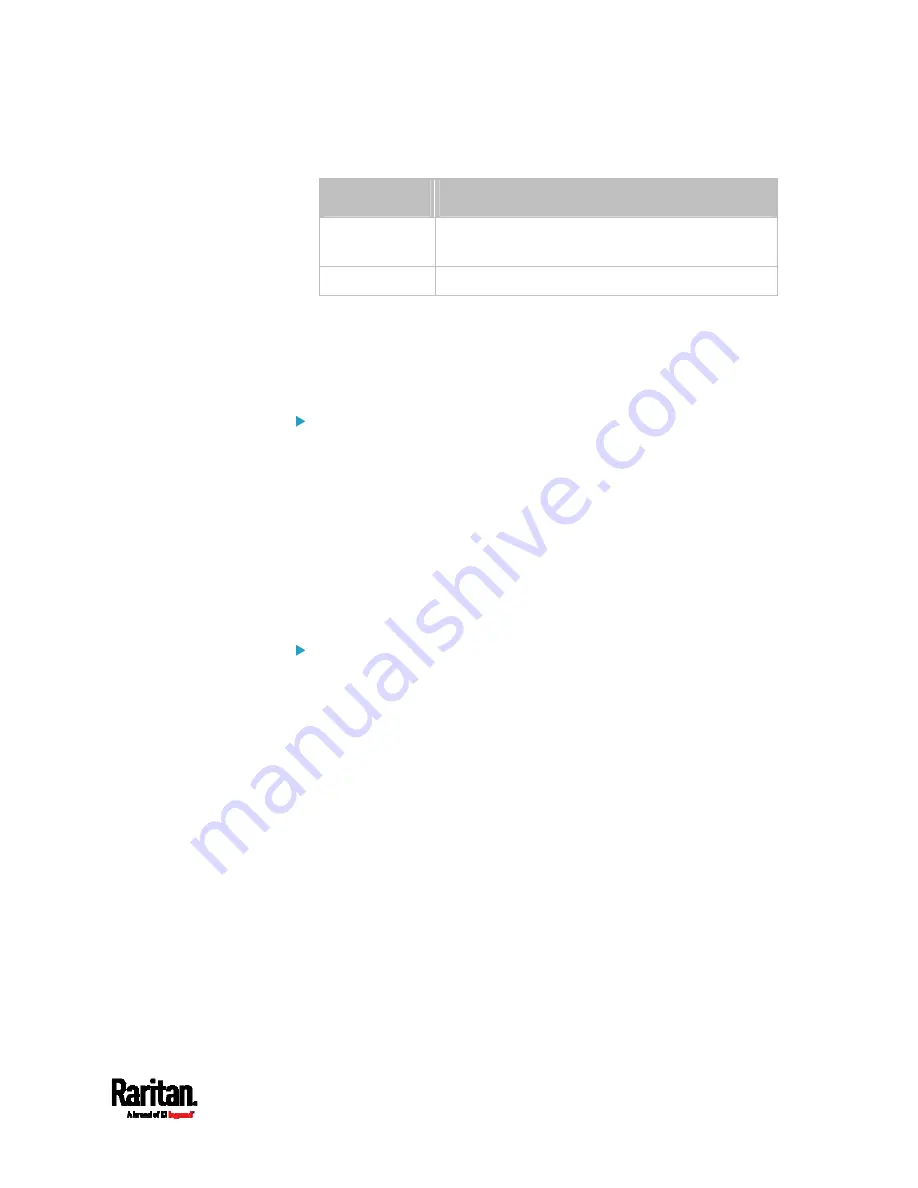
Option
Description
pascal
This option displays the pressure value in Pascals
(Pa).
psi
This option displays the pressure value in psi.
Specifying the SSH Public Key
If the SSH key-based authentication is enabled, specify the SSH public
key for each user profile using the following procedure.
To specify or change the SSH public key for a specific user:
1.
Type the SSH public key command as shown below and press Enter.
config:#
user modify <name> sshPublicKey
2.
The system prompts you to enter the contents of the SSH public key.
Do the following to input the contents:
a.
Open your SSH public key with a text editor.
b.
Copy all contents in the text editor.
c.
Paste the contents into the terminal.
d.
Press Enter.
To remove an existing SSH public key:
1.
Type the same command as shown above.
2.
When the system prompts you to input the contents, press Enter
without typing or pasting anything.
Example
The following procedure illustrates how to change the SSH public key for
the user "assistant."
1.
Verify that you have entered the configuration mode. See
Entering
Configuration Mode
(on page 553).
2.
Type the following command and press Enter.
config:#
user modify assistant sshPublicKey
3.
You are prompted to enter a new SSH public key.
4.
Type the new key and press Enter.
Содержание Raritan PX3-3000 Series
Страница 5: ......
Страница 62: ...Chapter 3 Initial Installation and Configuration 41 Number Device role Master device Slave 1 Slave 2 Slave 3 ...
Страница 90: ...Chapter 4 Connecting External Equipment Optional 69 ...
Страница 423: ...Chapter 6 Using the Web Interface 402 If wanted you can customize the subject and content of this email in this action ...
Страница 424: ...Chapter 6 Using the Web Interface 403 ...
Страница 447: ...Chapter 6 Using the Web Interface 426 ...
Страница 448: ...Chapter 6 Using the Web Interface 427 Continued ...
Страница 885: ...Appendix K RADIUS Configuration Illustration 864 Note If your PX3 uses PAP then select PAP ...
Страница 886: ...Appendix K RADIUS Configuration Illustration 865 10 Select Standard to the left of the dialog and then click Add ...
Страница 887: ...Appendix K RADIUS Configuration Illustration 866 11 Select Filter Id from the list of attributes and click Add ...
Страница 890: ...Appendix K RADIUS Configuration Illustration 869 14 The new attribute is added Click OK ...
Страница 891: ...Appendix K RADIUS Configuration Illustration 870 15 Click Next to continue ...
Страница 921: ...Appendix L Additional PX3 Information 900 ...
Страница 954: ...Appendix M Integration 933 3 Click OK ...


