Chapter 5: Introduction to PDU Components
90
LED state
Outlet status
What it means
Not lit
Powered OFF
The outlet is turned off and no power is available.
OR the control circuitry's power supply is broken.
Red
ON and LIVE
LIVE power. The outlet is on and power is available.
Red flashing
ON and LIVE
The current flowing through the outlet is greater
than the upper warning (non-critical) threshold.
Green OFF
and
LIVE
The outlet is turned off and power is available
when the outlet is turned on.
Green flashing
OFF and NOT LIVE
The outlet is turned off and power is not available.
For example, a circuit breaker has tripped or a
phase fails on a three-phase model.
Red and Green
flashing alternatively
ON and NOT LIVE
The outlet is turned on but power is not available.
For example, a circuit breaker has tripped or a
phase fails on a three-phase model.
Cycling through Red,
Green and Yellow
n/a
The PX3 device has just been plugged in and its
management software is loading. LED color cycling
does not interrupt power to outlets. It is an
indication of firmware loading.
Note: When a PX3 powers up, it proceeds with the power-on self test and
software loading for a few moments. At this time, the outlet LEDs cycle
through different colors. When the software has completed loading, the
outlet LEDs show a steady color and the front panel display illuminates.
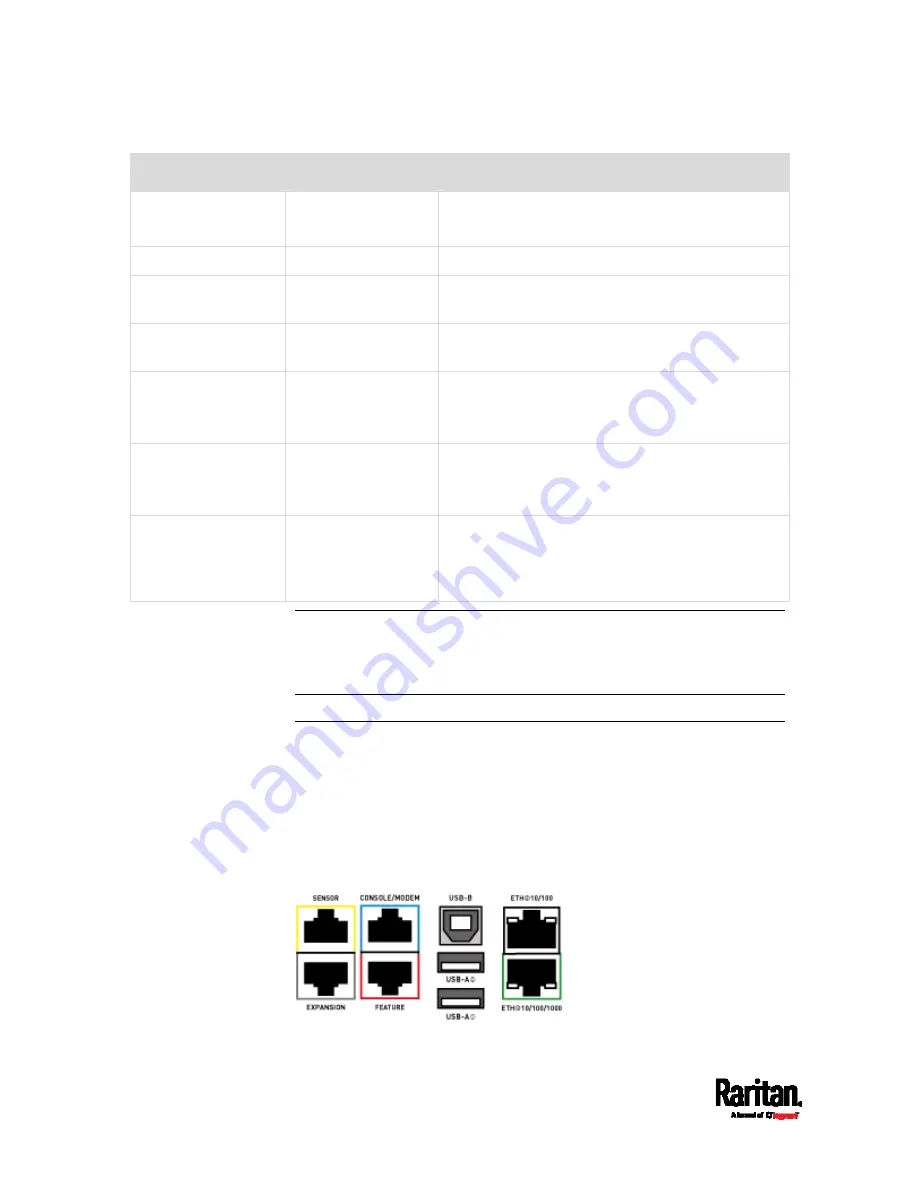
Connection Ports
Depending on the model you purchased, the total number of ports
available varies.
Zero U Connection Ports
A PX3 has 9 connection ports. Depending on the model you purchased,
port locations on your models may be different from the following image.
Содержание Raritan PX3-3000 Series
Страница 5: ......
Страница 62: ...Chapter 3 Initial Installation and Configuration 41 Number Device role Master device Slave 1 Slave 2 Slave 3 ...
Страница 90: ...Chapter 4 Connecting External Equipment Optional 69 ...
Страница 423: ...Chapter 6 Using the Web Interface 402 If wanted you can customize the subject and content of this email in this action ...
Страница 424: ...Chapter 6 Using the Web Interface 403 ...
Страница 447: ...Chapter 6 Using the Web Interface 426 ...
Страница 448: ...Chapter 6 Using the Web Interface 427 Continued ...
Страница 885: ...Appendix K RADIUS Configuration Illustration 864 Note If your PX3 uses PAP then select PAP ...
Страница 886: ...Appendix K RADIUS Configuration Illustration 865 10 Select Standard to the left of the dialog and then click Add ...
Страница 887: ...Appendix K RADIUS Configuration Illustration 866 11 Select Filter Id from the list of attributes and click Add ...
Страница 890: ...Appendix K RADIUS Configuration Illustration 869 14 The new attribute is added Click OK ...
Страница 891: ...Appendix K RADIUS Configuration Illustration 870 15 Click Next to continue ...
Страница 921: ...Appendix L Additional PX3 Information 900 ...
Страница 954: ...Appendix M Integration 933 3 Click OK ...


