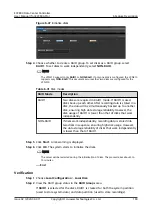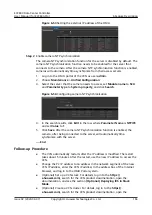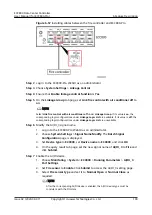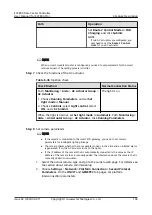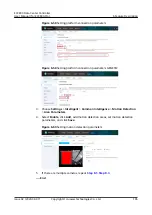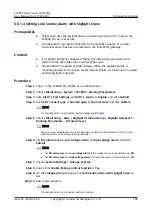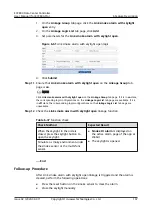
4. Click Log In to access the client home page. A message is displayed upon the
first login indicating that you should modify the password. After modifying
the password, keep it properly.
Step 2 Add a camera. For details, see the documentation delivered with the equipment or
obtain the documentation by referring to the "Preparing Documentation" section.
View the corresponding section.
NO TE
The IPC6325 camera is driven by the HWSDK protocol.
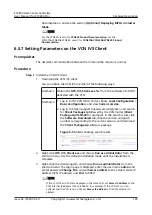
1. In the Quick Setup area on the VCN IVS home page, double-click Add
Camera.
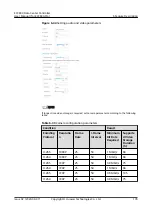
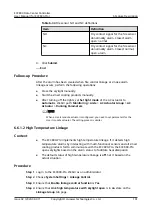
2. Click + in the lower left corner on the Search criteria page, setting the
parameters according to the following table, and click Next.
Table 6-32 Setting search criteria
Item
Value
Start IP Address and End IP Address
IP address range
Drive
HWSDK
Access domain
Select the domain that cameras
need to access
Mount server
Select the server that cameras need
to access
NO TE
If there are multiple VCNs for multiple smart modules, you are advised to evenly distribute
the cameras to each VCN.
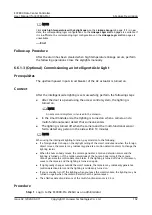
3. Click Search, in each camera record, enter the user name and password in the
text boxes and click Verify. If the camera is verified successfully, select
cameras to add and click Next.
4. Preview live video images, click the camera in the camera list on the left, and
adjust camera parameters to optimize the image effect. Then click Next.
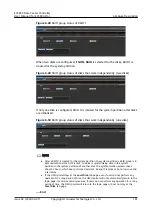
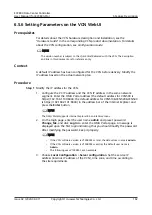
5. (Optional) Group the cameras and click Next after grouping.
6. Click Finish to finish adding a camera.
Step 3 Configuring a Video Recording Plan.
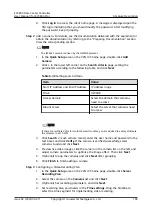
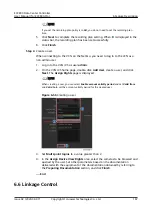
1. In the Quick Setup area on the VCN IVS home page, double-click Server
Recording Plan.
2. Select the camera on the Cameras list and click Next.
3. (Optional) Set recording parameters, and click Next.
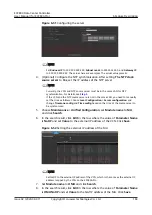
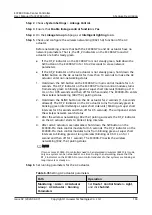
4. Set recording plan parameters in the Time settings. Drag the timeline to
select the time segment for implementing video recording.
ECC800 Data Center Controller
User Manual (for ECC800-Pro)
6 Feature Description
Issue 02 (2020-09-07)
Copyright © Huawei Technologies Co., Ltd.
186

