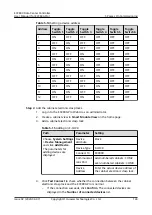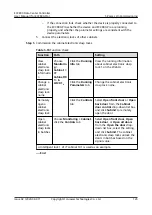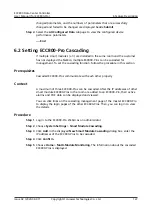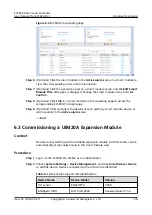
NO TE
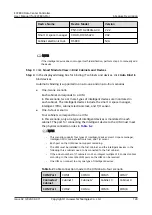
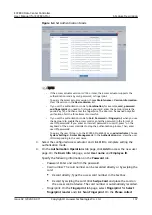
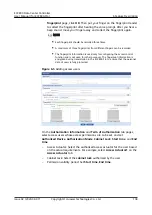
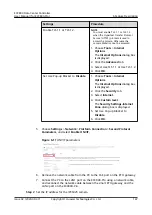
In this example, the door status sensor is connected to the AI/DI_1 port on the user
interface module1.
1. Log in to the ECC800-Pro WebUI as an administrator.
2. Choose System Settings > Signal Name Modify. The Batch Signal
Configuration page is displayed.
3. Set Device Type to UIM, set Device Name to UIM, and click OK.
4. On the query result tab page, set the new signal name of AI/DI_1 to Door1
and click Submit.
NO TE
Order number of door sensor name is same as cabinet.
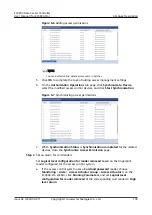
5. Choose Monitoring > System > UIM Group > UIM1 > Running Parameters
> AI/DI_1 Port Settings.
6. Set Door1 sensor to Enable and click Submit.
7. Set Door1 sensor type to Door sensor, ensure that Door1 power supply is
Yes, and click Submit.
8. Perform the preceding operations to set parameters for ports AI/DI_2 to AI/
DI_8.
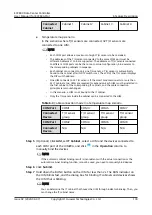
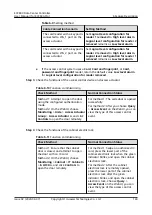
Step 2 Check the door status sensor functions.
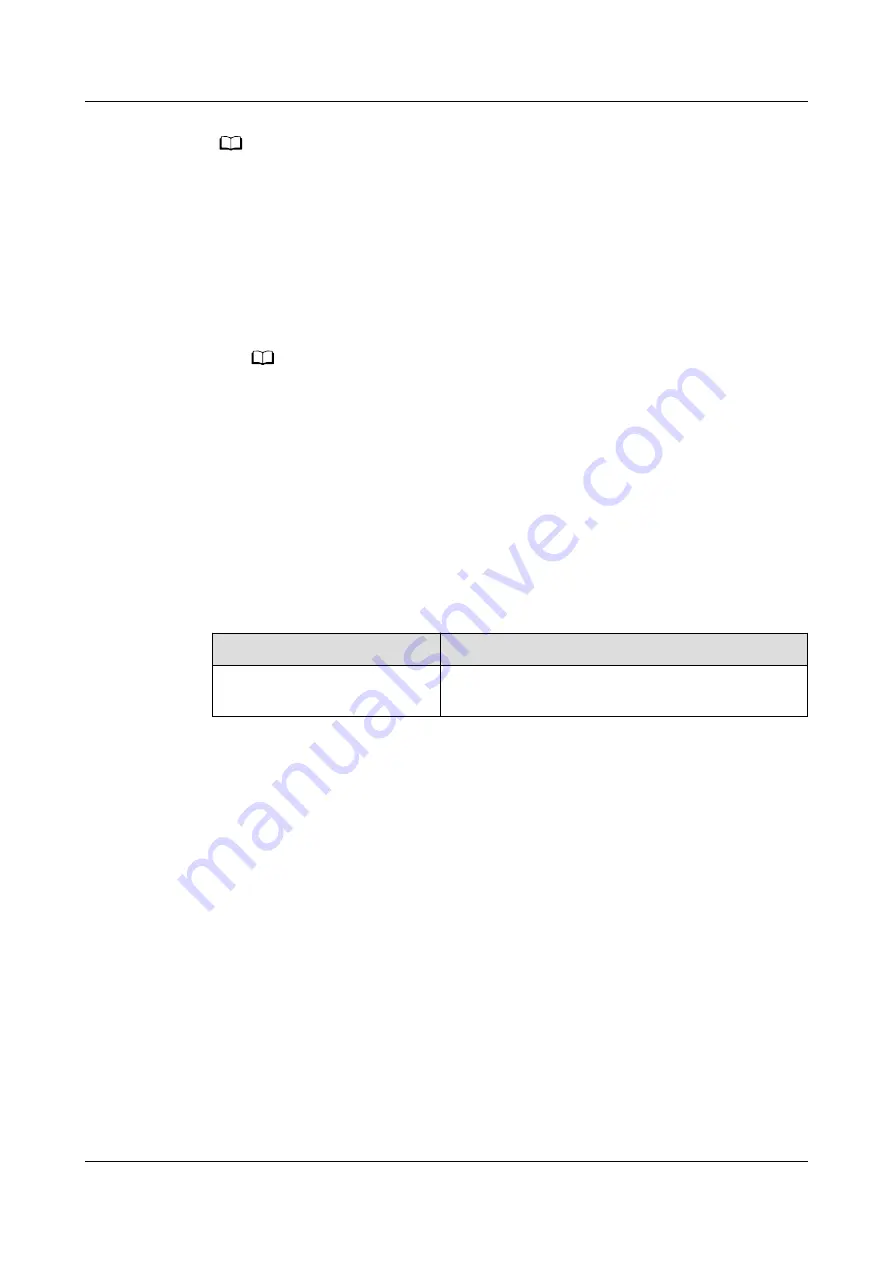
Table 6-7 Function check
Check Method
Normal Connection Status
Open the cabinet door.
Door1 DI alarm is generated on the active
alarm page of the app or WebUI.
----End
6.4.1.4 Commissioning the Door Status Sensor (Connected to the ECC800-
Pro)
Context
If the sensor is preinstalled, only check its settings.
Procedure
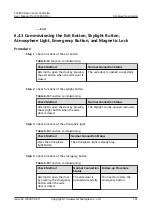
Step 1 For a single cabinet, set the door status sensor parameters.
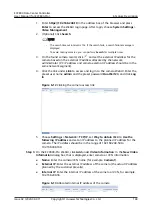
1. Log in to the ECC800-Pro WebUI as an administrator.
2. Choose System Settings > Signal Name Modify. The Batch Signal
Configuration page is displayed.
3. Set Device type to ECC800 and Device name to ECC800, and click OK.
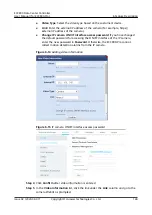
4. On the query result tab page, set the new signal name of AI/DI_3 to Door1
and click Submit.
ECC800 Data Center Controller
User Manual (for ECC800-Pro)
6 Feature Description
Issue 02 (2020-09-07)
Copyright © Huawei Technologies Co., Ltd.
134

