COPYRIGHT © 2001 CANON INC. CLC1000/1000S/3100 REV.2 MAY 2001 PRINTED IN JAPAN (IMPRIME AU JAPON)
4-95
4. MECHANICAL SYSTEM
8)
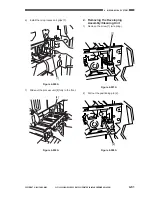
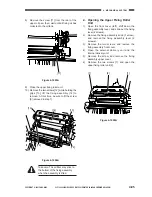
Remove the screw [11] from the rear of the
upper oil pan; then, wait until all fixing oil has
collected in the oil tank.
2. Opening the Upper Fixing Roller
Unit
1)
Open the front cover (left), shift down the
fixing assembly lever, and slide out the fixing
lever (2 screws).
2)
Remove the fixing assembly knob (1 screw),
and remove the fixing assembly lever (2
screws).
3)
Remove the two screws, and remove the
fixing assembly front cover.
4)
Open the external delivery unit and the
internal delivery unit.
5)
Remove the screw, and remove the fixing
assembly upper cover.
6)
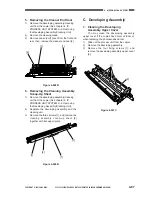
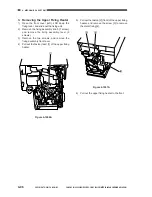
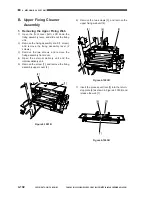
Remove the two screws [1], and open the
upper fixing roller unit [2].
Figure 4-1003A
9)
Close the upper fixing roller unit.
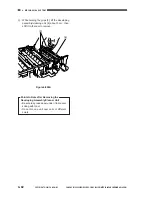
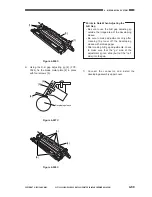
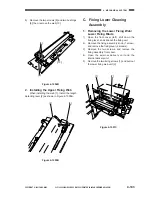
10) Remove the two screws [12]; while holding the
grips [13], lift the fixing assembly [14] to
remove. At this time, be sure to fit the screw
[9] removed in step 7).
Figure 4-1004A
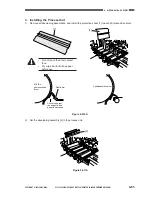
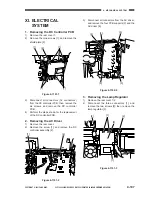
Take care. The oil filter may stick to
the bottom of the fixing assembly
when the assembly is lifted.
Figure 4-1005A
[11]
[13]
[13]
[14]
[12]
[12]
[1]
[1]
[2]
Содержание Vizcam 1000
Страница 12: ......
Страница 30: ......
Страница 44: ......
Страница 86: ......
Страница 254: ......
Страница 372: ......
Страница 374: ......
Страница 418: ......
Страница 438: ......
Страница 442: ......
Страница 754: ......
Страница 764: ......
Страница 766: ......
Страница 840: ...0501GR PRINTED IN JAPAN IMPRIME AU JAPON This publication is printed on 100 reprocessed paper...

