


Chapter 2 Before Use
2-22
2.8 Turning Power On/Off
2.8.1 Power-on
1. Before turning power on, connect an external monitor, a keyboard
and a mouse to MP2110A. Refer to 2.4 “Connecting Peripheral
Devices”.
2. Turn on the external monitor.
3. Connect the power cord plug, referring to 2.3 “Power Connection”.
The MP2110A enters the standby state and the Standby lights
orange.
4. Press the power switch.
The power lamp lights green and the Windows start-up begins.
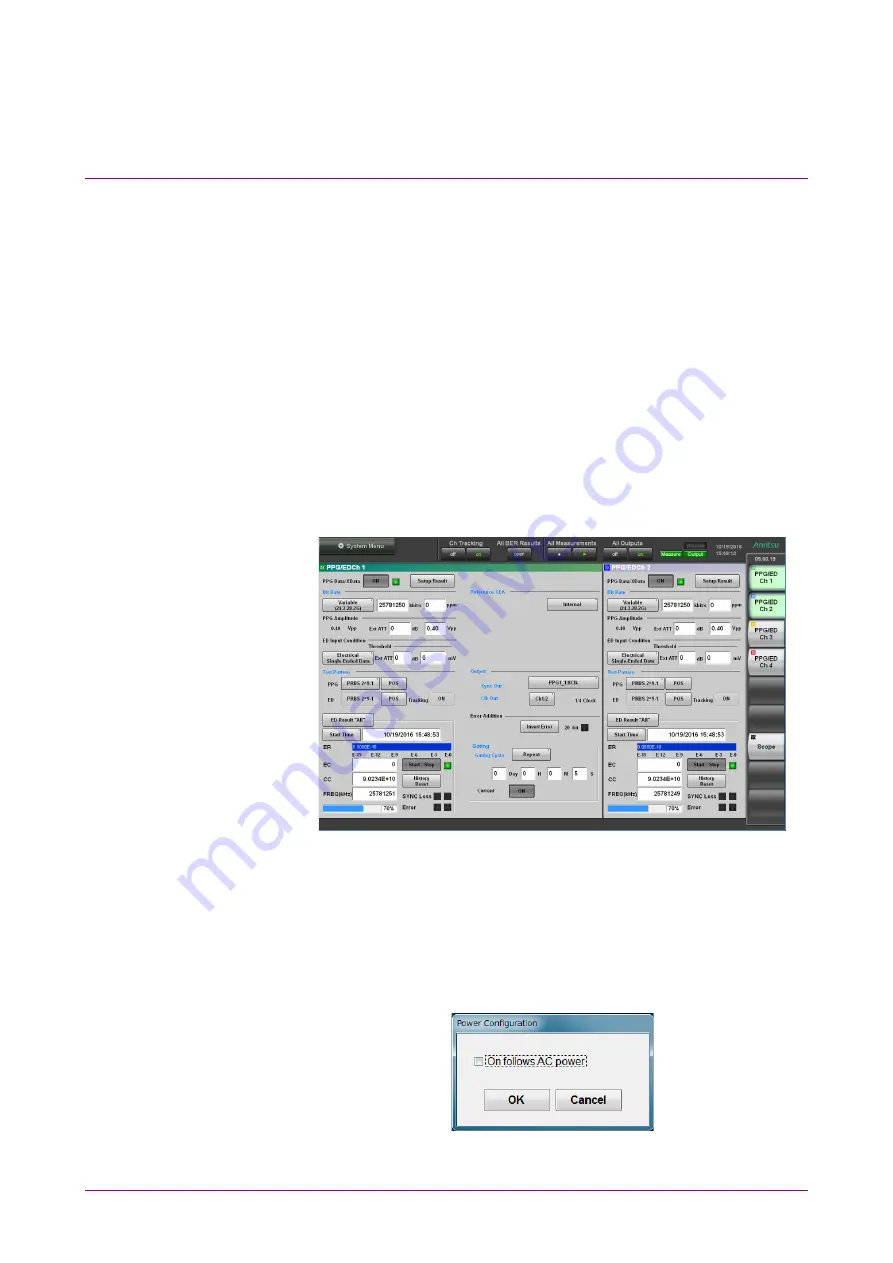
5. In 30 seconds, the application window is displayed. If the application
window is not displayed, refer to 2.9.3 “Setting External Monitor”.
Figure 2.8.1-1 Application Window
Note:
The power of MP2110A can also be turned on by supplying the AC
power even if the power button on the panel is not pressed. To
perform this operation, select the On follows AC power check box in
the dialog box displayed by clicking Start Menu - Program -
MX210000A - Power Configuration.
Figure 2.8.1-2 Power Configuration Dialog Box
Содержание BERTWave Series
Страница 26: ...VI...
Страница 74: ...Chapter 1 Outline 1 48...
Страница 166: ...Chapter 4 Screen Operation 4 24...
Страница 210: ...Chapter 6 How to Operate Sampling Scope 6 16 Figure 6 2 2 4 Switching Graph Display...
Страница 237: ...6 2 Explanation of Windows 6 43 6 How to Operate Sampling Scope Figure 6 2 4 9 Measure Dialog Box Equalizer Tab...
Страница 239: ...6 2 Explanation of Windows 6 45 6 How to Operate Sampling Scope Figure 6 2 4 10 Measure Dialog Box Mask Test Tab...
Страница 246: ...Chapter 6 How to Operate Sampling Scope 6 52 Figure 6 2 6 2 Time Dialog Box CRU Tab When MP2110A 054 is installed...
Страница 309: ...6 9 Measuring Waveform 6 115 6 How to Operate Sampling Scope Figure 6 9 5 1 Marker Display...
Страница 322: ...Chapter 6 How to Operate Sampling Scope 6 128...
Страница 377: ...8 6 Adding an Option License 8 11 8 Maintenance 10 Click System Menu System Information and confirm the added option...
Страница 380: ...Chapter 8 Maintenance 8 14 7 Click Reinstall Windows 8 Click Yes...
Страница 432: ...Appendix A Specifications A 36...
Страница 457: ...D 3 Sampling Oscilloscope D 11 Appendix D 26G 53G CRU MP2110A 055 Table D 3 7 CRU Output Sensitivity Pass Fail...
Страница 458: ...Appendix D Performance Test Record Form D 12...
Страница 466: ...Index Index 6...