


Chapter 6 How to Operate Sampling Scope
6-76
Once the data collection is started, the waveform is displayed on the
screen.
Starting data collection
1. Display the waveform of the channel with the monitor signal input.
When the Trace Switch Buttons are displayed in gray, reset the gray
display by clicking them.
2. To collect multiple channel data, click the Control Ch button to toggle
to All. When Single is displayed on the Control Ch button, data on
only the active channel is collected.
3. Click
the
Sampling button to display Sampling Run at the button
display.
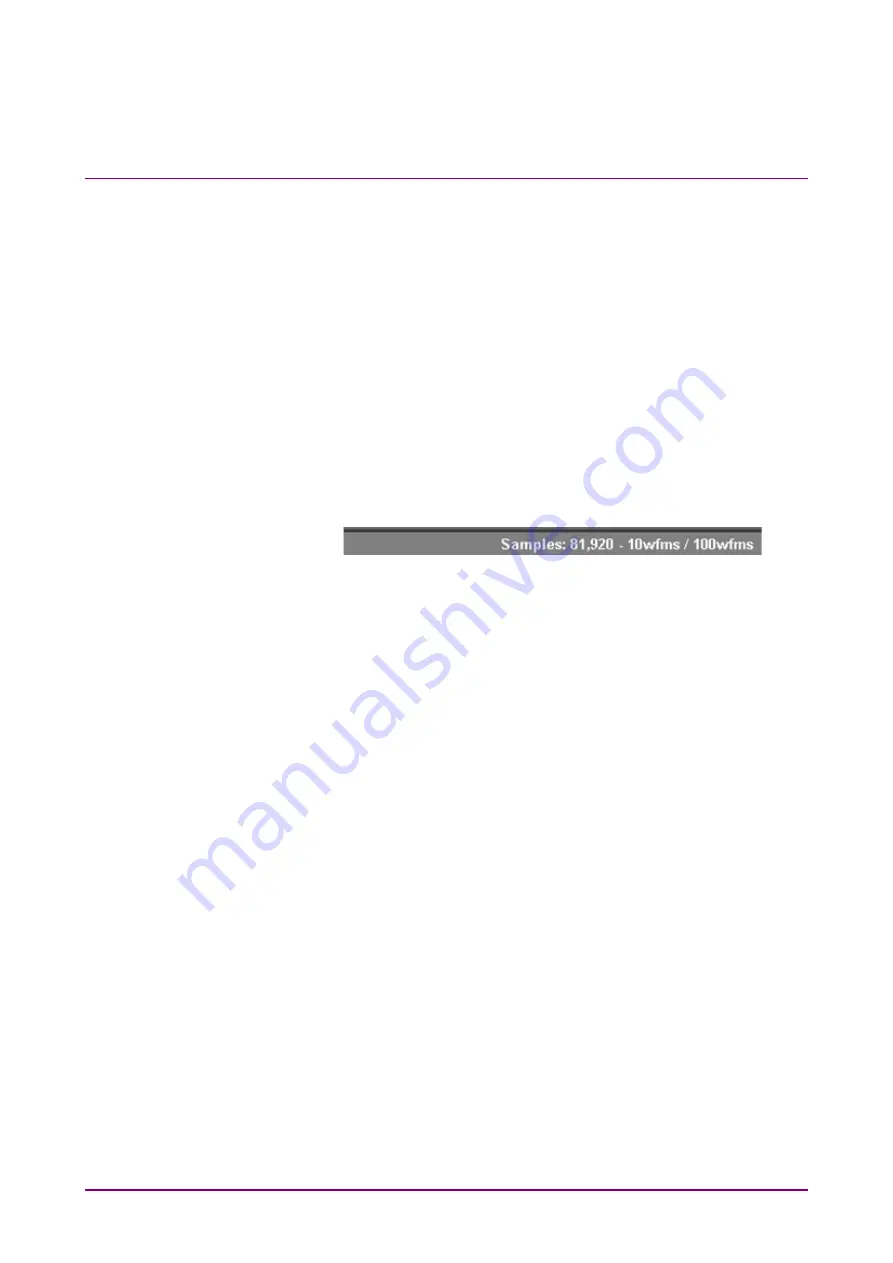
The elapsed time, number of samples and number of waveforms are
displayed in the title bar when Accumulation Type is set to Limited.
When Averaging is set to 2 or more in the Pulse mode, the number of
waveforms is displayed in the title bar.
The data collection can also be started by the All Measurements Start
button shown in Figure 4.1-1.
Stopping data collection
Click the Sampling button, and then set to Sampling Hold. When, in the
Setup dialog box, Accumulation Type is set to Limited, the data collection
process stops when the at-end conditions are met.
The data collection can be started by clicking all measurement stop
button as shown in Figure 4.1-1.
Discarding screen display
When temporarily deleting screen display:
Click the Trace switch buttons to bring the color into gray.
By clicking a gray Trace switch buttons, its trace is displayed.
When discarding collected data:
Click Clear Display.
Trace data will be discarded even if the Trace switch buttons are gray and
no traces are displayed on the graph.
The discarded data cannot be displayed again.
Содержание BERTWave Series
Страница 26: ...VI...
Страница 74: ...Chapter 1 Outline 1 48...
Страница 166: ...Chapter 4 Screen Operation 4 24...
Страница 210: ...Chapter 6 How to Operate Sampling Scope 6 16 Figure 6 2 2 4 Switching Graph Display...
Страница 237: ...6 2 Explanation of Windows 6 43 6 How to Operate Sampling Scope Figure 6 2 4 9 Measure Dialog Box Equalizer Tab...
Страница 239: ...6 2 Explanation of Windows 6 45 6 How to Operate Sampling Scope Figure 6 2 4 10 Measure Dialog Box Mask Test Tab...
Страница 246: ...Chapter 6 How to Operate Sampling Scope 6 52 Figure 6 2 6 2 Time Dialog Box CRU Tab When MP2110A 054 is installed...
Страница 309: ...6 9 Measuring Waveform 6 115 6 How to Operate Sampling Scope Figure 6 9 5 1 Marker Display...
Страница 322: ...Chapter 6 How to Operate Sampling Scope 6 128...
Страница 377: ...8 6 Adding an Option License 8 11 8 Maintenance 10 Click System Menu System Information and confirm the added option...
Страница 380: ...Chapter 8 Maintenance 8 14 7 Click Reinstall Windows 8 Click Yes...
Страница 432: ...Appendix A Specifications A 36...
Страница 457: ...D 3 Sampling Oscilloscope D 11 Appendix D 26G 53G CRU MP2110A 055 Table D 3 7 CRU Output Sensitivity Pass Fail...
Страница 458: ...Appendix D Performance Test Record Form D 12...
Страница 466: ...Index Index 6...