GE Power Management
ALPS Advanced Line Protection System
11-7
11 ALPS-LINK USER GUIDE
11.3 SETTING UP YOUR HOST MACHINE
11
The Init. String, Dial String and the Hang-up String text boxes are all modem dependent. Refer to your modem manual
for the suitable strings. Up to 40 characters are accepted for each of these fields.
If any number or string is to be dialed or sent on the port before dialing the phone number, specify it as the Dial Prefix. Sim-
ilarly any strings to be appended at the end of the phone number are to be entered in the Dial Suffix field. These are
modem independent and can be left blank if not needed.
The amount of time for which the system has to wait before deciding the non-availability of the telephone line is the Dial
timeout. A maximum of 99 seconds can be specified here. The host will re-dial if the maximum number of valid re-dials are
not yet completed.
The Re-dial Delay is in addition to the timeout delay. This is the amount of time the host machine waits before a re-dial. A
maximum of 99 seconds can be specified here.
Specify the number of Re-dial Attempts the host machine has to do before declaring the dialing operation a failure. A max-
imum of 9 re-dials can be specified.
Any modifications done in the modem setup actually take effect the next time you make a connection request with a device.
11.3.4 PRINTER SETUP
The hard copies for reports, logs and settings are made through the printer connected to the host machine. The host
machine need to be configured with the printer setup.
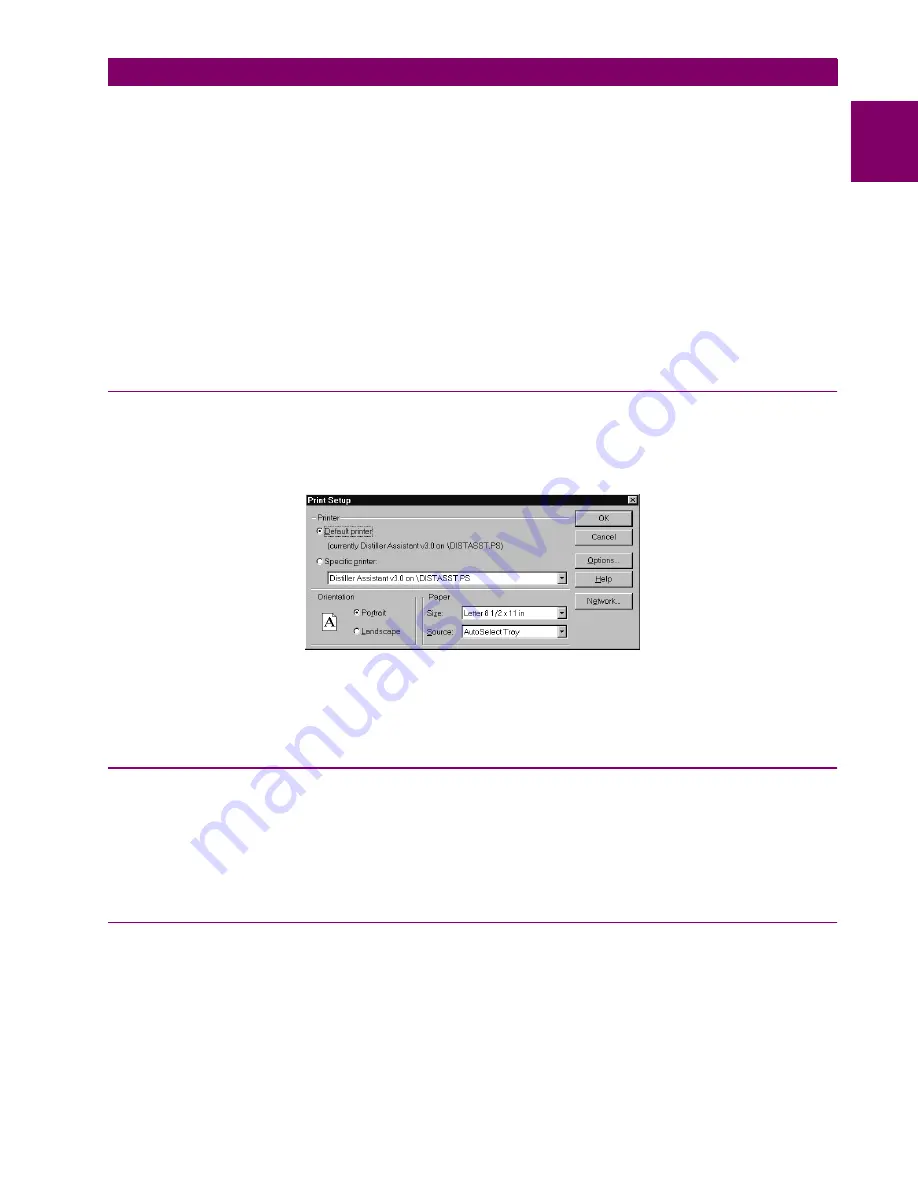
The Printer setup is performed from the SupportFunc menu. Choose the Host Setup item from the Support Func pull
down menu in the menu bar. From the pop-up menu choose the Printer item.
Figure 11–8: PRINTER SETUP DIALOG BOX
Select the printer you want to use. You can select the Default Printer by clicking that radio button or choose the Specific
Printer option by clicking on that radio button and select one of the current installed printers shown in the box. Click on the
Options button to get additional choices about printing, specific to the type of printer you have selected.
11.3.5 DEVICE SETUP
More than one ALPS device could be connected to the host machine on the physical link. But, at any given time, ALPS-Link
can communicate with a single device. It is possible that each of these devices are configured with various communication
parameters: for example, telephone number, baud rate, etc. ALPS-Link should be setup with these details so that it can
make proper connections with the devices. The Device Setup facilitates updating ALPS-Link with this information. If you
need to add a device or modify the existing communication parameters of a device, Device Setup provides you the neces-
sary interface.
11.3.6 ADDING A DEVICE
You can introduce a new device to ALPS-Link system or modify the setup of an existing device using the device setup fea-
ture.
1.
Choose the Device > Device Setup menu item. A Device Directory dialog box shows the list of the devices already
known to ALPS-Link. Click on the scroll button of the device name field to see this list.
2.
To add a new device click on Add. The Device Setup dialog box appears with the default parameters.
3.
Click in the Device Name text box and enter the name for the relay. Do the same for the Unit ID text box.


