11-4
ALPS Advanced Line Protection System
GE Power Management
11.1 INSTALLATION
11 ALPS-LINK USER GUIDE
11
6.
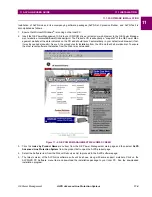
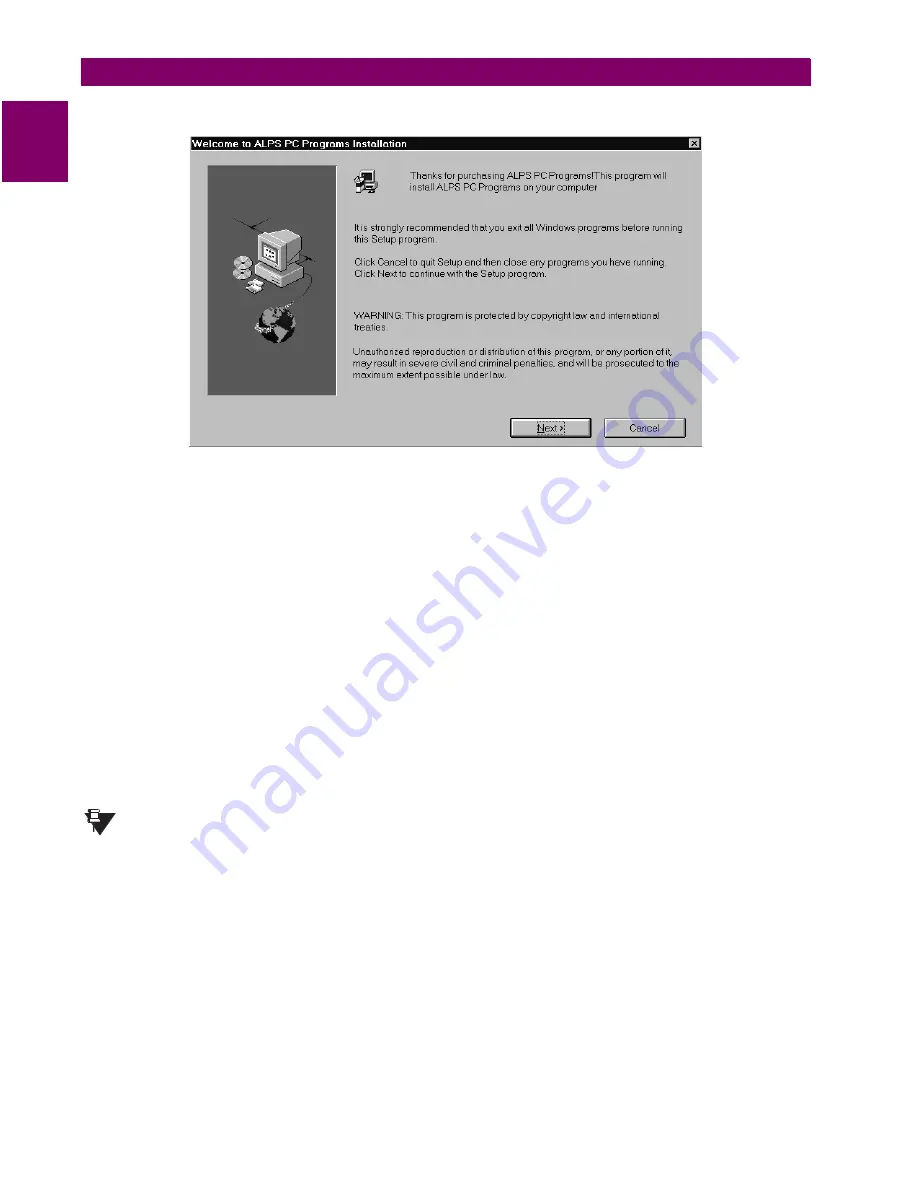
The following dialog box is displayed:
Figure 11–3: ALPS SOFTWARE INSTALLATION WELCOME SCREEN
7.
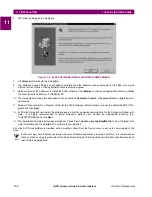
Click Next button to begin the installation.
8.
The Software License dialog box will appear. Carefully read the Software license agreement. Click Yes if you agree
with the terms of license; clicking No terminates the Setup program.
9.
Setup will prompt for a directory to install the ALPS software. Click Browse to choose an appropriate directory or Next
to accept the default directory C:\GEPM\ALPS.
10. The Setup Options dialog box will appear. Choose between Complete, Custom, or Typical installation. Typical is rec-
ommended.
11. Setup will then prompt for a Program Folder for the ALPS software. Enter a folder or choose the default ALPS PC Pro-
grams and click Next.
12. ALPS-Link Setup will now install the software and prompt for an appropriate directory for the Xpression Builder soft-
ware. It is highly recommended to install Xpression Builder now. Choose an appropriate directory (e.g.
C:\GEPM\XPRESS) and click Next.
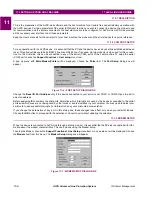
13. The Installation Complete dialog box will appear. Check Yes, I want to view the ReadMe file to view the latest soft-
ware information and click Finish. The software is now installed.
Once the ALPS-Link software is installed, set-up must be chosen from the Device menu to set-up to communicate to the
relay.
ALPS-Link may have difficulty operating with some Windows applications running. Therefore, it is recommended
that any other running programs are terminated before starting ALPS-Link as they might affect its performance and
that of related applications.
NOTE


