GE Power Management
ALPS Advanced Line Protection System
8-13
8 LOCAL USER INTERFACE
8.1 INTRODUCTION
8
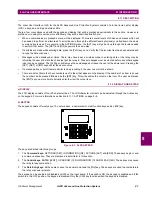
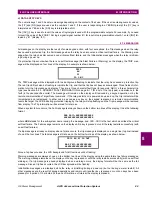
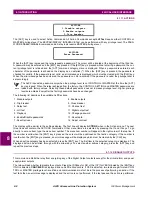
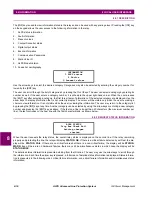
The cursor will be stationed on the third line. If [1/Y] (YES), [ENT] is entered, protection is turned ON. The LED indicating
ALPS status turns GREEN (if performing digital output test was the only cause for it being RED) and the ACT command
menu is displayed with the cursor positioned on Dig output test. The above prompt will be also displayed when the user
tries to exit the digital output test category without ending the test.
If [3/N] (NO) is entered followed by [ENT] key, protection is not enabled and the status LED remains RED. The ACT com-
mand menu is displayed with the cursor positioned on the item Dig output test. The test may be stopped by pressing the
[END] [ENT] key sequence. This ends relay session with protection turned ON.
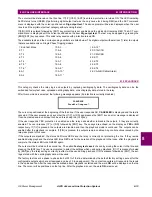
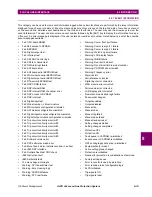
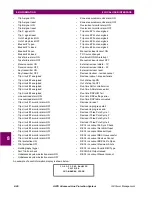
The available tests and their corresponding numbers are listed below. The digital outputs with asterisks (*) refer to outputs
that are available only on Single Phase Tripping models.
8.1.20 PLAYBACK
This category checks the relay logic and outputs by replaying oscillography data. The oscillography data can be the
embedded factory test case, uploaded oscillography data, or oscillography data stored in the relay.
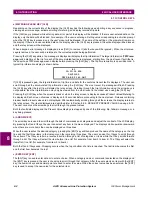
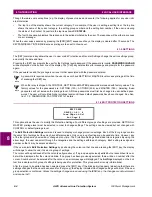
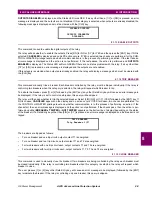
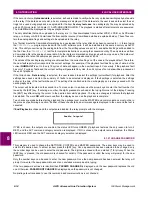
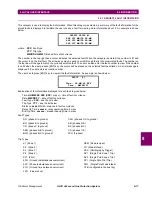
After this command is selected, the following message appears (if protection is currently disabled):
The cursor is positioned at the beginning of the third line. If the user responds NO, CANCELED is displayed and the test is
canceled. If the user presses any keys other than [1/Y] or [3/N] and presses the [ENT] key, an error message is displayed.
It can be cleared and a valid input can be entered using the [CLR] key.
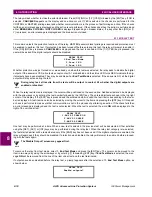
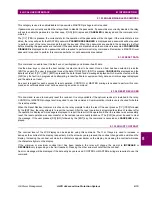
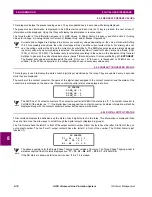
If the user responds YES, protection is enabled and the relay asks whether to disable the outputs, if they are currently
enabled. The user presses [1/Y] or [3/N] followed by [ENT] key. These keys are echoed on the display as YES or NO
respectively. If [1/Y] is pressed, the outputs are disabled and then the playback mode is continued. The outputs can be
enabled after the playback is complete. If [3/N] is pressed, the outputs remain enabled. Any control actions issued by the
relay take place in this case.
If the outputs are disabled, the status LED turns RED since the relay is currently not protecting the line. If they remain
enabled during playback, the status LED turns RED only for the duration of the playback. In that case, after the playback is
complete, the status LED turns GREEN again.
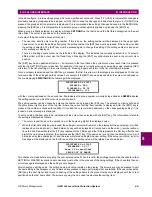
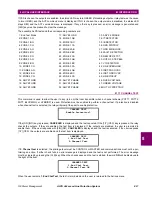
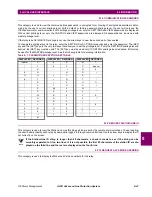
The cursor will be located on the second line. The option Factory test case is chosen by moving the cursor to that line and
pressing the [ENT] key. The user is prompted to select the settings which used during playback. If [1/Y] is pressed followed
by [ENT] key, the relay settings currently in effect will be used during playback. If [2] is pressed followed by [ENT], the set-
tings stored with the oscillography data will be used.
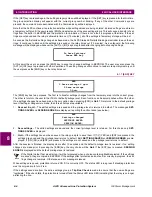
The factory test case is a phase to phase fault at 50% of the line determined by the default factory settings, except for the
configurable outputs which are all assigned a value of 0 (no assignment). The contact converters will respond to the levels
in the uploaded file. After the response described above, playback is started and the word ON will be displayed on the top
line. The cursor will be positioned on the top line. After the playback is over, the word ON is removed.
1: End Test Mode
10: A3
19: A12 *
2: T1
11: A4
20: C1A/C1B
3: T2
12: A5
21: C2A/C2B
4: T3
13: A6
22: KT1
5: T4
14: A7
23: KT2
6: T5 *
15: A8
24: KT3
7: T6 *
16: A9 *
25: KT4
8: A1
17: A10 *
26: CA-A/B (Critical Alarm)
9: A2
18: A11 *
PLAYBACK
Disable Outputs?

