GE Power Management
ALPS Advanced Line Protection System
8-5
8 LOCAL USER INTERFACE
8.1 INTRODUCTION
8
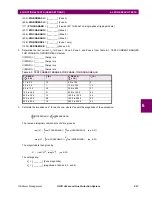
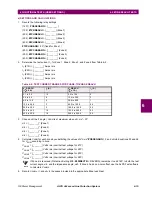
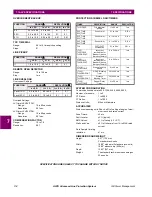
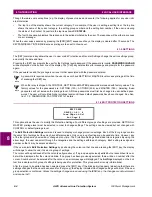
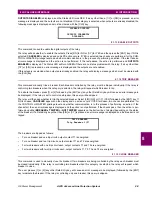
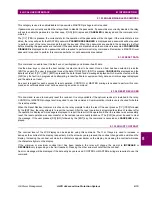
In the above figure, n is the settings group which was modified but not saved. Press [1/Y] (YES) to indicate that changes to
previously selected group should be dropped, or [3/N] (NO) to keep the changes and select another group. If [3/N] (NO) is
pressed, the group selection prompt is redisplayed. It is recommended the settings changes be saved in the EEPROM by
pressing the [END] key. It is still possible to re-select a group number which is blinking by pressing the [ENT] key.
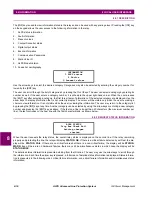
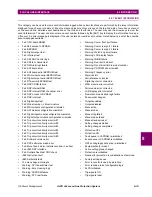
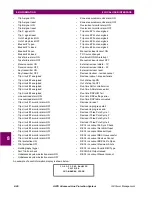
When a group is finally selected, the display will have SETTINGS on the first line and the first three categories on the next
three lines. The cursor is positioned on the second line.
A couple of things should be noted at this point.
•
The user can directly enter a setting number. If this is done, the setting number will be displayed in the upper right-
hand corner. To select the setting after typing the setting number the [ENT] key must be pressed. If the number is valid,
the setting is selected. The [ENT] key must be pressed again to change the setting. If the setting number is invalid, an
error message is displayed.
•
There is a blinking square cursor on the left side of the display. This indicates the currently selected item. To select a
different item with the cursor, use the
↑
and
↓
keys. Pressing the [ENT] key will activate the item in the current cursor
position.
The [SET] key has an additional function – it will return to the level above the current menu level each time it is pressed
until the top SETTINGS menu is reached. For example, if the user is currently entering a new setting value, pressing [SET]
will return to the list of settings in the current category. Pressing it again will return to the list of settings categories.
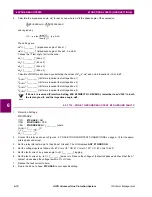
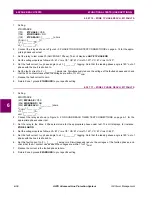
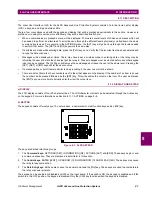
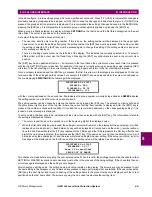
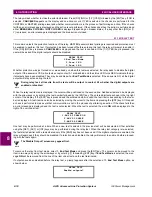
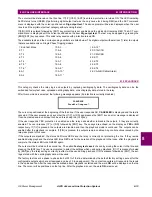
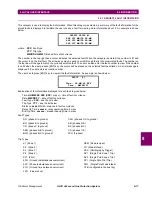
Once a category is selected and the [ENT] key is pressed, the first three items in that category are displayed as 10-charac-
ter mnemonics of the settings and their values. For example, if the [ENT] key was pressed when the cursor is positioned on
the line displaying Z3DISTANCE, the following will be displayed:
with the cursor positioned on the second line. Gn indicates the group number currently being edited and S#### indicates
the setting number on which the cursor is currently placed.
The setting number can be chosen by entering the number and pressing the [ENT] key. The entered number is echoed at
the same place (right corner of the top line) where the current setting item number is displayed. After the [ENT] key is
pressed, the number is checked for validity. If it is valid, the cursor will be positioned on the corresponding setting; if it is
invalid, an error message is displayed.
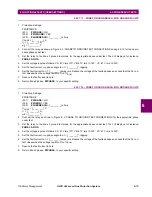
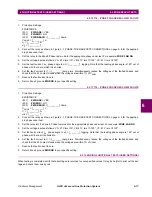
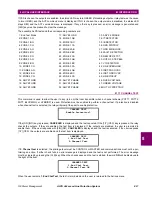
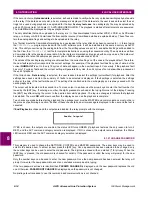
To edit a setting, the item should be indicated with the cursor then selected with the [ENT] key. The information related to
the setting is displayed as follows.
•
The cursor is positioned on the second line, at the beginning digit of the displayed value.
•
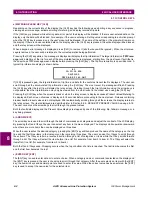
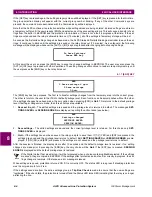
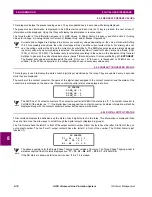
When the first data entry key is pressed, the setting mnemonic will remain on the display but the equals sign (=) will be
replaced by a blinking colon (:). Each data entry key will be displayed as it is pressed, and the colon (:) symbol will con-
tinue to blink. Remember that the [1/Y] key represents the YES key and the [3/N] represents the NO key. After the last
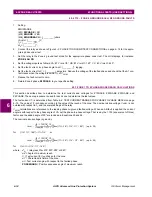
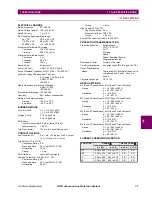
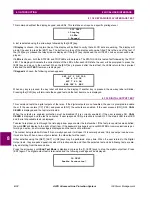
digit of the new value is entered, the user presses the [ENT] key. If the new value is valid, then the blinking colon (:) will
be replaced by the equals sign (=) and the relay will store and display the new setting. If the value is not valid, an error
message will be displayed on the fourth line and the old setting value will be retained, as shown below:
Two checks are made before accepting the user-entered value. When it is valid, the privilege level will be checked for either
SETTING or MASTER level and communications must not be in the process of changing settings. If the check fails then an
error message is displayed and the setting is not changed.
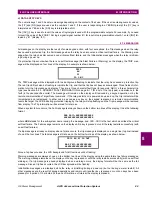
After changing a setting value, the setting name and value remain on the display. The arrow keys may be pressed to edit
the next setting in the category or any Command key pressed to begin performing other operations. If the user presses the
[SET] key, the next higher level menu consisting of the settings items in the present category is displayed with the cursor
positioned on the last item edited. The arrow keys may then be used to select another setting item.
Z3DISTANCE Gn S0301
Z3PHASE = YES
Z3PHREACH = 20.32
Z3PCHARANG = 105
Z3DISTANCE Gn S0302
Z3PHREACH: 51.37
Zone 3 Ph reach(Ohm)
VALUE OUT OF RANGE

