GE Power Management
ALPS Advanced Line Protection System
6-5
6 FUNCTIONAL TESTS (USER SETTINGS)
6.2 GENERAL RELAY TESTS
6
6.
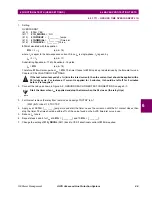
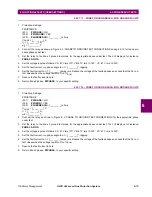
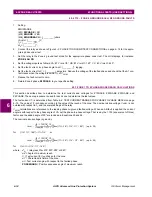
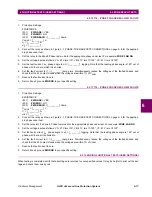
Use the arrow keys to scroll to the desired output test (such as T1) and press the ENT key. When the digital output is
chosen, the selected relay output closes. Verify that the output under test has closed, using an ohmmeter or other suit-
able device.
7.
After the output is tested, scroll to the next output to test, then press the ENT key. This output closes and the previously
selected output opens. Continue in this fashion until all outputs are tested.
8.
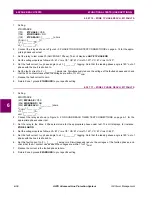
End the test mode by scrolling to the END TEST MODE selection and press the ENT key. Alternatively, press END fol-
lowed by the ENT key to end the test and re-enable protection.
6.2.4 T4 – AC SYSTEM INPUT TEST
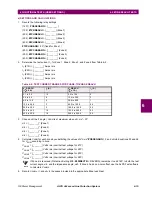
This test uses the Present Values to determine that the voltages and currents are properly connected to the terminal strip.
The VALUES function can be used any time during testing to verify the relay voltages/currents.
1.
Connect the relay as shown in Figure 4–3: PHASE TO GROUND TEST CONNECTIONS on page 4–12.
2.
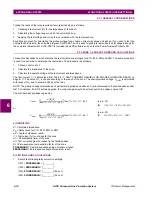
Set VA to 67 V rms
∠
0°, VB to 57 V rms
∠
–120°, and VC to 47 V rms
∠
120°.
3.
Press the INF key on the keypad. Scroll, using the ARROW keys, to the heading 1. Present values and press the ENT
key. The present values are now displayed.
4.
Scroll to the values of VA, VB, and VC and verify that the voltages are within ±2 volts of the voltage source setting. This
verifies the connections of the voltage sources.
Alternately, whenever the display is blank, press the CLR key to have the relay automatically scroll through
the present values.
5.
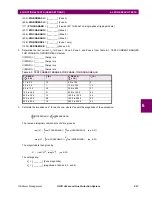
Set
I
op
to 1.0 A rms for phases IA, IB, or IC, as shown by the Y connection point in Figure 4–3: PHASE TO GROUND
TEST CONNECTIONS.
6.
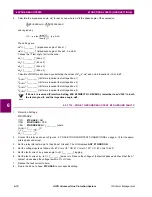
Verify IA, IB, or IC depending on connection Y. Verify that the current reading is 5% of the input current.
7.
Reduce the test current to zero amps.
NOTE


