GE Power Management
ALPS Advanced Line Protection System
6-3
6 FUNCTIONAL TESTS (USER SETTINGS)
6.1 ALPS FUNCTIONAL TESTS
6
6.1.3 GENERAL INSTRUCTIONS
Tests are performed in test mode, which allows viewing of the internal measuring units and functions. The measuring units
and functions are actually internal to the software. There are no individual hardware modules that are responsible for the
specific measuring functions.
The test mode selects and isolates various test functions and measuring units, then routes their status to the A1 (A9–A25)
contact. When the particular function under test has picked up, the A1 contact closes. Target information is displayed for
tests that cause tripping.
Testing can be performed with outputs disabled. The A1 contact still closes whenever a trip condition exists, however the
tripping contacts do not operate. Disabling outputs can be accomplished when test mode is entered.
The A1 contact will chatter when the unit under test is near its threshold.
Do not let it continue to chatter!
Remove the test current. A single contact closure is enough to determine that the unit picked up.
In tests that cause tripping, the trip target type may not match the unit under test. For example, if a Zone 1 ground fault is
being tested, Zone 2 may pick up and trip the relay before the fault is in Zone 1's characteristic. The target information will
reflect the Zone 2 trip, not Zone 1. It is important to remember this during the tests.
Use a continuity tester with high-input impedance, such as a digital ohmmeter, to monitor the A1 contact during relay test-
ing.
Tripping contacts will operate while the ALPS is in test mode unless the outputs were disabled by the user.
6.1.4 ENTERING TEST MODE
Before a test can be performed, the ALPS must be put in test mode and select the function to be tested. The test mode is
set as follows:
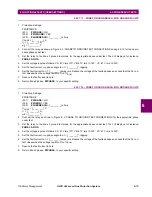
1.
Apply rated DC and wait for relay initialization to complete (if this has not already been done), indicated by the green
status LED on the front of the relay.
2.
Press the ACT key. The message Enter Password is displayed. If this is the first time the Control Level functions are
used, the password has the factory value “5678.”. This password must be changed before any Control functions can
be accessed. See Chapter 8: LOCAL USER INTERFACE for details on changing the password.
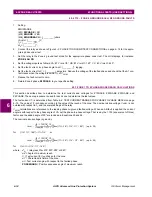
3.
Enter the current Control Level password. If the password is not known, see Chapter 11: ALPS-LINK USER GUIDE or
Chapter 12: ASCII COMMUNICATIONS for details on viewing the password. When the correct password is entered,
the actions menu is displayed.
4.
Scroll with the ARROW keys until the message 5. Relay Test is displayed, then press the ENT key.
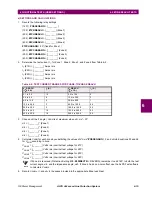
5.
Scroll through the different test mode functions or enter the number of the desired test, such as 38 for the Fault Detec-
tor. Press [ENT] and the cursor will be placed on the fault detector test. Press [ENT] again and the test is started.
When the ALPS picks up for the selected function it closes the A1 contacts.
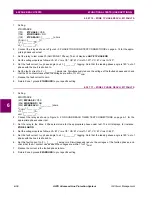
6.
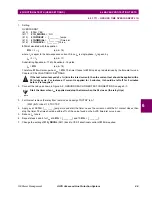
To exit test mode, press the ACT key. Scroll with an arrow key until 5. Relay Test is displayed, then press the ENT key.
Scroll until the display indicates
1. END TEST MODE
and press the ENT key. The user will be prompted to Enable Outputs. Press [1/Y] and [ENT]. The status LED should
return to green, indicating that normal operation has resumed.
6.1.5 USING ALPS-LINK (OPTIONAL)
The relay can be tested without using the keypad. A PC and communications program are required to establish communi-
cations, change the password, change settings for the tests, and place the unit into test mode. Follow the procedure in
Chapter 4: ACCEPTANCE/PERIODIC TESTS to test the relay with ALPS-Link or ASCII.
CAUTION
NOTE


