GE Power Management
ALPS Advanced Line Protection System
11-5
11 ALPS-LINK USER GUIDE
11.2 USING ALPS-LINK
11
11.2 USING ALPS-LINK
11.2.1 STARTUP
This sub-section describes the Startup procedure and explains the main screen details.
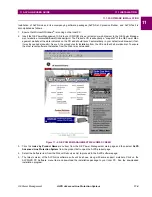
After a successful installation of ALPS-Link, the group window appears on the screen. This window consists of the ALPS-
Link icon and the Help icon. Choose the ALPS-Link icon to start the ALPS-Link.
The ALPS-Link application starts and the ALPS-Link application window appears. The main window has a title bar with
ALPS-Link, a menu bar, a tool bar and a status bar.
11.2.2 MENU BAR
The items in the ALPS-Link application window menu bar are: Device, Report, Log, Support Func, Protocol, Window
and Help. The items in each menu change when a device is connected. For example, Log will not have the current item
now but will display it when the device is connected.
11.2.3 TOOLBAR
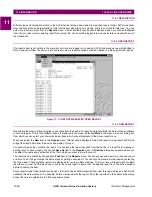
Figure 11–4: ALPS-LINK TOOLBAR
The tool bar consists of icons which help choose some of the ALPS-Link activities quickly. The active icons at this time in
the tool bar are, from left to right, Connect, Hang-up (if a telephone line is used), Device Setup, Local Settings, archive,
printer, Help and Context Sensitive Help.
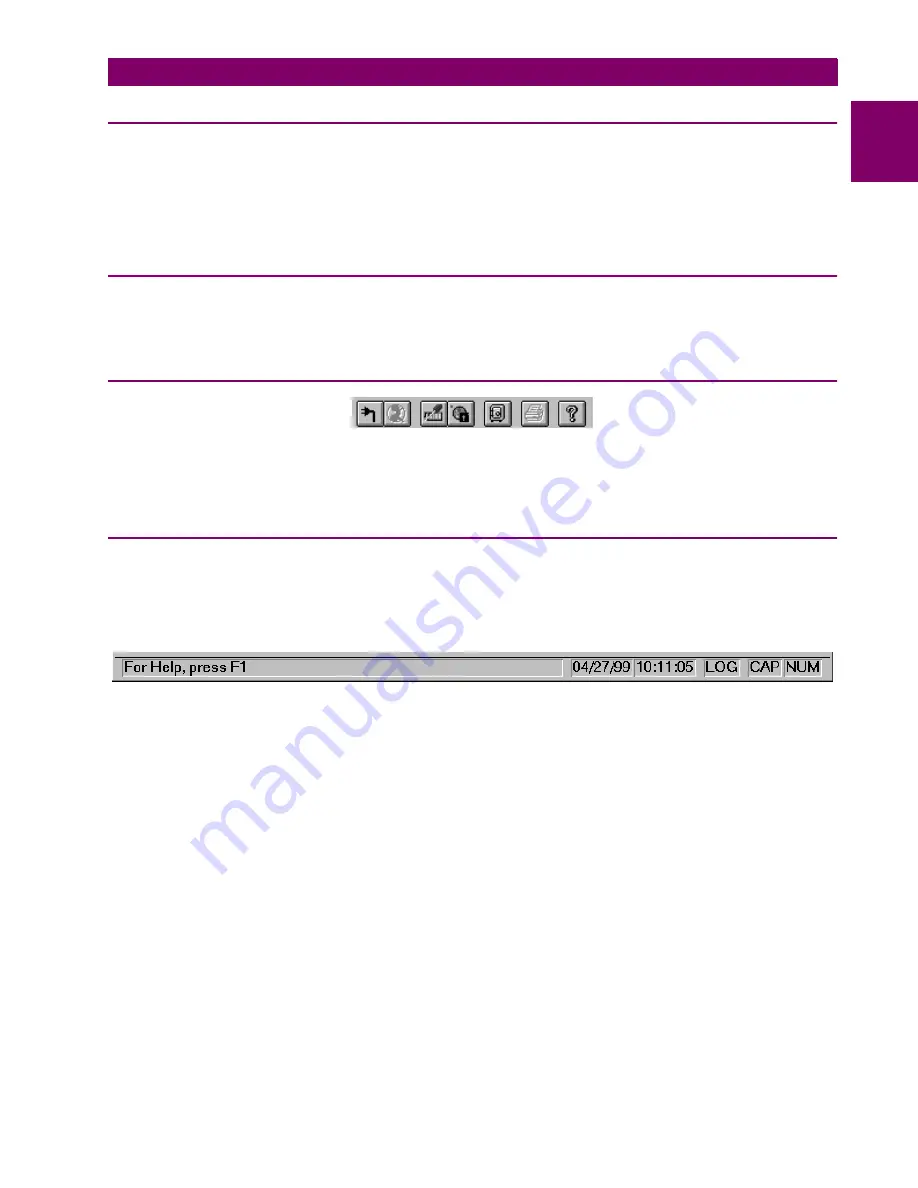
11.2.4 STATUS BAR
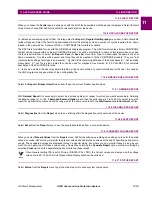
The status bar is divided in six parts. It is the bottom most row in the picture as shown in the ALPS-Link application window.
Starting from the left, part one displays the information regarding any command selected, part two and three display the
date and time respectively, part four indicates if Log is on or off, part five and six indicate the Caps Lock and Num Lock
respectively.
Figure 11–5: ALPS-LINK STATUS BAR


