98
Printer Connection and Software Installation
To check that the printer is shared:
•
Make sure that the printer object in the
Printers, Printers and Faxes
or
Devices and Printers
folder is shared. The share icon is shown under the printer icon.
•
Browse
Network
or
My Network Places
. Find the host name of the server and look for the
shared name you assigned to the printer.
Now that the printer is shared, you can install the printer on network clients using the Point and Print
method or the peer-to-peer method.
Point and Print
Point and Print is a Microsoft Windows technology that allows you to connect to a remote printer. This
feature automatically downloads and installs the print driver.
• For Windows XP, Windows XP 64-bit Edition, Windows Server 2003, and
Windows Server 2003 x64 Edition
1
On the Windows desktop of the client computer, double-click
My Network Places
.
2
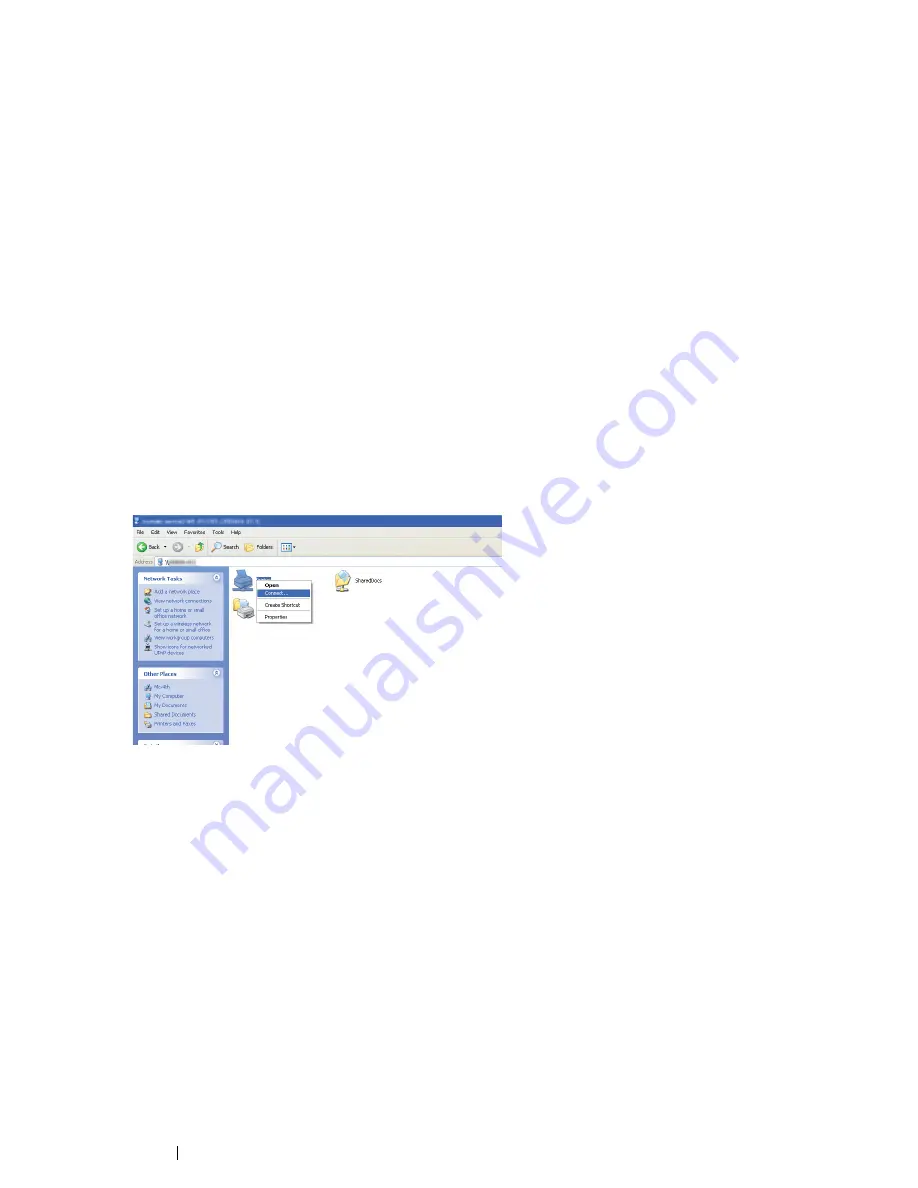
Locate the host name of the server computer, and then double-click the host name.
3
Right-click the shared printer name, and then click
Connect
.
Wait for the driver information to be copied from the server computer to the client computer, and
for a new printer object to be added to the
Printers and Faxes
folder. The time taken to copy
varies based on the network traffic.
Close
My Network Places
.
4
Print a test page to verify installation.
a
Click
start
(
Start
for Windows Server 2003/Windows Server 2003 x64 Edition)
→
Printers
and Faxes
.
b
Select the printer you have installed.
c
Click
File
→
Properties
.
d
On the
General
tab, click
Print Test Page
.
When a test page is printed successfully, installation is complete.
Summary of Contents for DocuPrint CM215 series
Page 1: ...1 DocuPrint CM215 Series User Guide ...
Page 4: ...4 Preface ...
Page 12: ...12 Contents ...
Page 32: ...32 Product Features ...
Page 42: ...42 Specifications ...
Page 160: ...160 Printing Basics ...
Page 188: ...188 Copying ...
Page 294: ...294 Faxing DocuPrint CM215 f CM215 fw Only ...
Page 357: ...Troubleshooting 357 4 Lower the levers to their original position 5 Close the rear cover ...
Page 360: ...360 Troubleshooting 7 Lower the levers to their original position 8 Close the rear cover ...
Page 412: ...412 Troubleshooting ...
Page 444: ...444 Contacting Fuji Xerox ...
Page 449: ...Index 449 Wireless Status 300 WPS 303 ...
Page 450: ...450 Index ...
Page 451: ......


