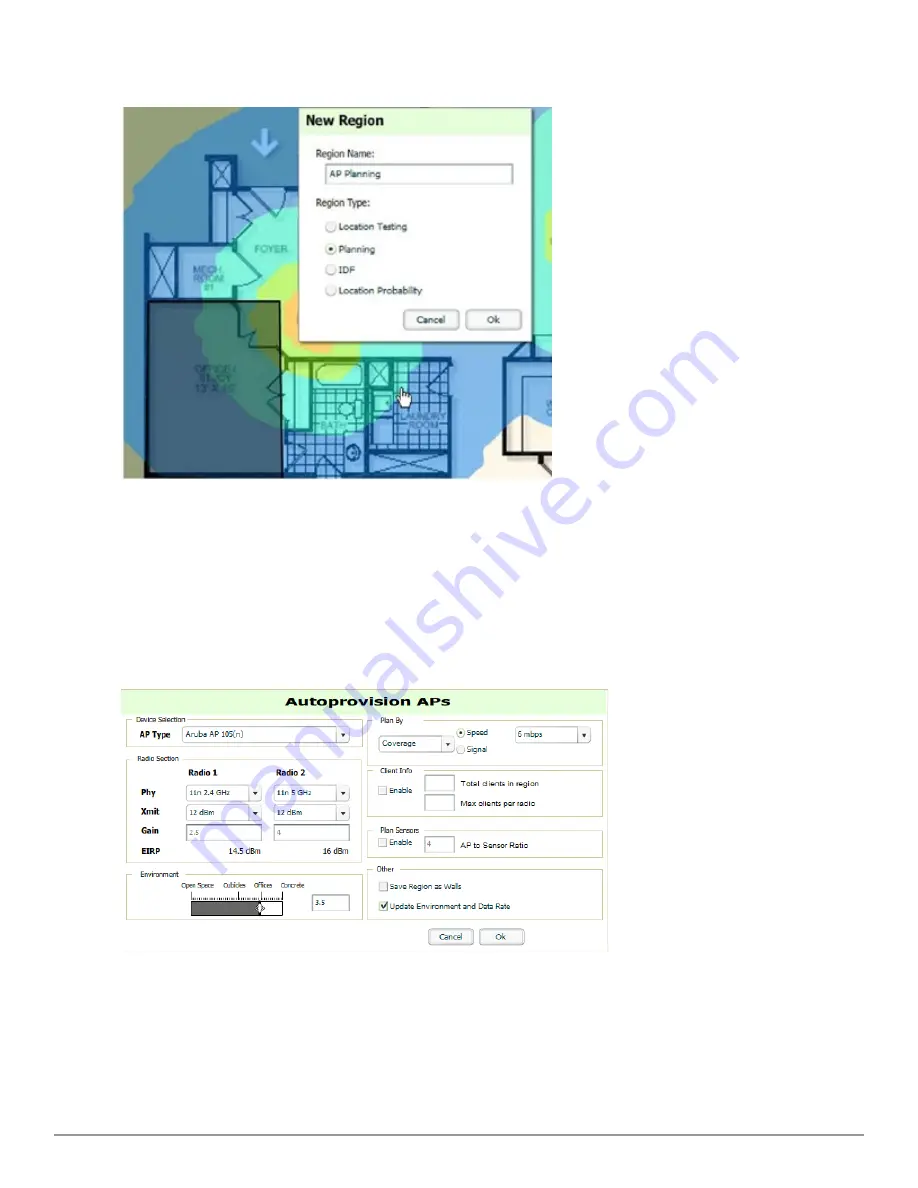
Figure 237:
Planning Region Drawing and Selection Illustration
2. Draw your polygon as follows:
n
Left-click to initiate the process. The tool will automatically shade in your provisioning area.
n
Complete the polygon by double-clicking.
3. Once you have finished drawing the region, enter a name for the region and select a Region Type of
Planning
.
Then select
OK
. The following image displays.
Figure 238:
Autoprovisioning APs
4. Enter the following information into the
Autoprovision APs
window as described in
Table 149
:
Dell PowerConnect W-AirWave 7.6 | User Guide
Using VisualRF | 303
Summary of Contents for PowerConnect W-AirWave 7.6
Page 1: ...Dell PowerConnect W AirWave 7 6 User Guide ...
Page 12: ...xii Dell PowerConnect W AirWave 7 6 User Guide ...
Page 112: ...100 Configuring and Using Device Groups Dell PowerConnect W AirWave 7 6 User Guide ...
Page 162: ...150 Discovering Adding and Managing Devices Dell PowerConnect W AirWave 7 6 User Guide ...
Page 198: ...186 Using RAPIDS and Rogue Classification Dell PowerConnect W AirWave 7 6 User Guide ...
Page 276: ...264 Creating Running and Emailing Reports Dell PowerConnect W AirWave 7 6 User Guide ...
Page 324: ...312 Using VisualRF Dell PowerConnect W AirWave 7 6 User Guide ...
Page 332: ...320 Index Dell PowerConnect W AirWave 7 6 User Guide ...


