Appendix C
NT Transfer Utility
493
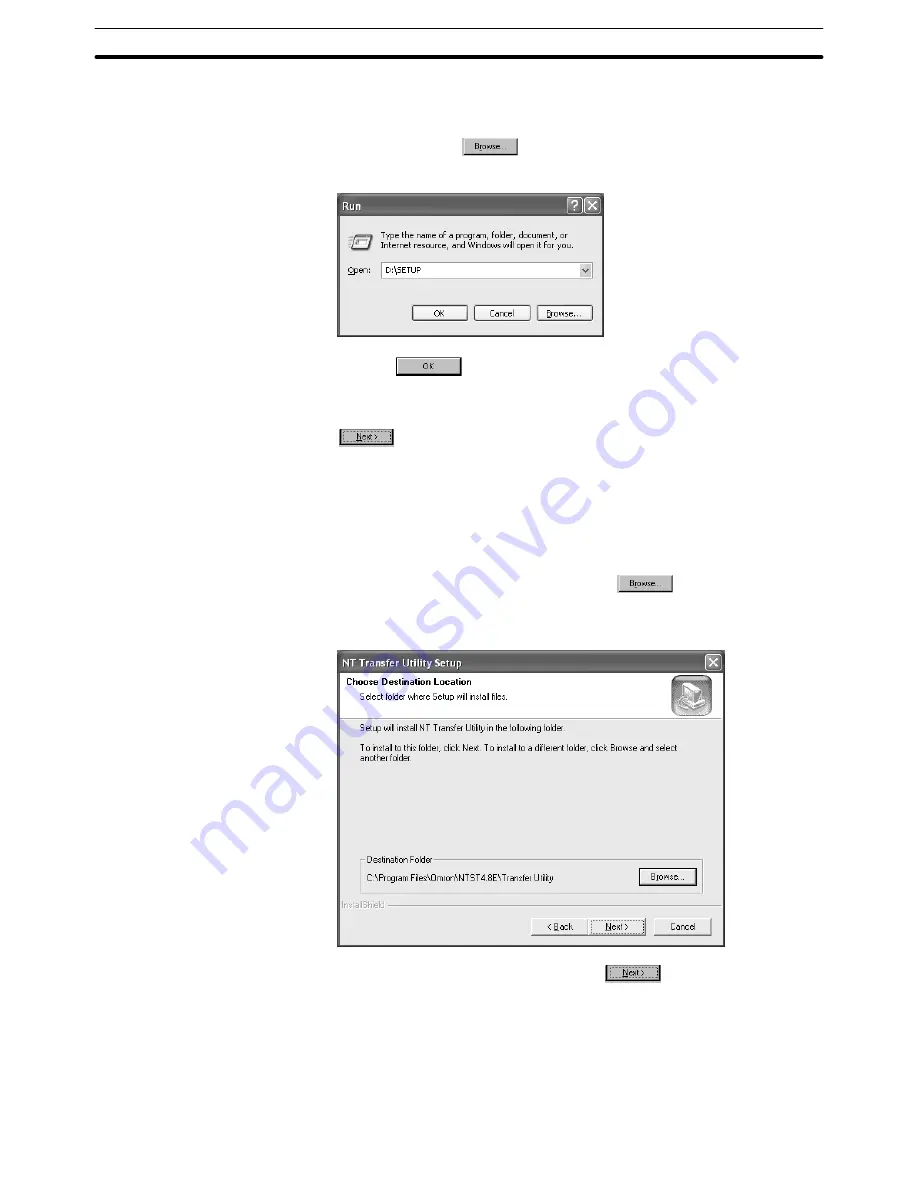
(4) Input “a:\setup” in the input field in the specified window.
Note that drive designation must agree with the name of the drive where you
set the system disk. If you set the disk in drive B, input “b: \ setup.” In case of
CD-ROM, click on
and specify SETUP.EXE in the disk1 folder in
the Transfer Utility folder.
(5) Click on
.
The installation started.
(6) When the setup screen of the NT Transfer Utility is displayed, click on
.
The screen for specifying the destination of program installation is dis-
played.
(7) Specify the directory for installation.
In the initial state, the directory shown below is set as the destination directo-
ry.
C: \Program Files\Omron\Ntst4.8E\Transfer Utility
If you want to change the directory, click on
and input the drive and
directory. (If a directory that does not exist in the hard disk is specified, the
directory is automatically made.)
After specifying the destination, click on
.
The screen for specifying the destination for registering the start menu is dis-
played.
(8) In the start menu of Windows, specify the folder where the short-cut to the
Support Tool is created.
In the initial state, the following folder is selected.
Start\Program\Omron\Ntst4.8E
Содержание NT - SUPPORT TOOL FOR WINDOWS V4
Страница 1: ...Support Tool for Windows Ver 4 Cat No V061 E1 05 NT series OPERATION MANUAL...
Страница 2: ...NT series Support Tool for Windows Ver 4 j Operation Manual Revised May 2007...
Страница 3: ...iv...
Страница 5: ...vi...
Страница 353: ...8 2 Section Library Editor 341 Double clicking the control menu box of the library editor Control menu box...


