CPC 100 V1.41
4 - 44
Test Settings
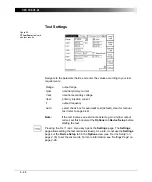
Figure 25:
CT LowPower
test card
with test results
Navigate to the parameter fields, and enter the values according to your test
requirements:
Pressing the S
E T T I N G S
menu key opens the
Settings
page. The
Settings
page allows setting the test cards individually. As a rule, do not use the
Settings
page but the
Device Setup
tab in the
Options
view (see ”Device Setup” on
page 2-33) to set the test cards. For more information, see ”Settings Page” on
page 2-28.
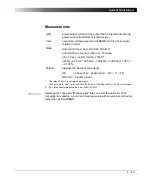
Range:
output range
Iprim:
nominal primary current
Vsec:
nominal secondary voltage
Itest:
primary injection current
f:
output frequency
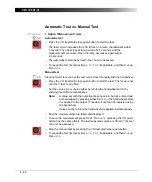
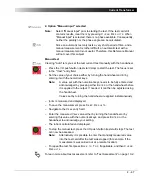
Auto:
select check box for automatic test (default), clear for manual
test (refer to page 4-46).
Note:
If the test involves an external booster to gain a higher output
current, set this booster at the
Options
tab
Device Setup
before
starting the test.
Summary of Contents for CPC 100
Page 12: ...CPC 100 V1 41 x...
Page 28: ...CPC 100 V1 41 1 16...
Page 90: ...CPC 100 V1 41 3 14...
Page 194: ...CPC 100 V1 41 6 30...
Page 250: ...CPC 100 V1 41 8 32 Figure 24 Settings of Amplifier test card for this example use case...
Page 258: ...CPC 100 V1 41 9 4...
Page 264: ...CPC 100 V1 41 10 6...
Page 282: ...CPC 100 V1 41 12 10 Figure 9 Saving tests with the CPC Editor...
Page 284: ...CPC 100 V1 41 12 12...
Page 312: ...CPC 100 V1 41 14 12...
Page 316: ...CPC 100 V1 41 15 4...
Page 350: ...CPC 100 V1 41 16 34...
Page 372: ...OMICRON Contact Addresses 22...


