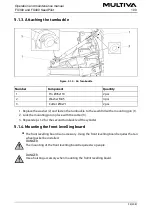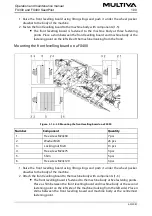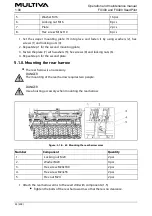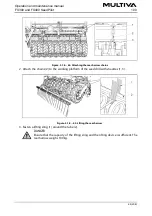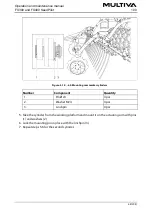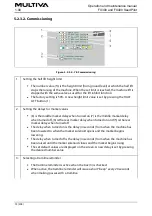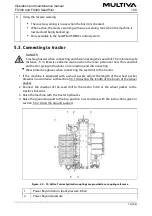
2. Fasten the adapter (2) to the control panel (1) with 4 M5x12 screws (7).
3. Fasten the RAM MOUNT (5) to the adapter (2) with 3 M5x12 screws (6).
4. Fasten the RAM MOUNT (5) to the tractor cabin with M5 screws or (max.) 5 mm self-
tapping screws.
Screws are not included in the delivery
5. Connect the camera cable (4) and control panel camera cable (3) plugs to each other.
5.2.3. SeedPilot and SeedPilot ISOBUS control system commissioning
5.2.3.1. Tramline setup setting
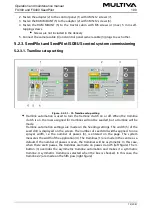
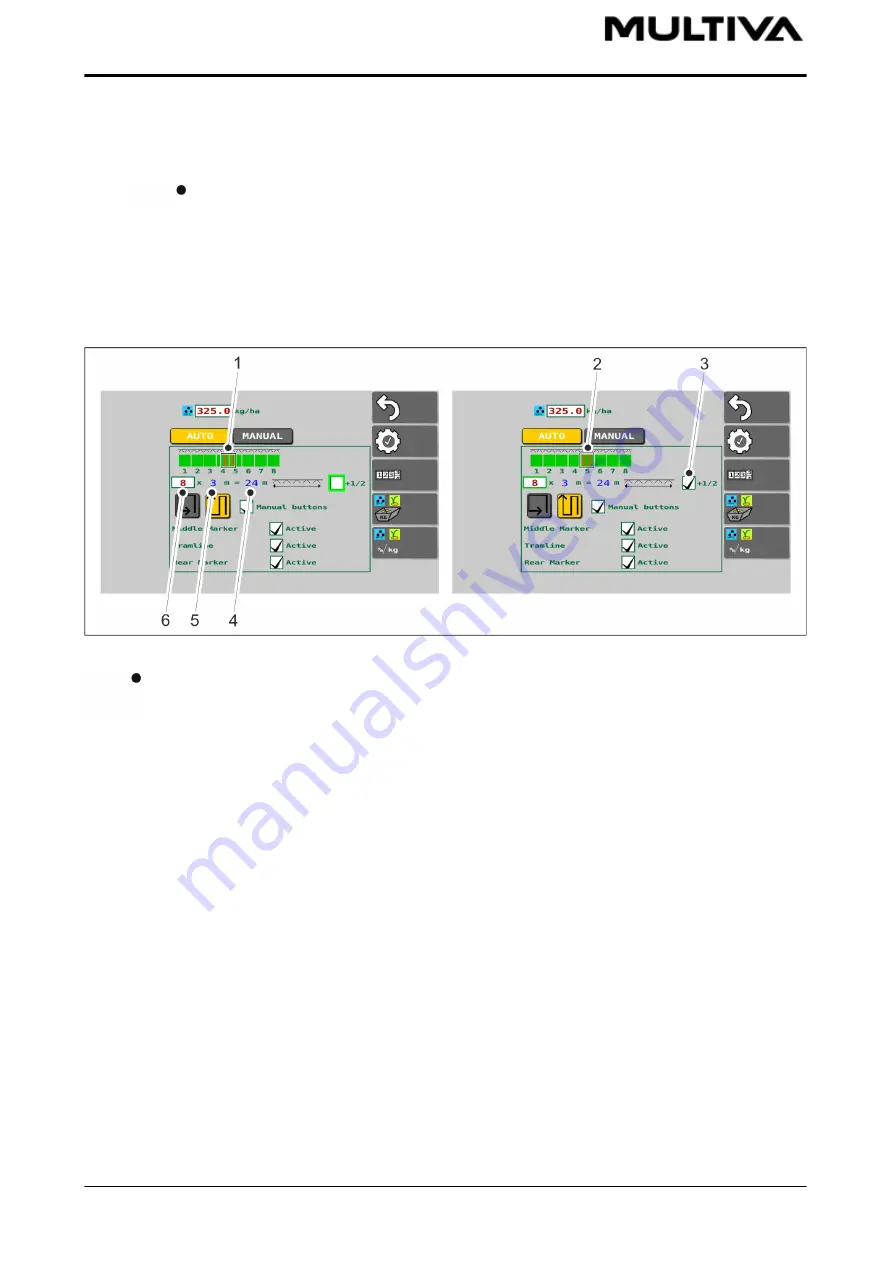
Figure. 5.2.3.1. - 75. Tramline setup setting
Tramline automation is used to turn the tramline clutch on or off. When the tramline
clutch is on, the rows assigned for tramlines will not be seeded, but a tramline will be
made.
Tramline automation settings are made on the Seeding settings. The width (5) of the
seed drill is displayed on the screen. The number of seed drill widths applied to one
sprayer width, i.e. the number of passes (6), is entered on the page. The system
measures the width of the application (4). The tramlines (1) are made in the centre as a
default. If the number of passes is even, the tramlines will be asymmetric. In this case,
when there are 8 passes, the tramlines are made on passes 4 and 5 (left gure). The ½
button (3) overrides the asymmetric tramline automation and makes it a symmetric
tramline. A symmetric tramline is selected when the box is checked. In this case, the
tramlines (2) are made on the fth pass (right gure).
Operation and maintenance manual
FX300 and FX400 SeedPilot
1.00
72 (208)
Summary of Contents for FX300 SeedPilot
Page 200: ...Hydraulic schematics FX300 and FX400 1 Hydraulic schematics FX300...
Page 201: ...Hydraulic schematics FX300 and FX400 2...
Page 202: ...Hydraulic schematics FX300 and FX400 3 Hydraulic schematics FX400...
Page 203: ...Hydraulic schematics FX300 and FX400 4...
Page 204: ...Electrical schematics FX300 and FX400 1 Electrical schematics...

