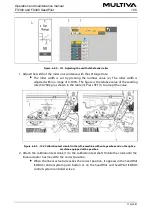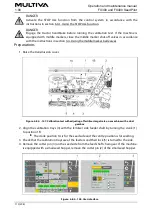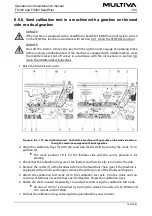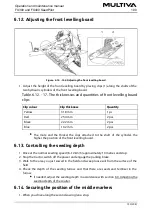
1. Attach the calibration test crank (1) to the calibration test shaft. Turn the crank
counterclockwise until at least 5.00 rotations appears on the controller screen.
Figure. 6.8.4. - 152. Rotations made with the calibration test crank
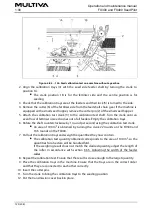
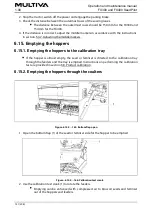
The number of calibration test crank turns (1) will appear on the user interface
page.
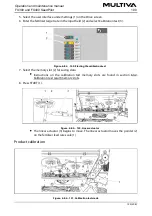
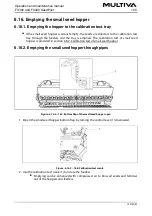
Figure. 6.8.4. - 153. Push button. Only in the SeedPilot ISOBUS control system.
When 5 turns have been made, the light in the push button (1) stays on.
2. Pull out the calibration trays and weigh the quantities they now contain.
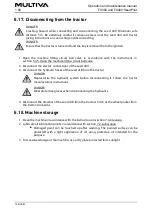
Figure. 6.8.4. - 154. Entering the weighing result
3. Press the number (1) and enter the weighing result.
Operation and maintenance manual
1.00
FX300 and FX400 SeedPilot
121 (208)
Summary of Contents for FX300 SeedPilot
Page 200: ...Hydraulic schematics FX300 and FX400 1 Hydraulic schematics FX300...
Page 201: ...Hydraulic schematics FX300 and FX400 2...
Page 202: ...Hydraulic schematics FX300 and FX400 3 Hydraulic schematics FX400...
Page 203: ...Hydraulic schematics FX300 and FX400 4...
Page 204: ...Electrical schematics FX300 and FX400 1 Electrical schematics...


